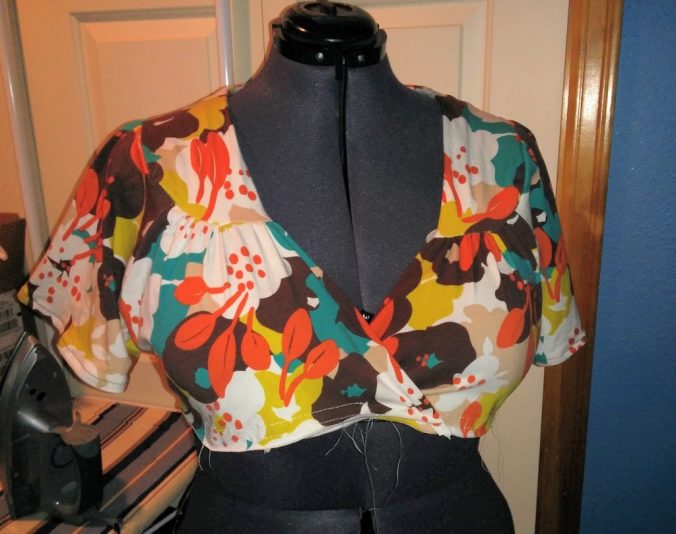
I cut this lovely dress out over a year ago, and I had finally started sewing it in August, but I had to put it on hold because I was missing a couple pieces and then I was chosen to participate in the Fabricista Fashion Challenge 4. This is as far as I got before I put it on the back burner.
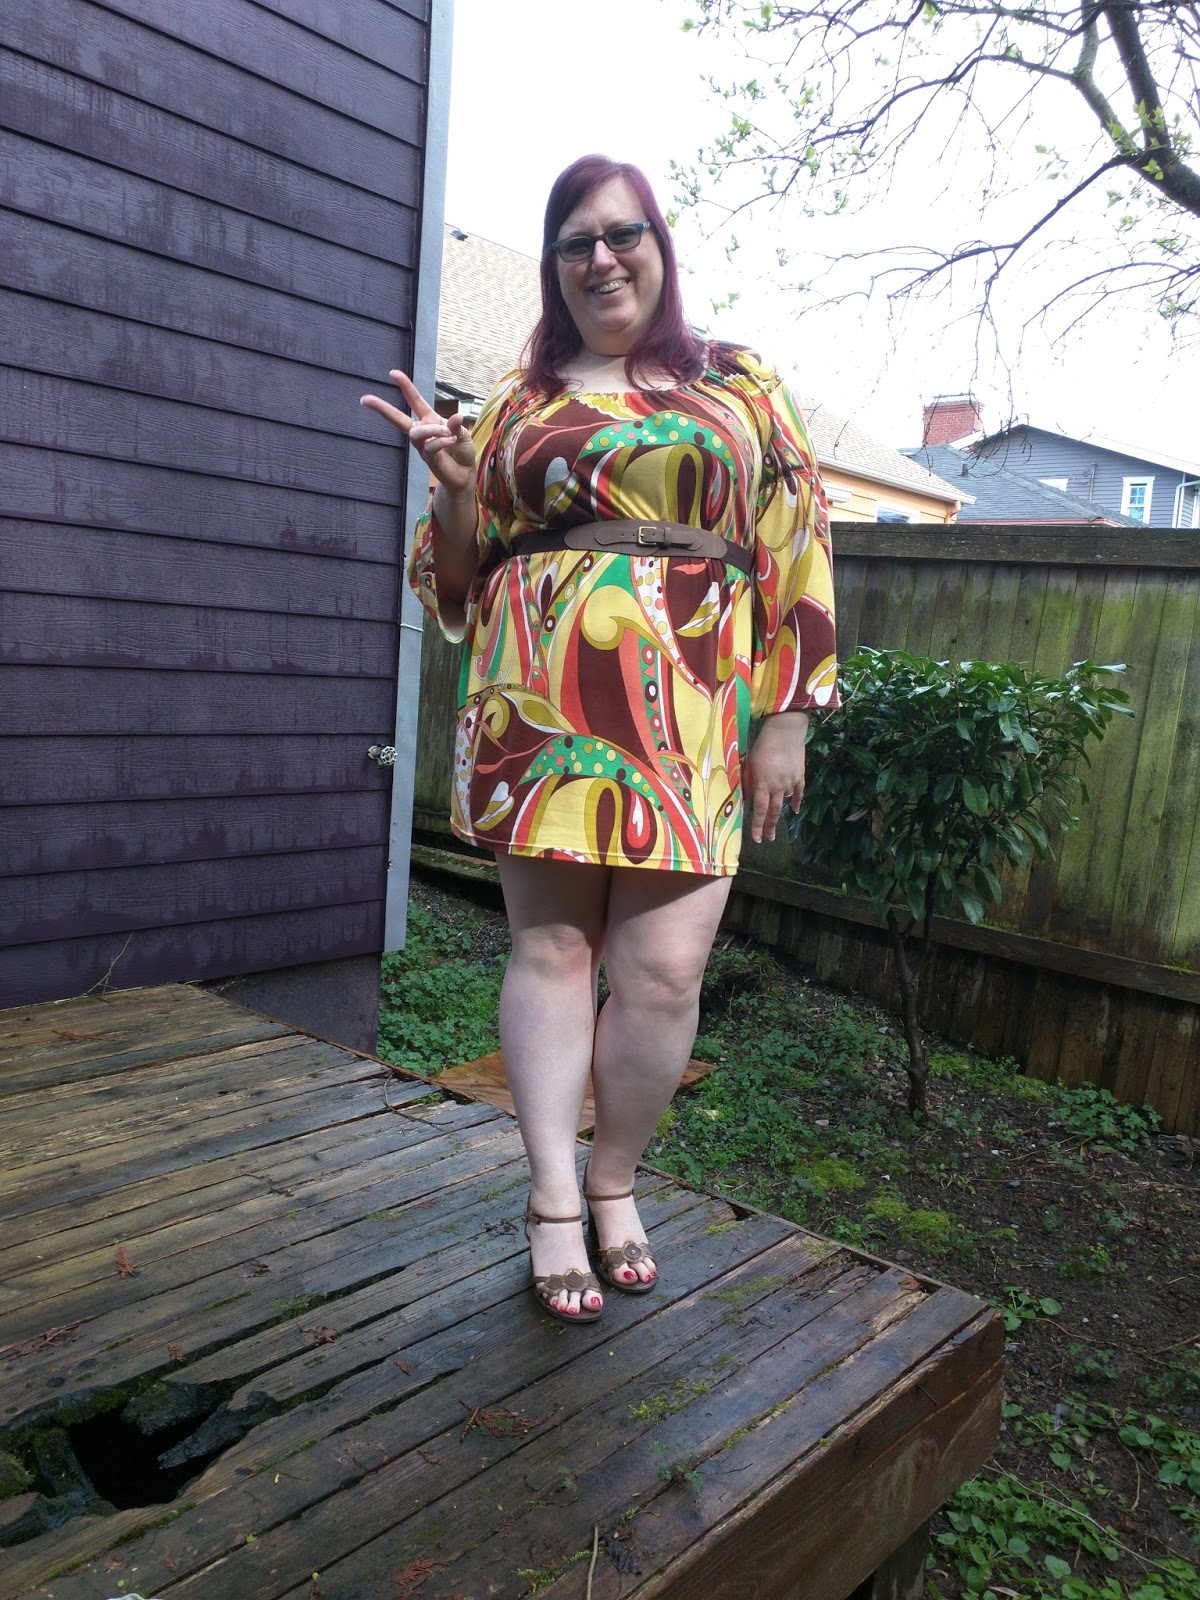
The pattern is (OOP) Butterick 5243 and I picked view A with the lovely flutter sleeves.
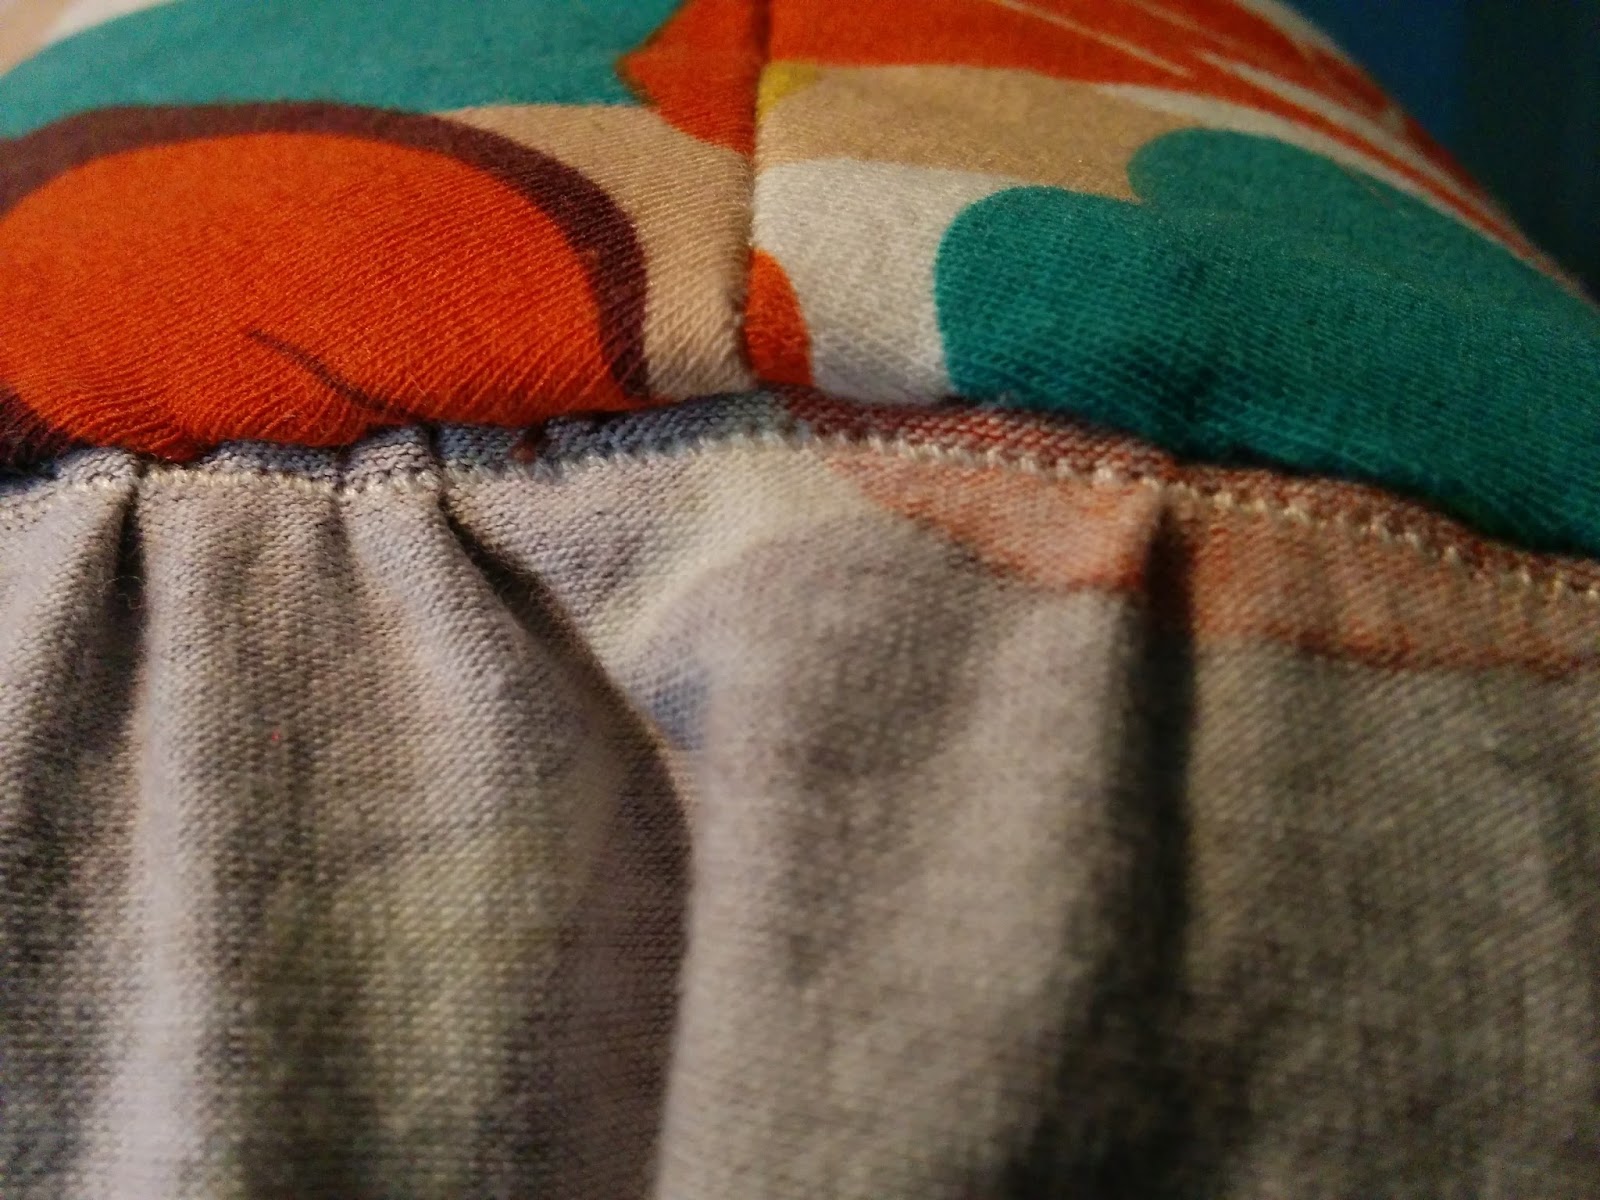
The fabric is a Mustard/Brown/Teal/Multi Abstract Floral Jersey Knit that I bought from Fabric Mart in May of 2015. The back of the fabric is soft and flannel like and I just love the way it feels, as well as how it looks.
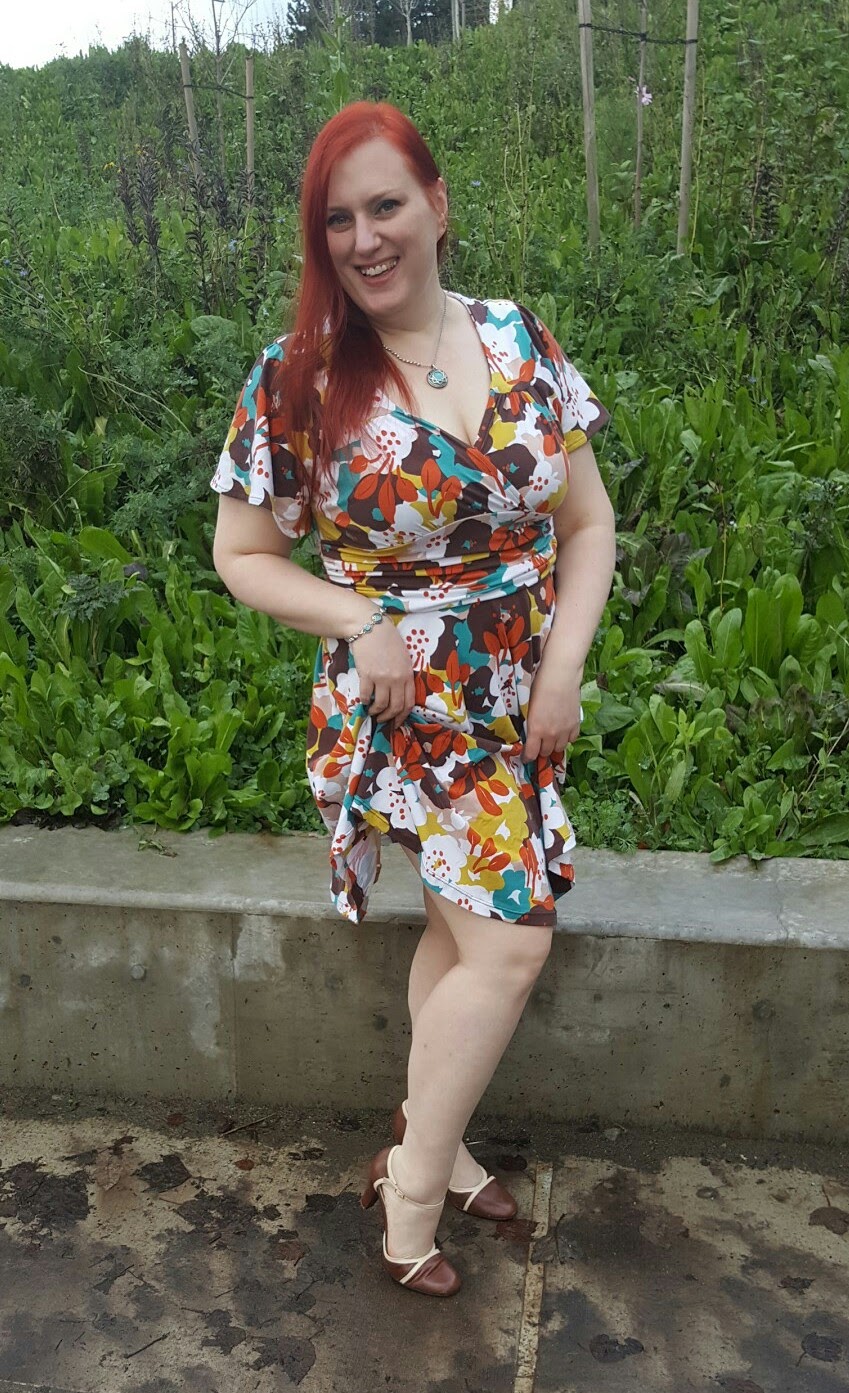
We went to the Fremont Troll to take these photos because I thought it would be fun to start adding a little bit more of the Seattle experience to my blog. Plus, we were headed to Fremont to go to our favorite conveyor belt sushi place for lunch anyway, so it was only a couple blocks out of our way. Well, I forgot how popular the Troll is, so we took most of our photos in the area next to the troll since it was people free and there was a lovely green background. We got some with the Troll in the background too, but it was near impossible to not have other people in the photos, so not many of those came out very well. Oh well, interesting idea, but it didn’t pan out like I’d hoped.
The photo above led to my favorite photo. My daughter was my photographer and I was playing up the pinup girl feeling I have wearing this dress by lifting my skirt to show a little more leg and my daughter said “Oh, those gams!” and that made me laugh, which she captured so well.
I didn’t make any alterations to the pattern, but I made one small change to the construction process. When I went to add the waistband to the bodice, the front cross over was still all open. So, instead of properly matching the notches to make the crossover, I wanted to make sure the bodice wasn’t dangerously low and I could wear it without worry. So, I tried it on and got the crossover the way I wanted it and basted that together. Then, as I was attaching the waistband, I just gathered it at the underbust to make it fit. So, I think I don’t have quite as much gathered as the example photos because my front pieces overlap more than they are supposed to, but it fits perfect right now and shows just the right amount of cleavage.
I also hand sewed the neckline facing to the seam allowance of the yoke. I used to hate hand sewing, but I totally didn’t mind doing it the last couple times and I think it made the neckline turn out much nicer than if I’d tried to sew it down by machine.
Overall, I really am very pleased with how this dress turned out. I do wish I’d gone with the long sleeve version, simply because both times I wore it, I was chilly and ended up wearing a jacket over it, so a lot of the nice details were hidden.
My daughter liked this photo because she said I was making the same face as the Troll. It was not intentional on my part at all, but I can’t help but agree with her!
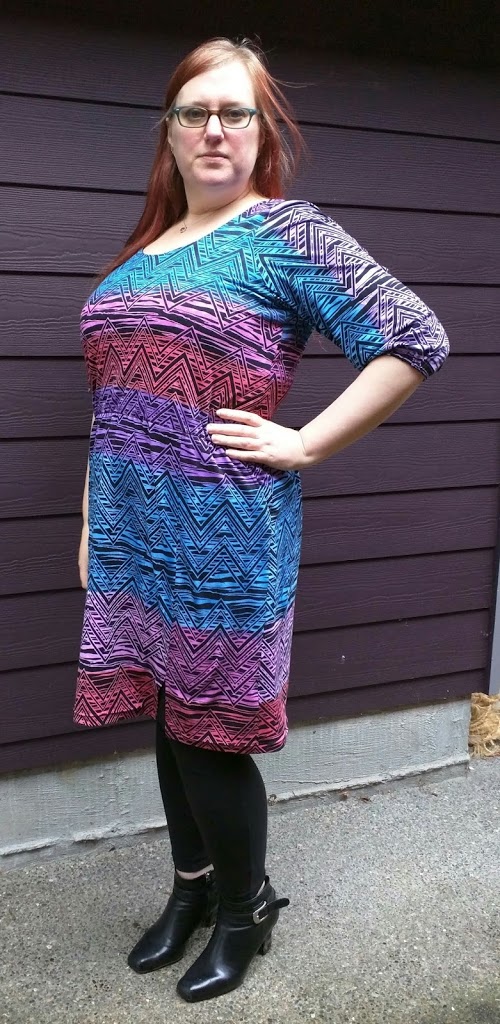
When I made my camouflage Seamwork Perry, I liked it so much that I immediately cut out another one from a cotton Spandex knit from a previous Girl Charlee* knitfix fabric.
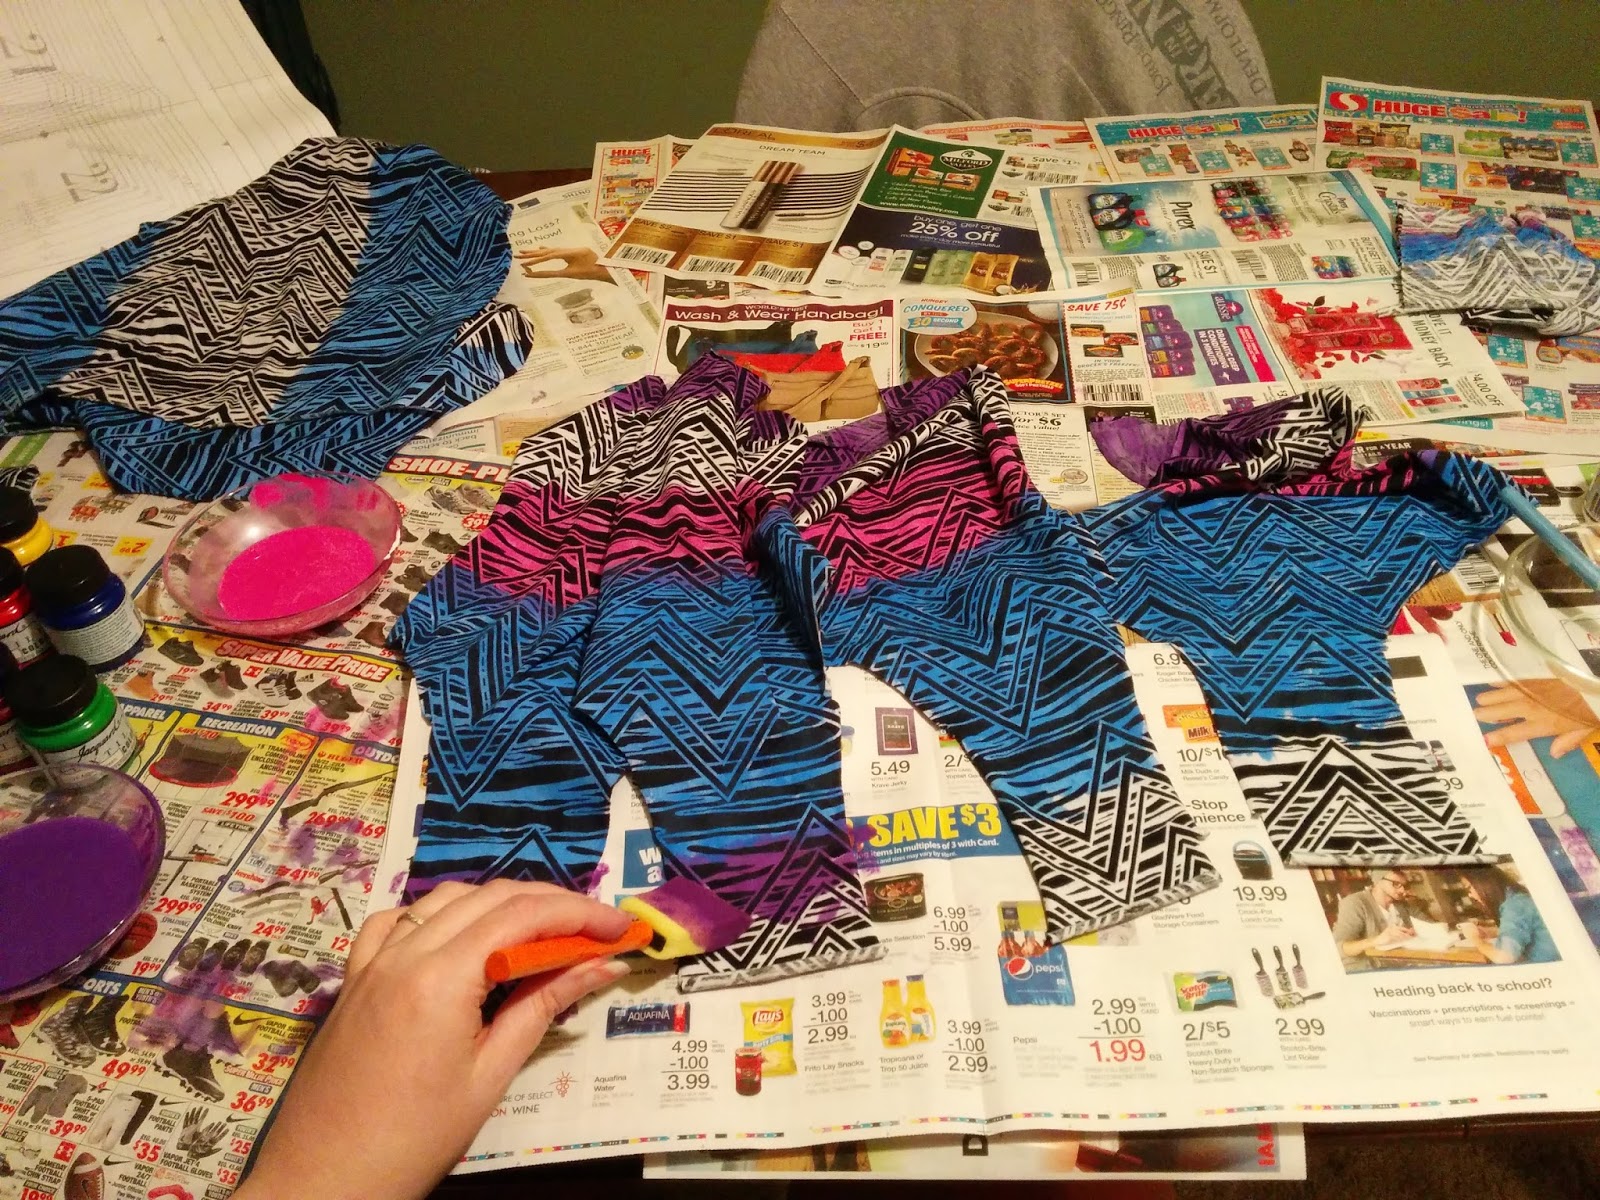
I couldn’t do pattern matching when cutting the dress out, so I decided to just cut it out however I could then I used some Jacquard Textile Color* to paint colored stripes onto the fabric to try to mask the pattern mismatch.
I started painting the pieces way back in May. I did some additional painting some time after that, but then I finally just finished it a couple days ago. After it was all dried, I heat set it with the iron following the directions.
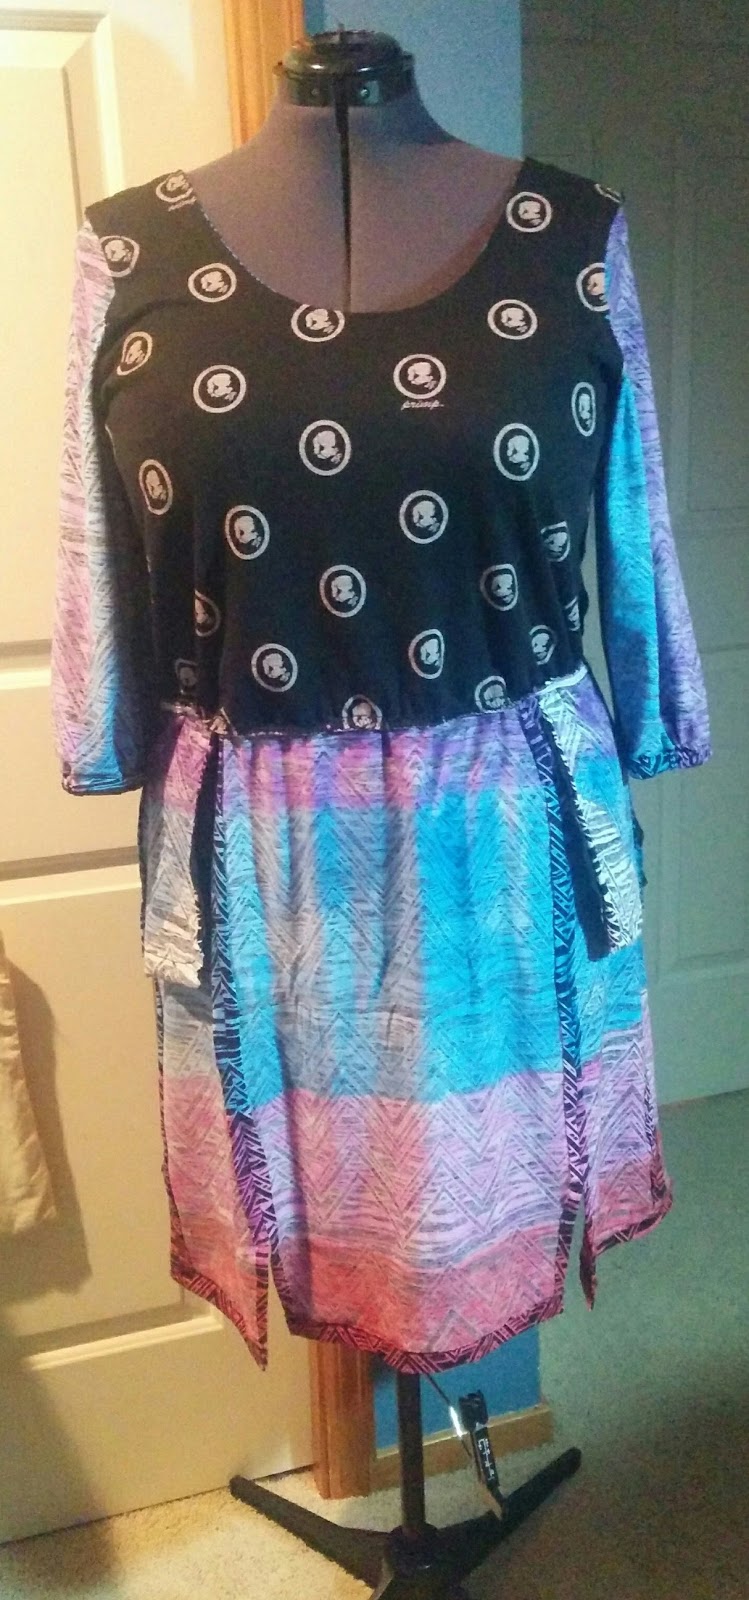
I cut bodice lining pieces from the same black cameo thermal knit fabric I used to line my Fabricista sweater dress.
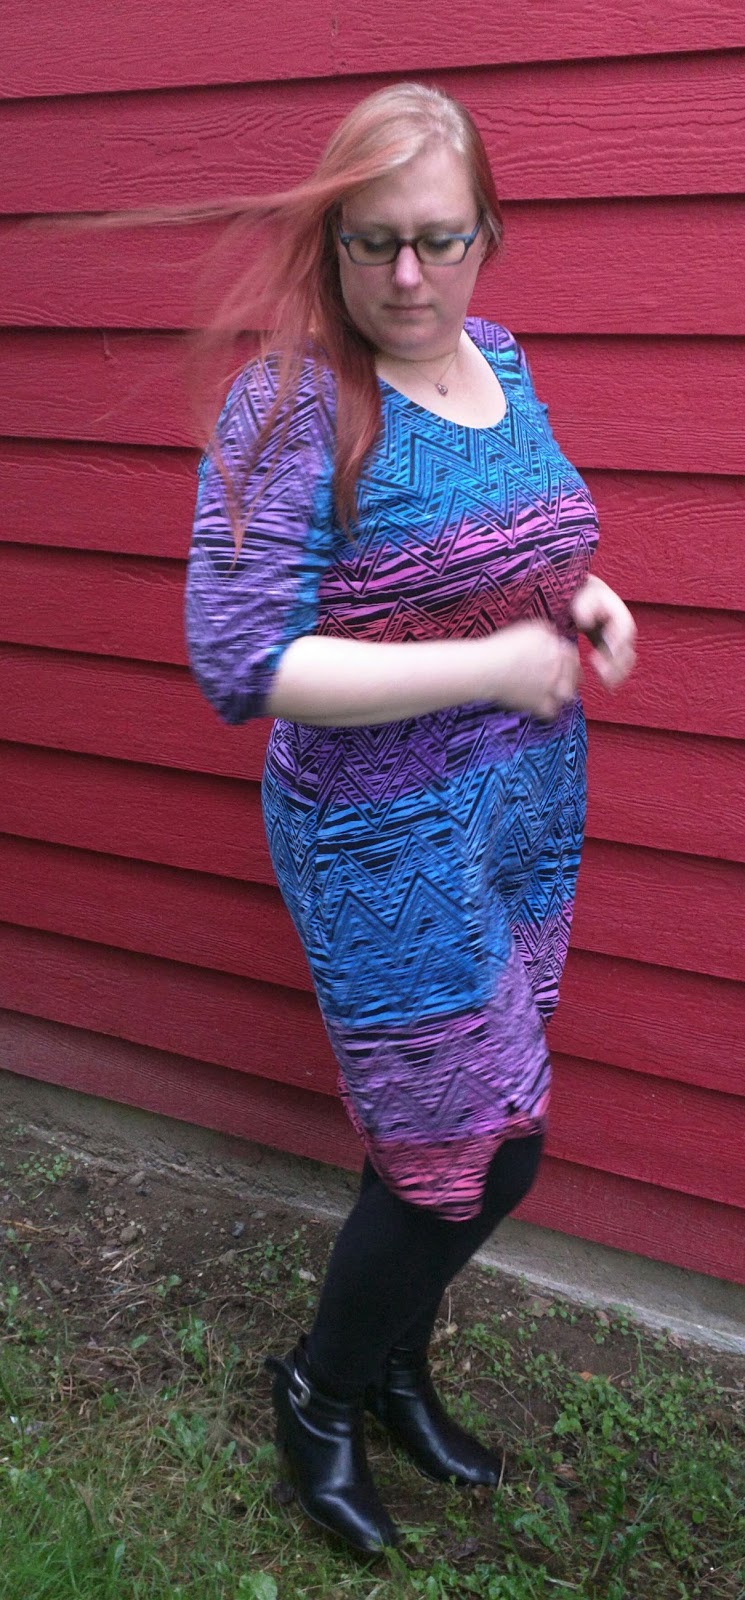
I liked the elastic loop and button I used for the camo Perry, so I decided to do that again. Since I planned this before sewing the dress together, I basted a loop of elastic that I’d colored with a blue Sharpie to the back bodice piece before sewing the shell and lining together at the neckline so that the raw ends are enclosed. Then sewed on a blue button the finish the closure.
Also I couldn’t find a couple pieces – the front pocket piece and the sleeve cuffs. I swear I cut them out, but it’s been so long and they aren’t with the other pieces, so either I’m remembering wrong or they got lost. So, I cut the missing pocket piece from that same black cameo knit and instead of replacing the sleeve cuff with a different fabric, I just hemmed the sleeve 1″ to create a channel then cut pieces of 1/2″ elastic and fed it through the channel.
I also sewed all of the vertical seams with 5/8″ seam allowance instead of 3/8″ to try to size the dress down a bit.
I’m not super happy with the fit of the waist elastic. I followed the instructions and cut the elastic to my waist measurement minus 2″. But I must have stretched it out while installing it, because the waist doesn’t have as much definition as my camo one.
There are a few spots where I missed fully applying the color. When I started with the blue, I was trying to go for a hand painted look, so the missed spots were a feature. But now that it’s all put together, those spots are a little distracting to me. Also, some of the coloring between the pieces don’t quite match shades, or the color lines across the seams aren’t exact. So I may end up doing another pass of the painting. Although, I am pretty happy with how it looks as is.
*affiliate link – I gotta try to help support my sewing habit somehow.
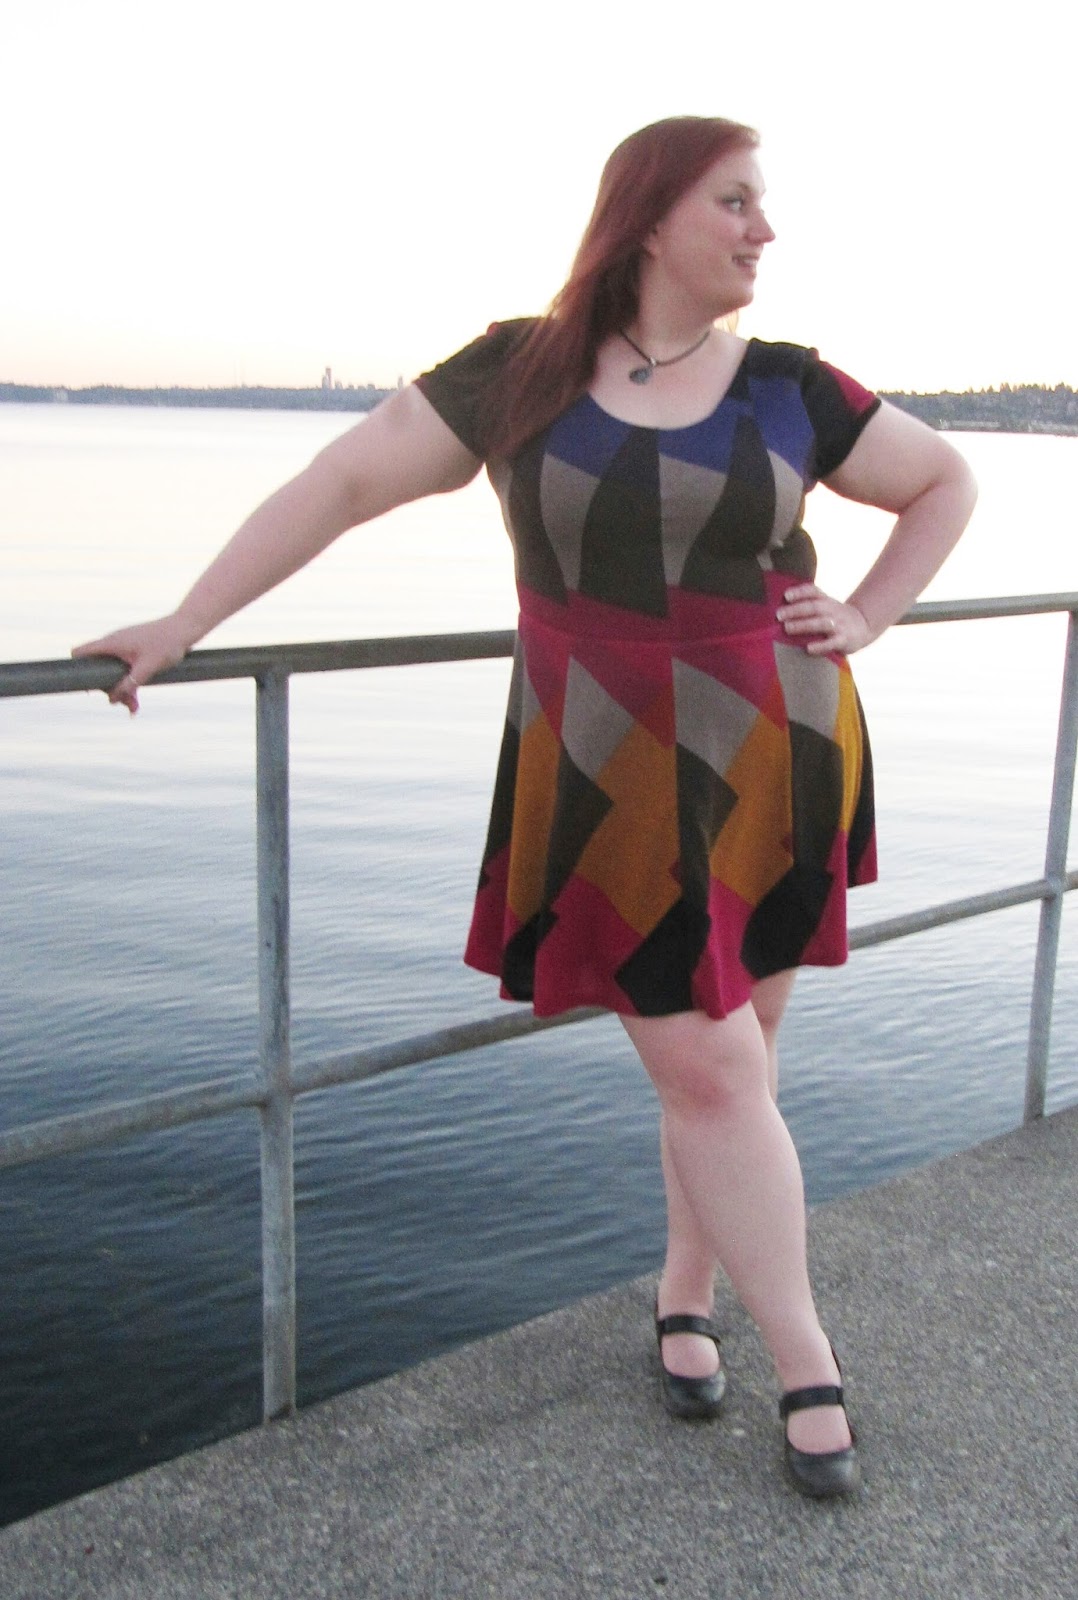
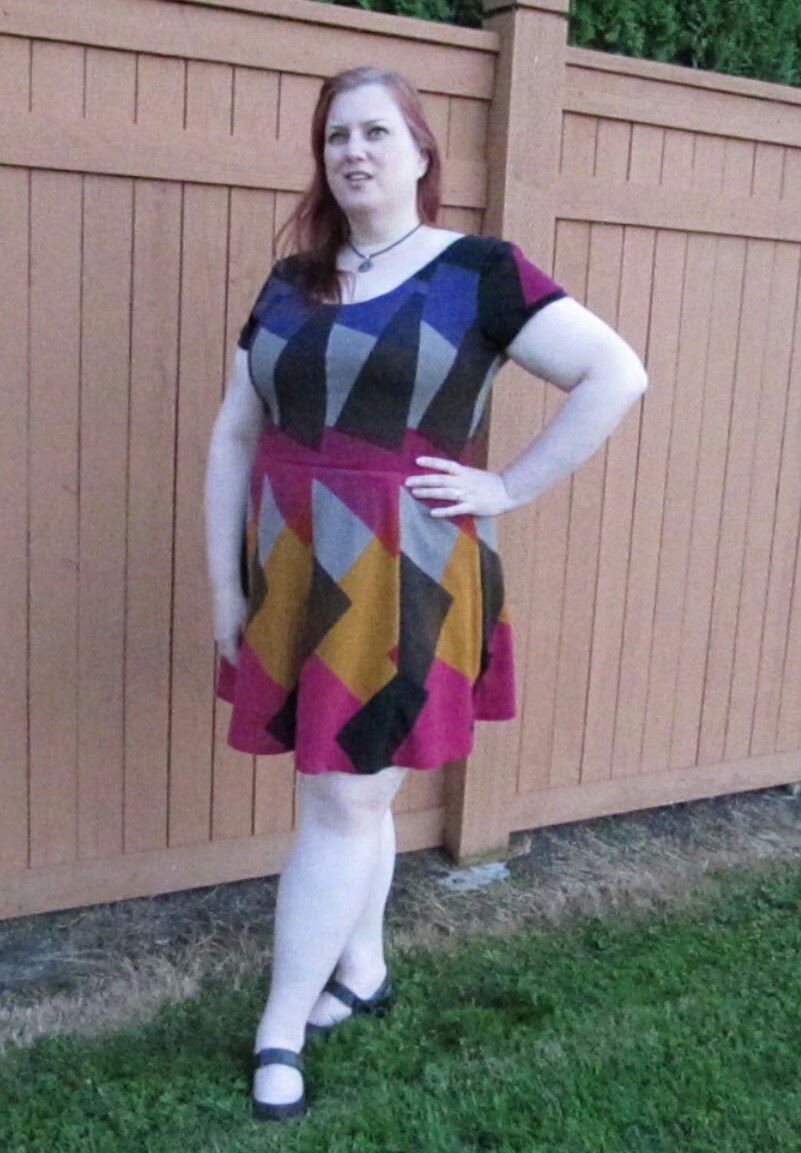
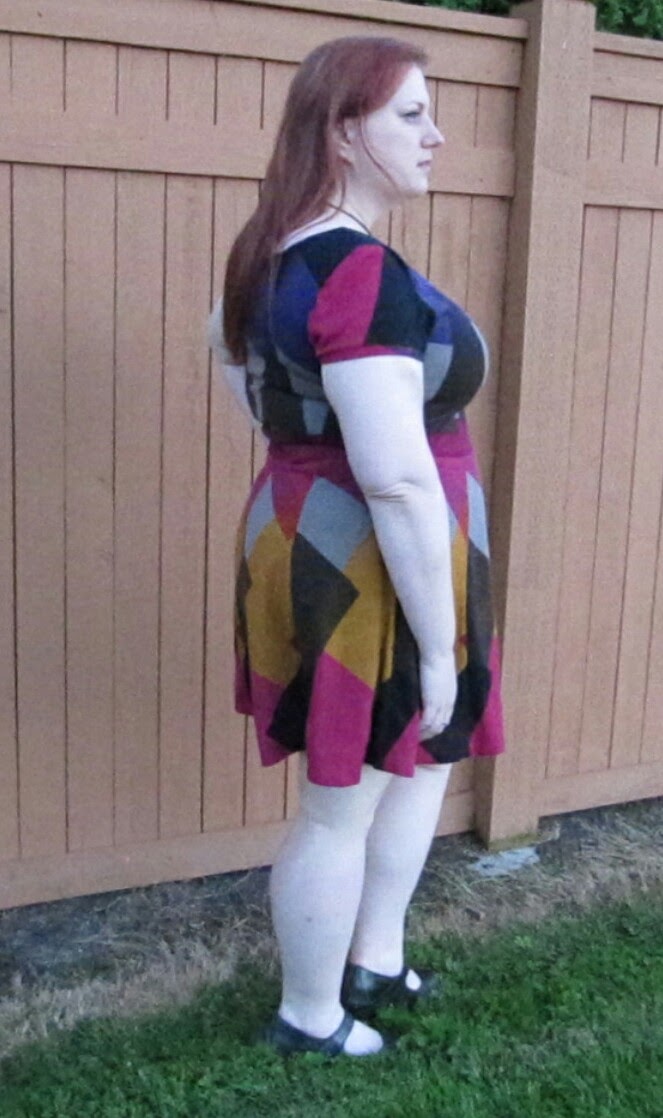
I made a dress!! Is anyone really surprised? But this isn’t just any dress, it’s a gorgeous carefully pieced work of art (if I do say so myself.) It is absolutely my favorite thing I’ve ever made so far.
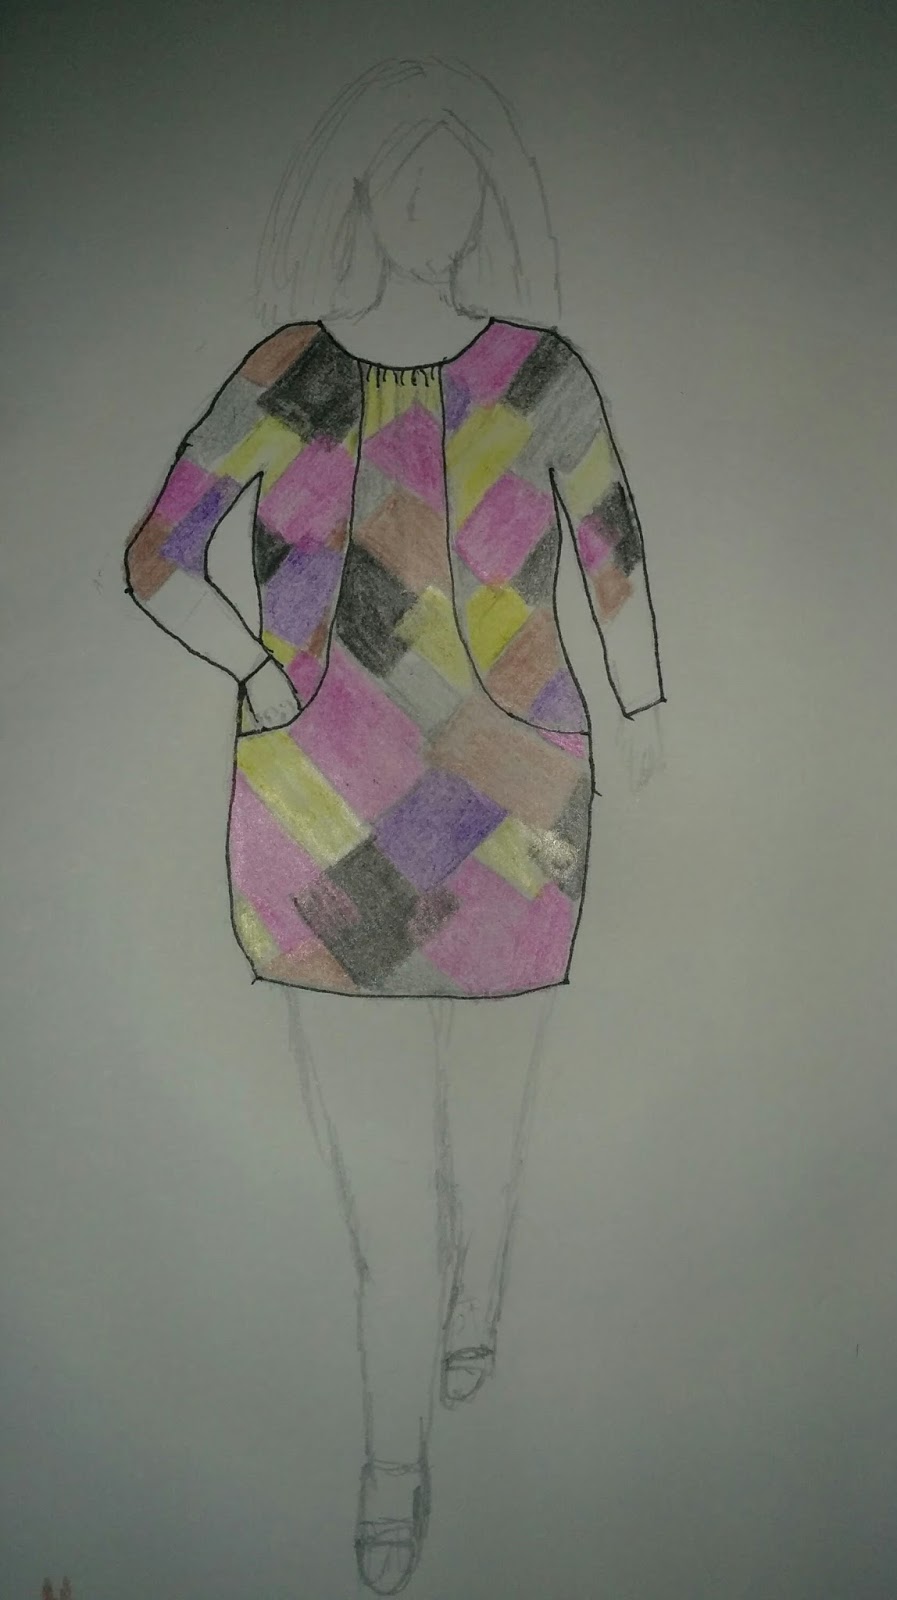
When the fabric arrived, I was very pleased with the quality and the colors are just so pretty and perfect for fall. But the more I contemplated and sketched ideas, I kept finding my sketches pulling in the colors, but since I was usually away from the fabric when I was sketching, I just kept forgetting that the scale of the pattern was very large, as you can see in this photo of it draped over my dress form.
Although I liked what I sketched (badly,) they didn’t accurately reflect what the garment would look like in the actual fabric. I just couldn’t wrap my head around how to use it in a way that I’d be able to either pattern match across seams or make it very apparent that I didn’t intend to pattern match (by rotating the fabric, for example.) I also didn’t like the idea of the mustard or the hot pink colors being close to my face. I don’t find those colors very flattering on me, so I was hoping to be able to place them far from where they can clash with my skin tone.
So, I sat and looked at the fabric laying out on my cutting table, sketchbook in hand and I remembered a technique I had seen not too long ago in a sewing magazine that I had been wanting to try. Unfortunately, I can’t remember which magazine and even leafed through a few to see if I could find the article I was thinking about, with no luck. But the technique was to take a fabric with a large pattern repeat and cut out a particular portion of the repeat several times and sew them back together to make a new design.
So, I decided to use my TNT Kitschy Coo Lady Skater pattern and divide each bodice and skirt piece vertically into 2 pieces, adding seam allowances between them, thus making 4 panels across the width of the dress. I identified where on the fabric I would lay out each piece and sketched out the design, trying to keep the scale as accurate as possible, to see how I’d like it. I loved it, so I settled on that as a plan, even before I finished coloring it in. My colored pencils just don’t do the colors in this fabric justice!
As shown in the photo above of my previously altered Lady Skater front bodice piece, I drew a vertical line from the bottom, halfway between the side seam stitching line and center front fold line (since seam allowances hadn’t been added yet) up to where I thought it would look aesthetically pleasing and did the same for the bodice back. For the skirt I did the same, but I marked exactly halfway between the stitching lines at both the top and the bottom of the pattern. I then copied each of the pattern halves onto tissue paper and added seam allowances at the fold lines and to both halves where the original patterns were split in the middle.
I started with the bodice and cut out one of the center front panels first. Then used it as a guide to determine where to lay the side bodice piece that was going to be next to it, matching the seam line on one side. Since the top of the bodice pieces were very different shapes, I focused on making the fabric pattern at the waist seam consistent to get the effect I was after.
My original sketch planned to use another sweater knit I have in my stash that is solid black for the sleeves, but after I pulled it out and looked at it, it didn’t have the same sheen as the provided fabric and it just looked dull and lifeless next to this gorgeous knit. I considered leaving the dress sleeveless, but ultimately I want to have a dress that I will actually wear, so I decided to use the leftover fabric, which I barely had two pieces just big enough to cut the pattern’s cap sleeves. I just positioned the sleeve piece such that the front of both sleeves had as much of the black as possible, to try to keep as close to my original vision as possible.
I also had planned on using that other sweater knit for the neck band, but that was out now. I didn’t want to just turn and stitch the neckline, so I made the decision to fully line the dress with a black cotton thermal knit with cameos printed on it that I picked a long time ago for very cheap and have thought I might never use. It had almost the exact stretch amount and was just a tad lighter than the sweater knit, so it seemed the perfect pairing. I used the unmodified pattern for the lining pieces and attached them to the shell at the neck, armscyes and the waist, letting the skirt lining basically hang free and just using french tacks to keep it in place.
My tips for working with sweater knits.
First of all, there are many different types of sweater knits. This one was what I’d consider a pretty stable sweater knit. The weave is tight and the fabric is opaque, but I’ve worked with very loose weave sweater knits before. I think Seamwork’s guide to sewing with sweater knits is a good starting point. In addition to the tips Seamwork provide, these are the things I have found helpful when I work with sweater knits.
1.Keep a lint brush handy! Or what I refer to as a “rolly sticky.” When you cut into these fabrics, a million little loops get opened up, so there is lint EVERYWHERE. Not just on the cutting table, but they’ll be all over your machine and workspace and the garment and my dress form was covered in tiny pieces of sweater knit.
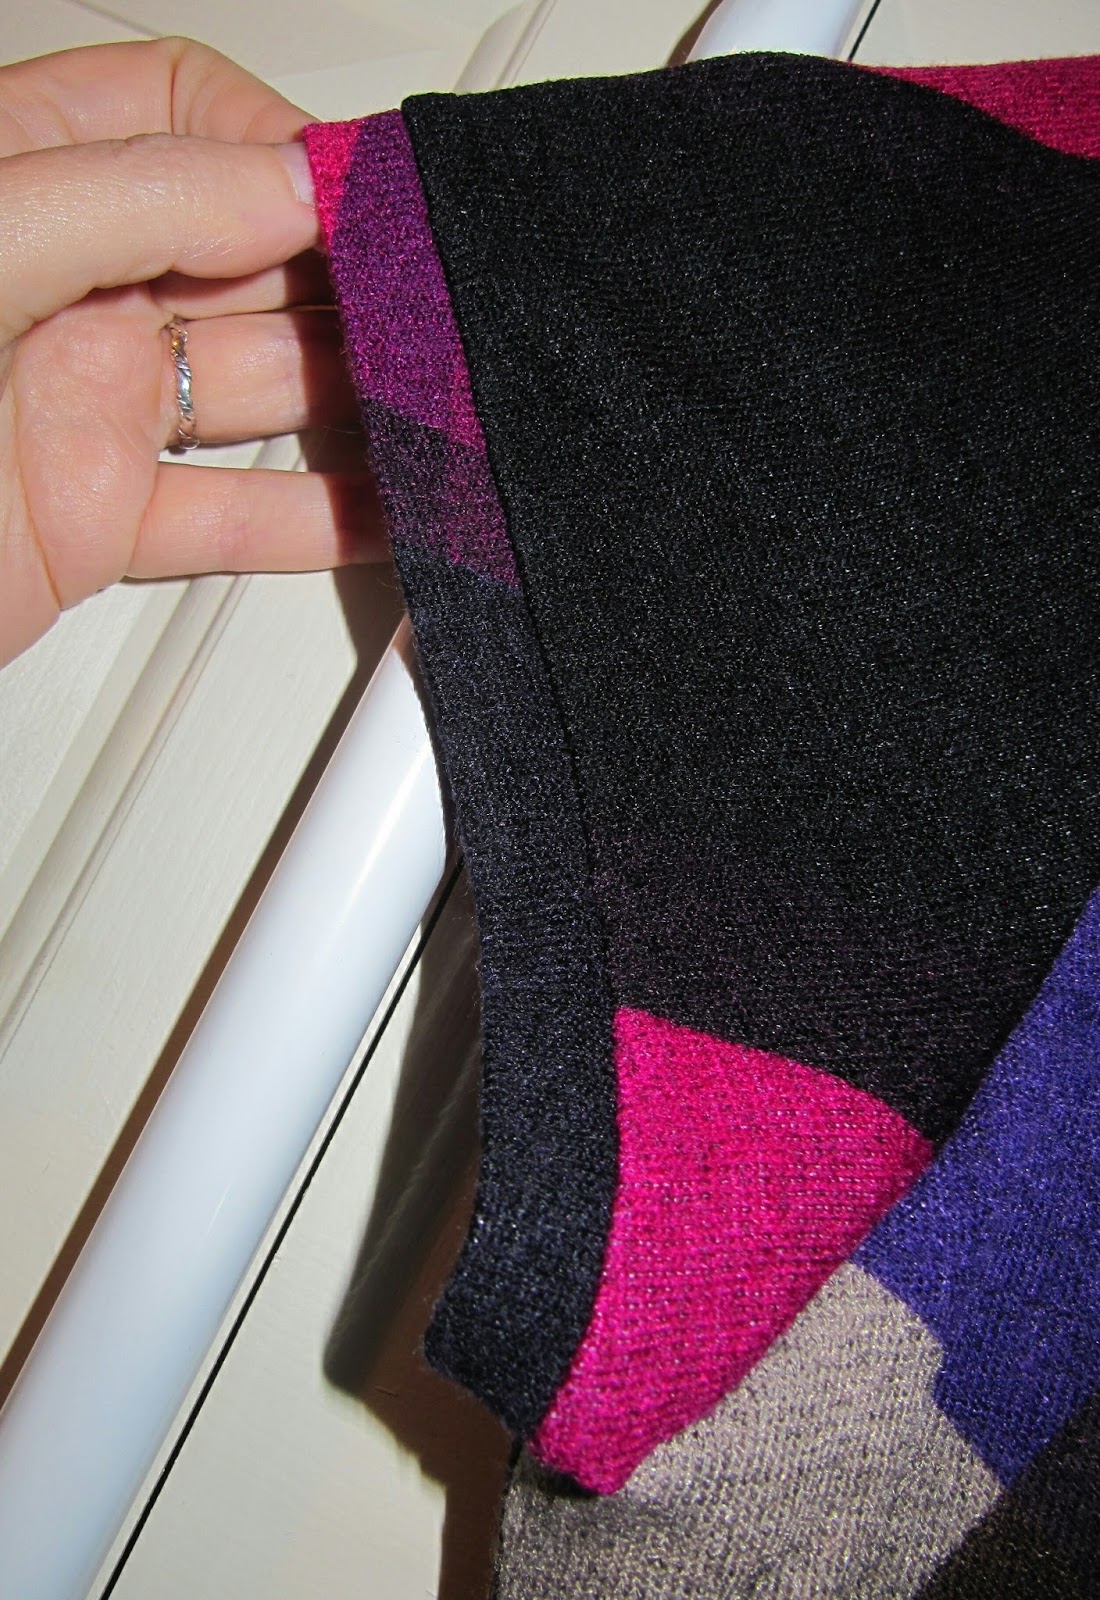
2.When cutting, mark your notches with pins or thread or do like I was taught growing up and cut them outward, not inward to avoid losing them in the weave of the sweater knit.
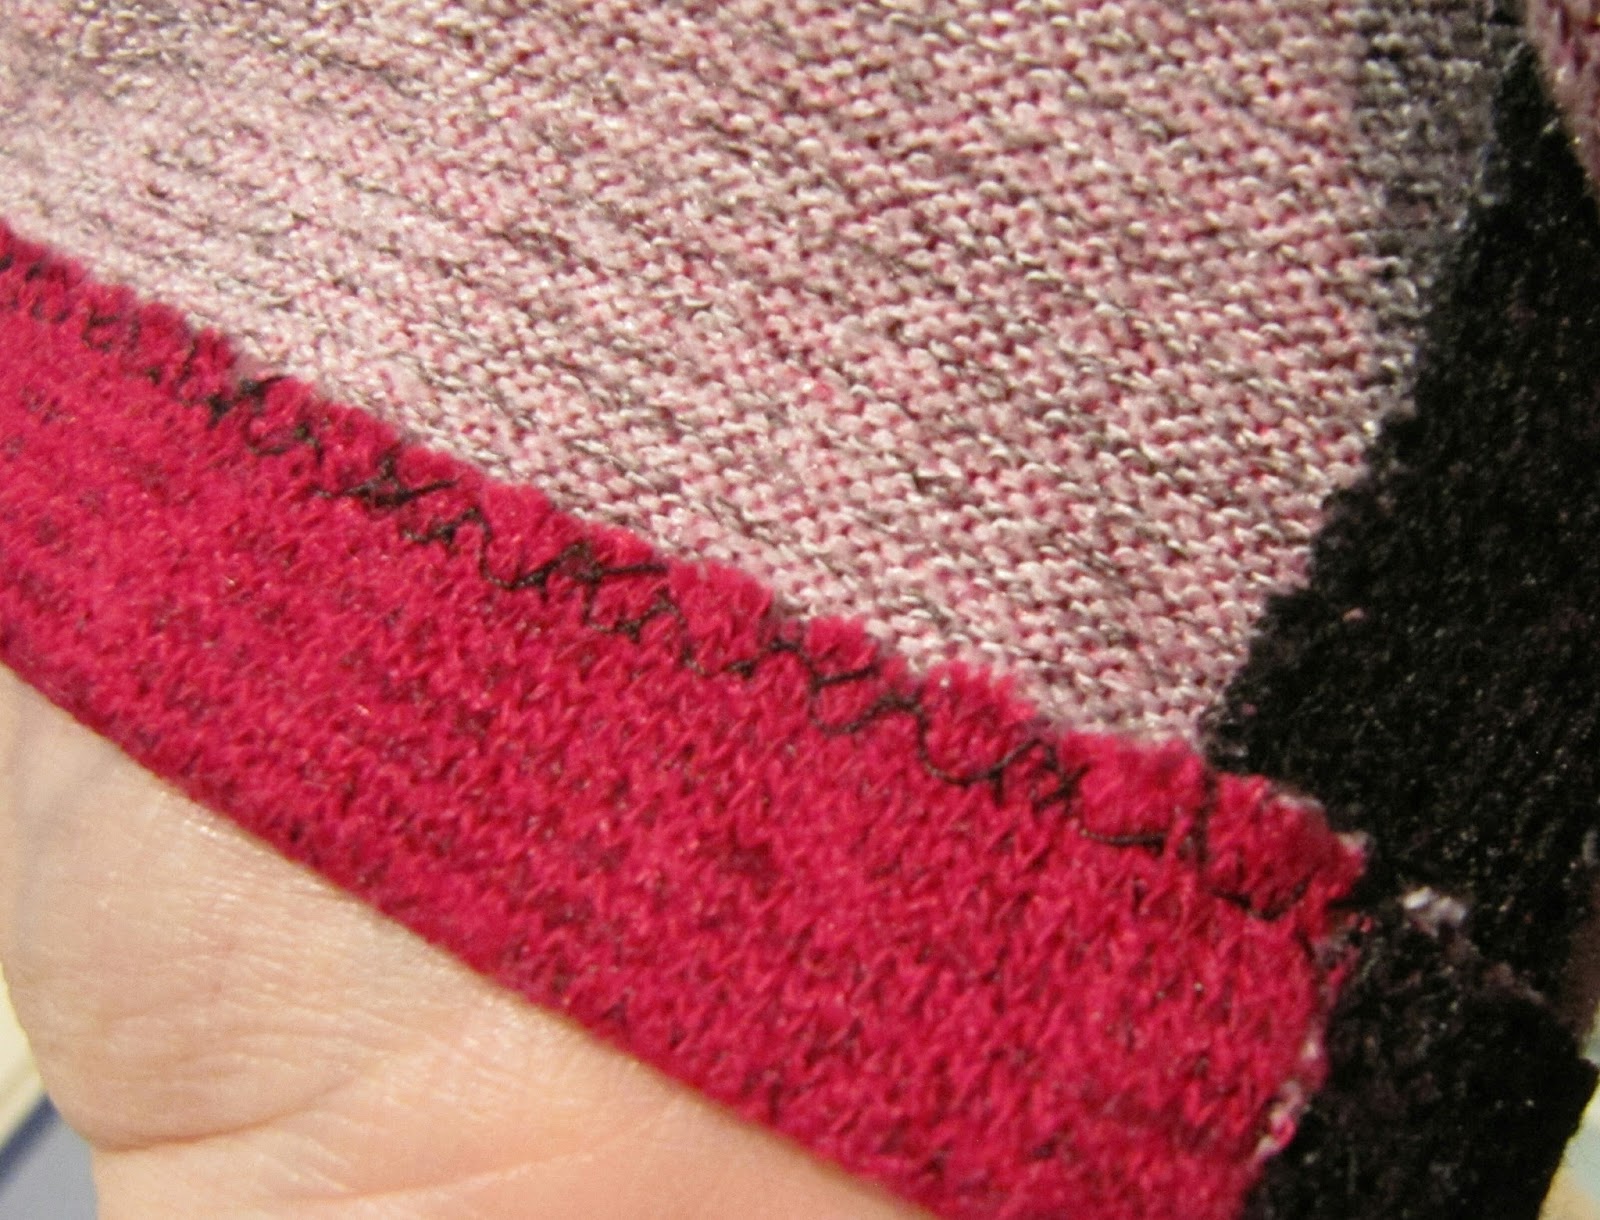
3.BASTE, BASTE, BASTE! This is always a good idea anyway, but even with TNT patterns, it’s just smart to baste your seams first with sweater knits. Because sweater knits tend to be lofty, the stitches have this great way of just sinking in and disappearing, which is fantastic, but it also makes it so that the stitches are nearly impossible to see to rip out. Luckily I didn’t have any mistakes this time around and I only know how hard the stitches are to rip out because after the dress was assembled, I thought maybe I would add a pocket. After about half an hour and only having about an inch ripped out, I decided it was way too much work and just resewed that bit shut again. But I definitely basted almost all of my seams first, especially that waist seam, since I wanted the vertical seams to match up perfectly. Below is a photo of how the seams just disappear. That is actually a seam right down the middle of the photo.
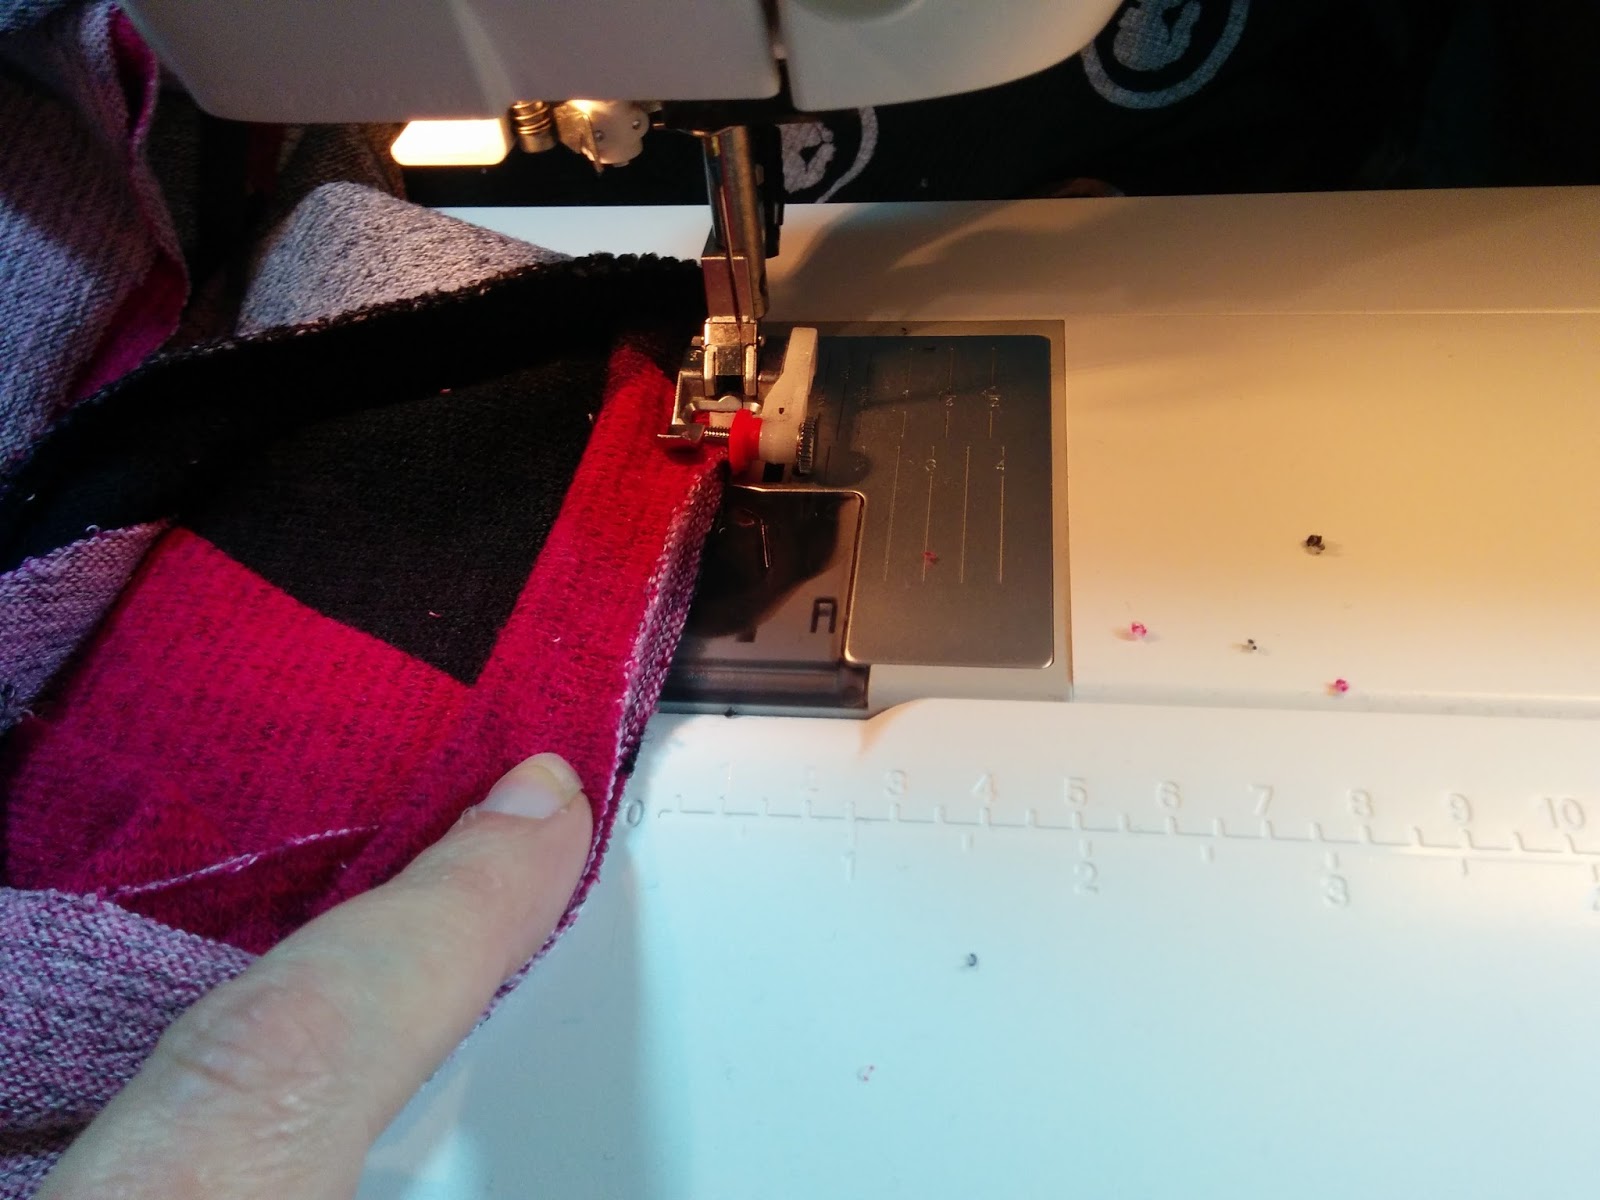
I tend to be a fairly lazy sewist most of the time since I’m just making clothes for myself, but seeing how great this dress turned out actually made me take the extra time to hand sew an invisible hem. I overlocked the raw edge, pressed it up 5/8” and catch stitched it. The fabric is nice and lofty, so I was able to catch a few threads of the body without anything even showing on the right side.
Overall, this fabric was a dream to work with. It pressed really well, the seams absolutely disappear into it and it’s just gorgeous. I got to use a technique I’ve been wanting to use for a while and it made an amazing dress that I’m incredibly proud of and have been showing off to everyone who’ll pay attention to me.
All of the projects are up on the Fabric Mart blog and I definitely have some stiff competition. So go check out all the entries and vote for the project you liked the best.
This post has been a long time coming. I mentioned a few times in the past that I wanted to put together a rhythm dress. Well, I put one together and wore it to my last dance competition.
This project all started with a dress made from a gorgeous purple slinky knit that I found in a thrift shop in Laguna Beach for $5.
Then I cut the bottom of the dress off asymmetrically.
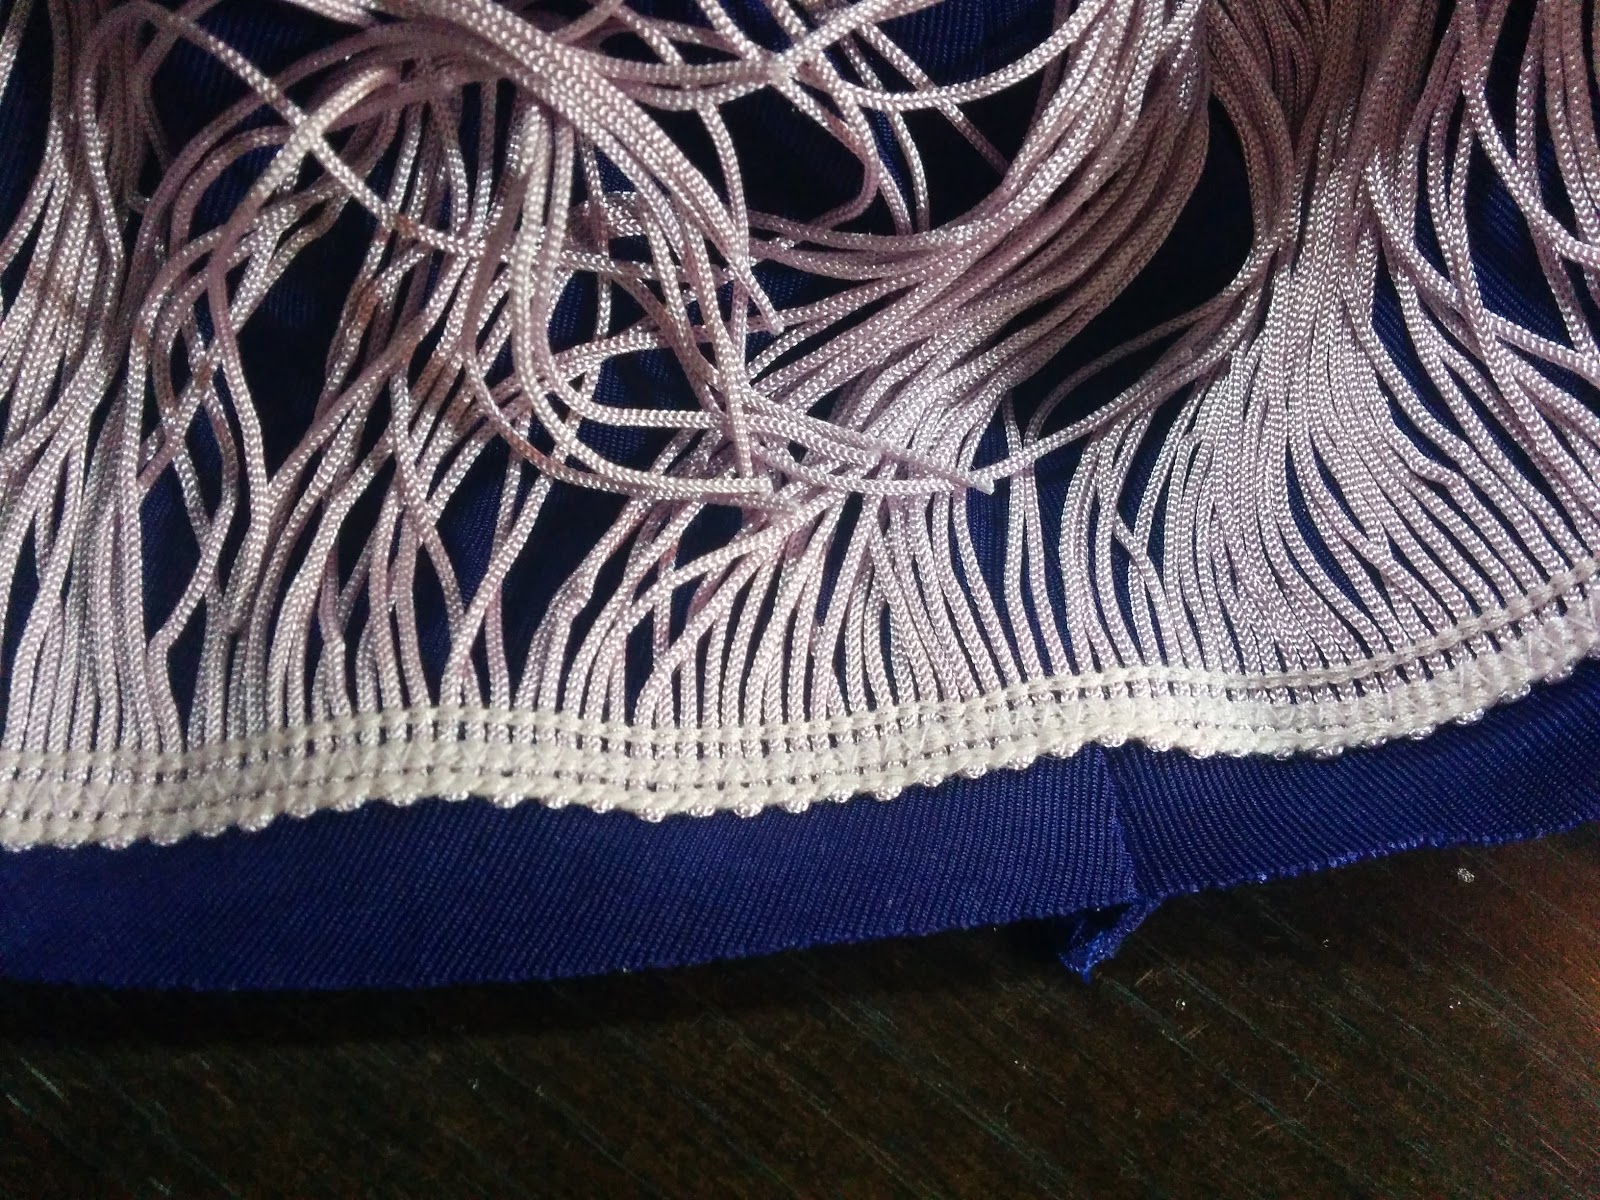
I purchased some 6″ lilac chainette fringe. I sewed a row on upside down about 1/2″ from the cut edge along the bottom edge of the dress with a zigzag stitch, right sides together.
I turned the edge under under to create the hem and then sewed a second row of the fringe just above the hemline, but close enough that I caught the turned up edge of the dress hold it in place.
So I ended up with two rows of fringe along the bottom of the dress, so it looks nice and full.
The fringe doesn’t stretch, so I was a bit concerned that the stitching might end up popping, but that part of the dress doesn’t end up getting stretched out and since it’s applied on an angle, there hasn’t been a problem yet.
For this to be a “proper” dance dress, it needs to have a built-in leotard. In comes Jalie Bella fit and flare dress pattern. The dress in this pattern is basically the same as the one I purchased — an armhole princess seamed fit and flare dress, but it has an optional leotard underneath.
I made what was basically a muslin of the leotard in a blue nylon/lycra activewear knit that I had in my stash. According to the pattern measurements, I needed to add 2″ to the length and that was the only alteration I did to the pattern. It fit perfectly, so I made it again in this swimwear knit that I purchased from Pacific Fabrics because it matched both the purple of the dress body and the lilac of the fringe. I used the blue muslin leotard as a lining to this leotard.
After trying them on together to see how it looked, I decided that I would like to open up the neckline more and make the purple dress sit off my shoulders and show off a little skin and a little more of the leotard fabric.
I also have discovered that, even though these dresses have a lot of stretch in them, I don’t want to pull them up over my head because I’ll end up messing up my hair and makeup that I sat and had done so beautifully by the wonderful professionals at these events. I designed my green Modern Nature smooth dance dress to pull on like a swimsuit, but the neckline ended up getting pretty stretched out after I decorated it with the rhinestones and pull it on that way a dozen or so times. So I’ve decided that I need to add zippers to my ballroom dresses from now on. So, I ripped open the back seam of the dress and added an invisible zipper. The dress and the leotard are joined at the zipper and I also sewed them together along the front where the purple dress comes straight across the front of the leotard.
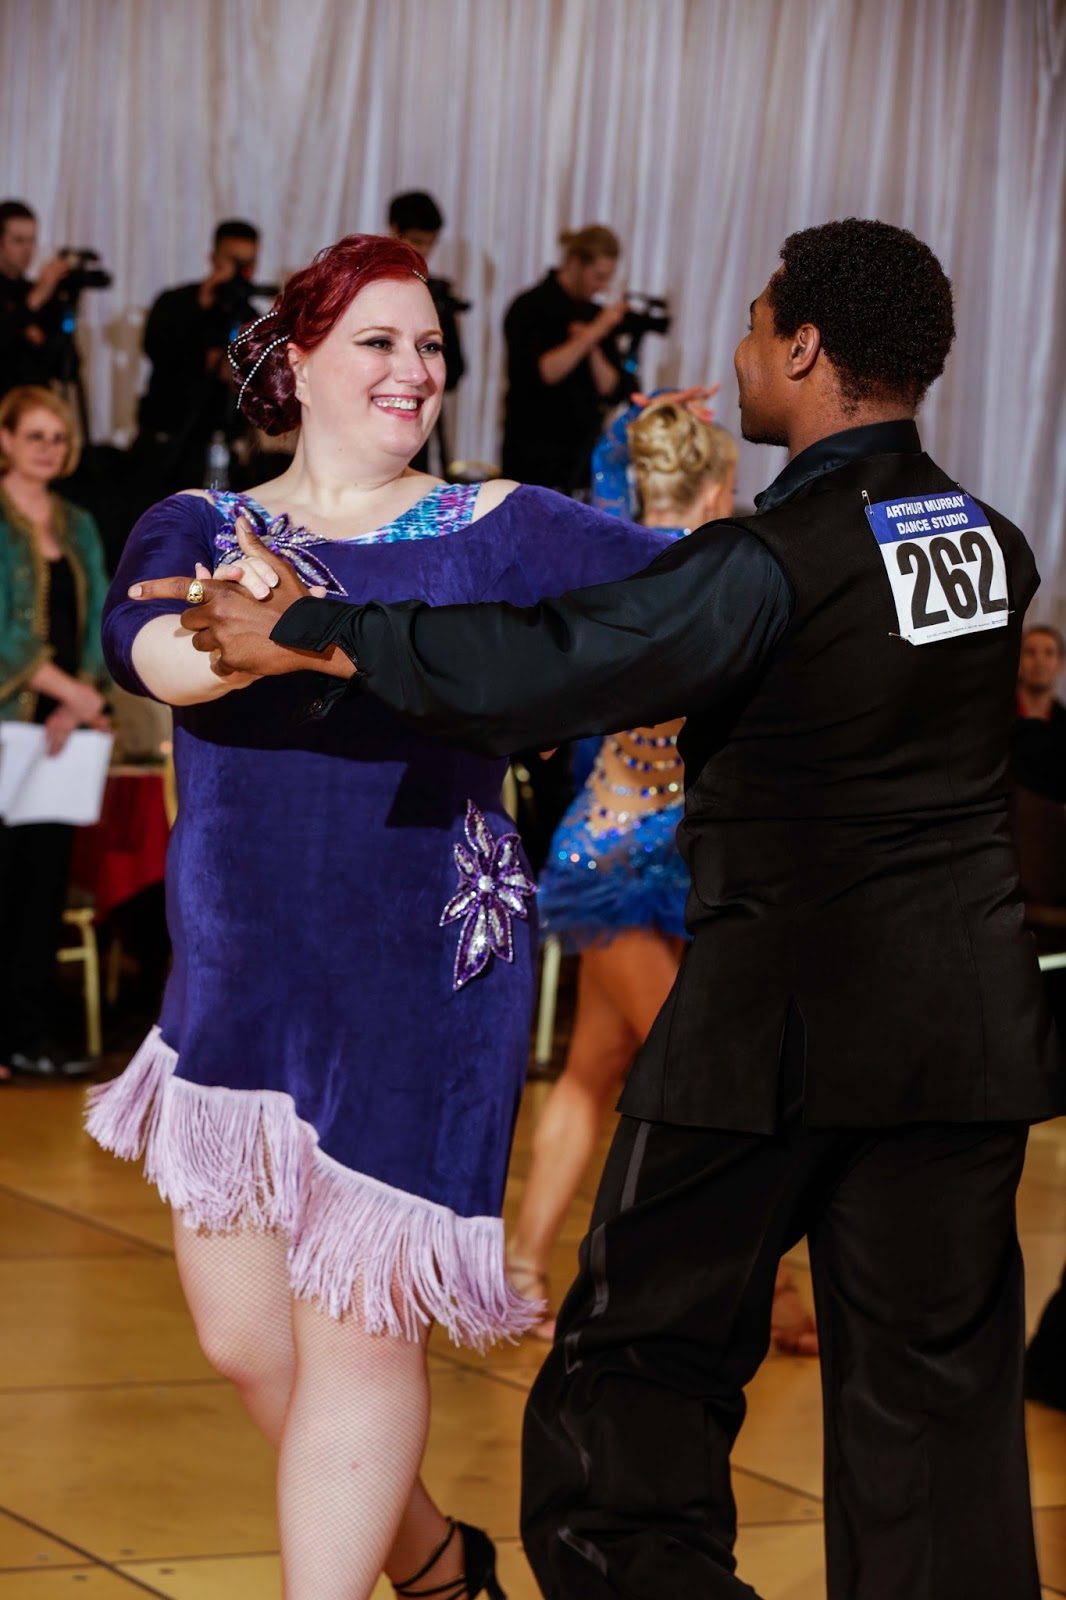
Here’s a photo of me and my instructor Yaunique at the Portland DanceORama.
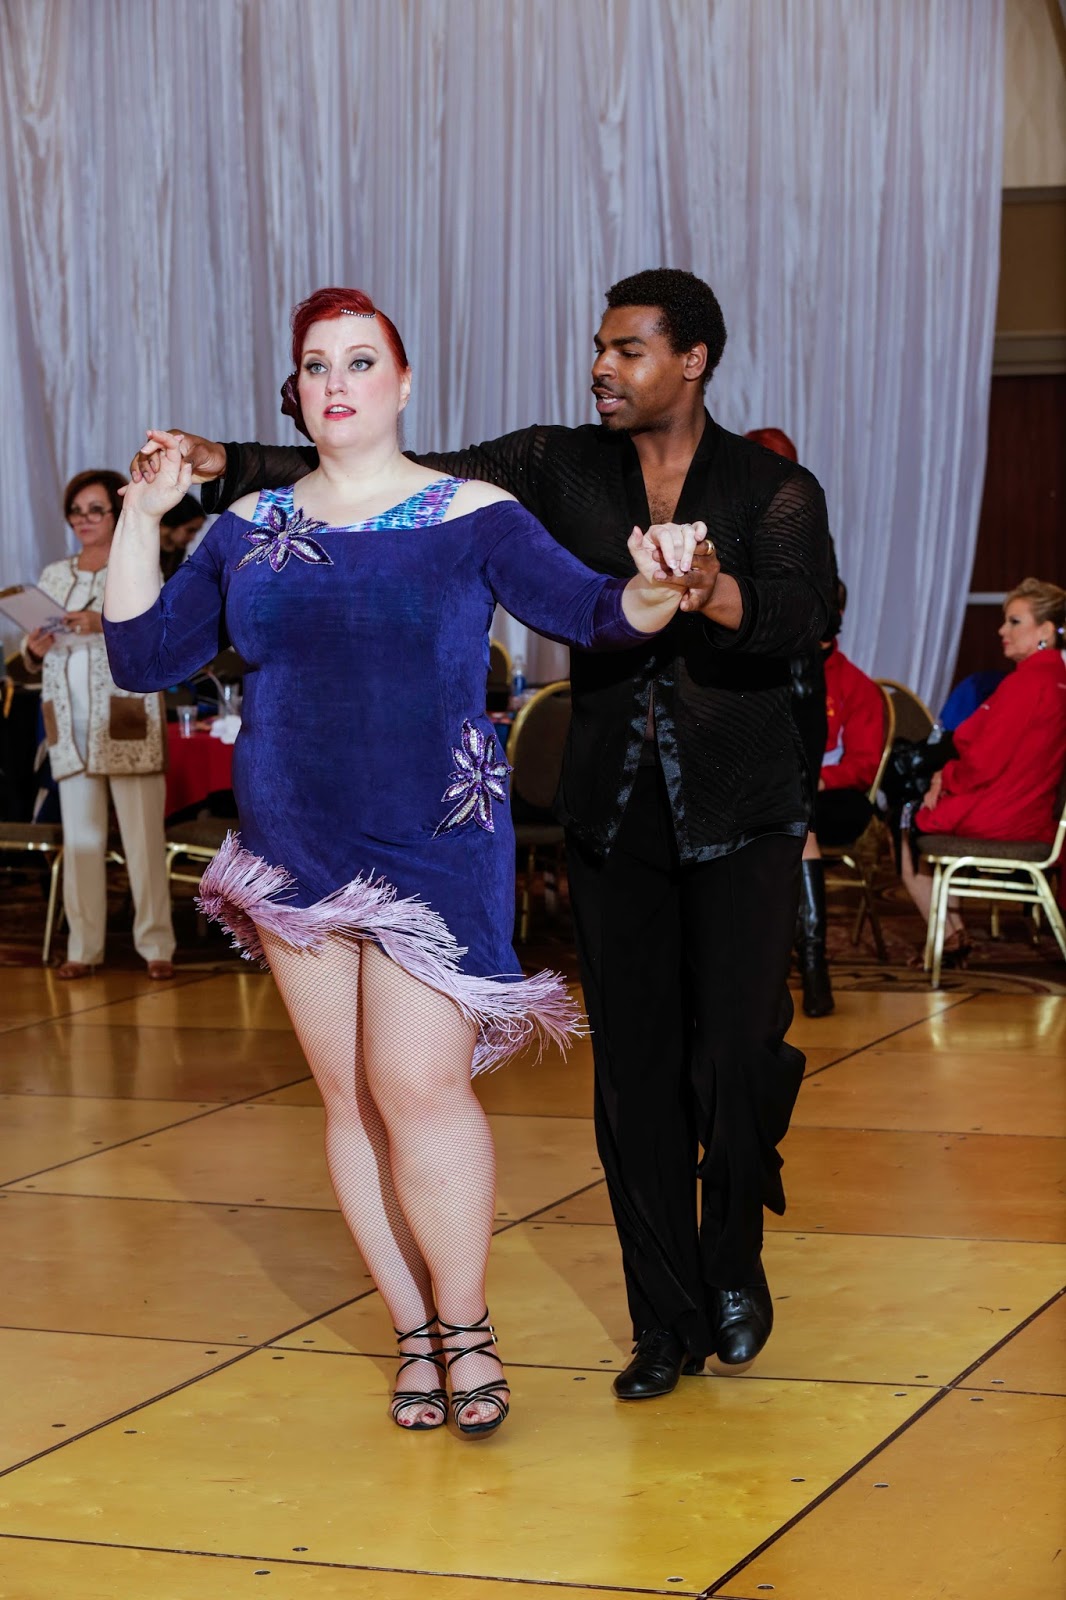
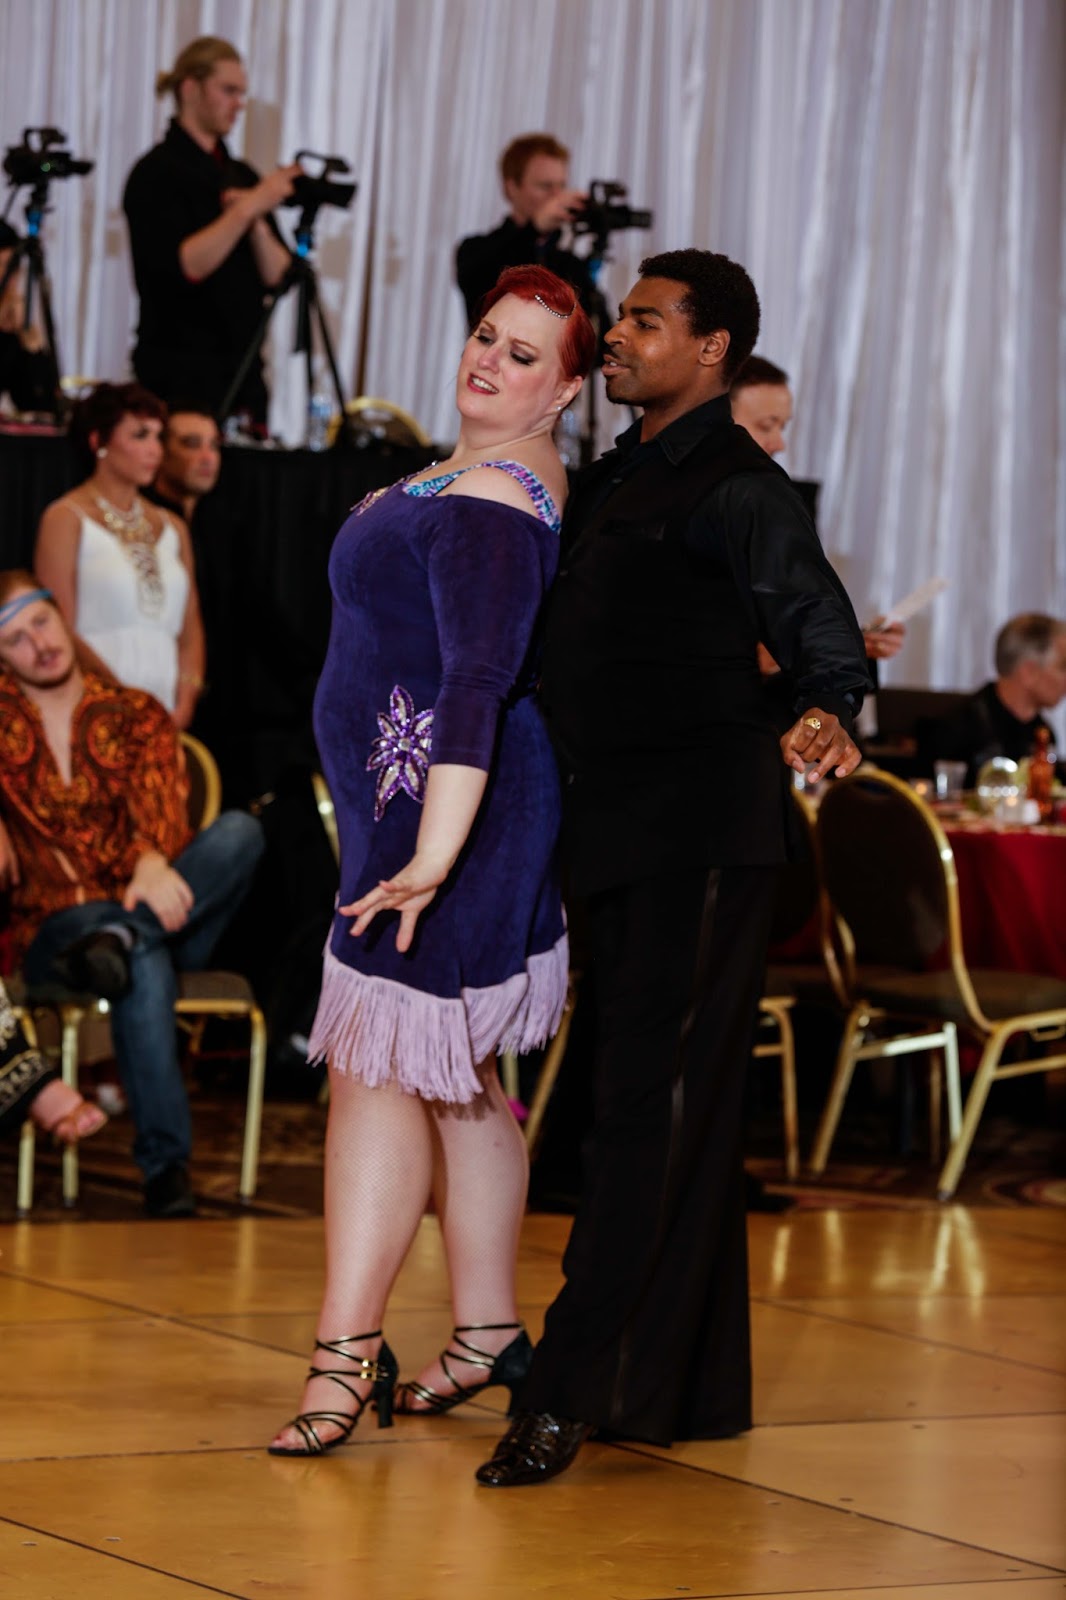
And here are a few action shots that the professional photographers at Maude Productions took at the Portland DanceORama
I have purchased some rhinestones and plan on decorating my new rhythm dress soon. I really like the way it looks now and I’m a little afraid that adding the rhinestones will detract from the simple beauty of the dress. But I also really want a super sparkly dress to wear too!
Edit 6/21: I forgot to add a link to one of my dance videos so you could see the dress in action. I have a few videos in this dress that you can see on my YouTube channel, but the Bolero is the only rhythm dance we actually have choreography for and the other Bolero video is to a cover of the M.I.A song Paper Planes, which just felt strange to dance to, even though Yaunique did actually remember to do the dip in that one. 🙂
I’m not sure why I haven’t posted about this dress sooner. I cut it out MONTHS ago and it sat there in its gallon Ziploc on my sewing table until February when I sewed it up for The Monthly Stitch‘s UFO challenge. But I didn’t get the photos done in a timely manner and I missed February by a week and didn’t want my first post there to already be late.
So now here I am finally posting about this dress.
The fabric definitely screamed “70s!” at me. So I thought this pattern would be good, especially with the bell sleeves. I actually ended up chopping several inches off the length because when I tried it on before I hemmed it, I thought it would look the part better as a mini.
It came together pretty fast. I’m not sure why I took so long to sew it up. Probably because it called for bias tape for the sleeve gathers and that sounded like work. But it was super simple.
I have yet to wear this dress in public. I imagine I eventually will. I’ll probably pack it with me on our trip to Disneyland this next week with some shorts to wear under it, of course.
I have made many Kitschy Coo Lady Skaters and this is the latest. I cut this out several weeks ago and finally got around to sewing it up last Friday.
I love this pattern so much. To call it TNT would be a huge understatement. It’s my Go To dress, especially if I only have 2 yards of a fabric.
I had heard that making it in Ponte de Roma makes a very nice draping version and I’m quite pleased with how this one turned out. I have a couple more ponte fabrics that are destined to be new Lady Skaters.
After I made my first version, I shortened the bodice by an inch and made the shoulders a bit more narrow, but those are the only alterations I did to the pattern that I have used over and over. Oh, except adding pockets, of course. I use the pocket piece from my Colette Moneta to make in-seam pockets and place them 4 inches down from the top of the skirt piece.
This dress is a fast make and I can practically do it with my eyes closed by now. But I love how the fit and flare style looks on my body, so I’m always happy to have another to add to my wardrobe.
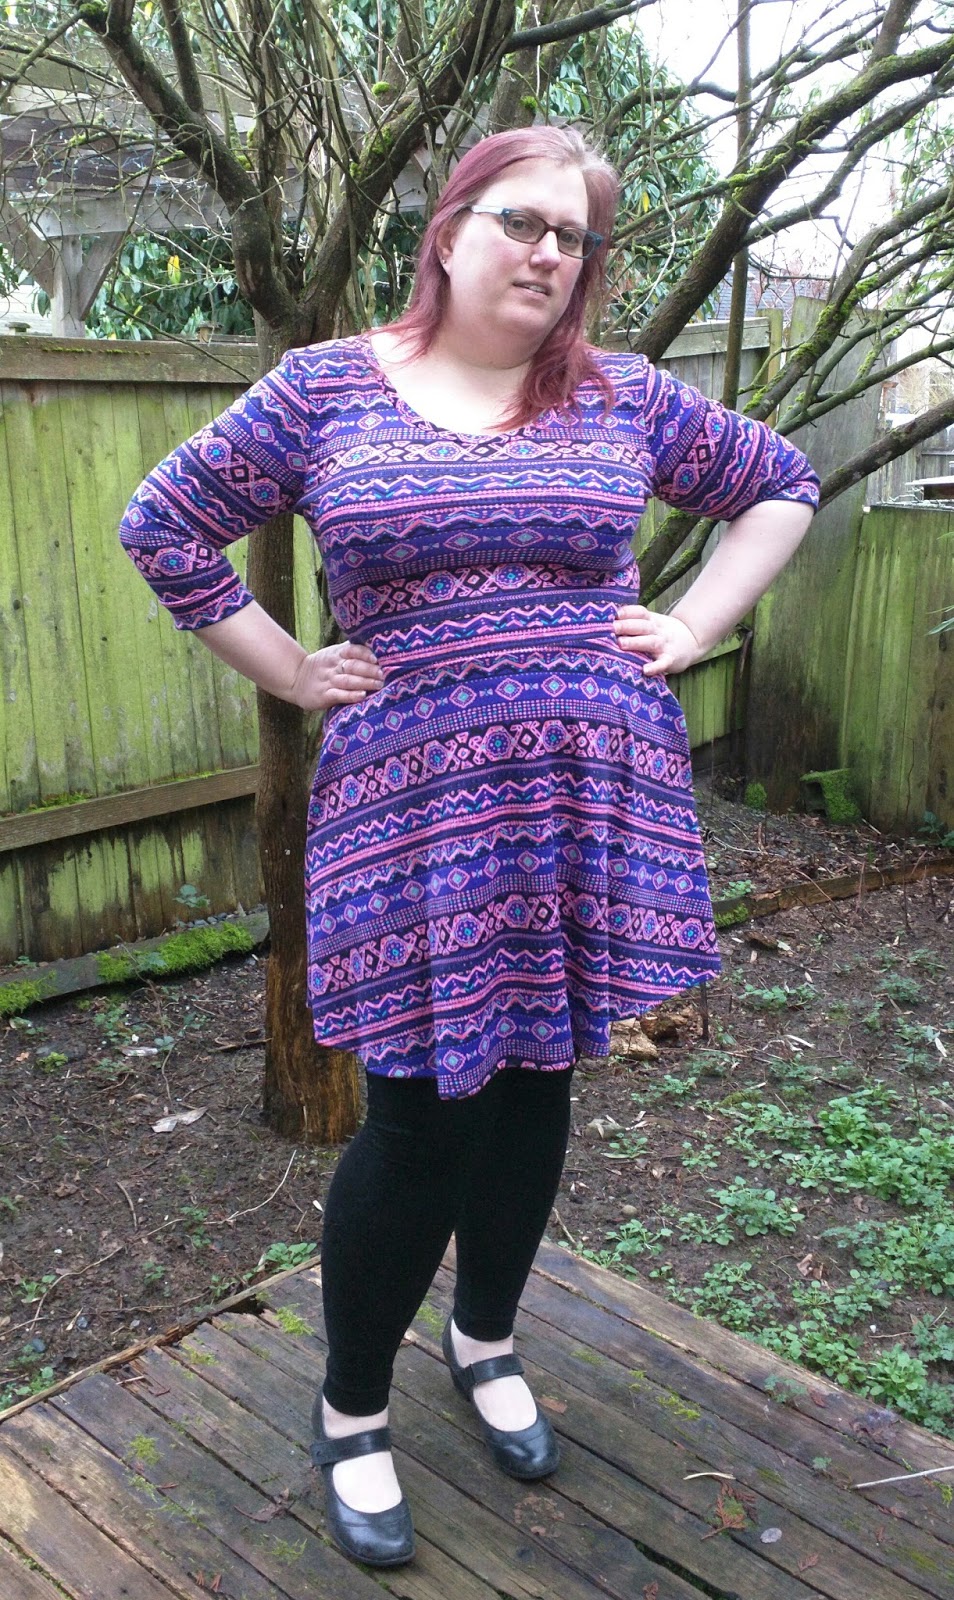
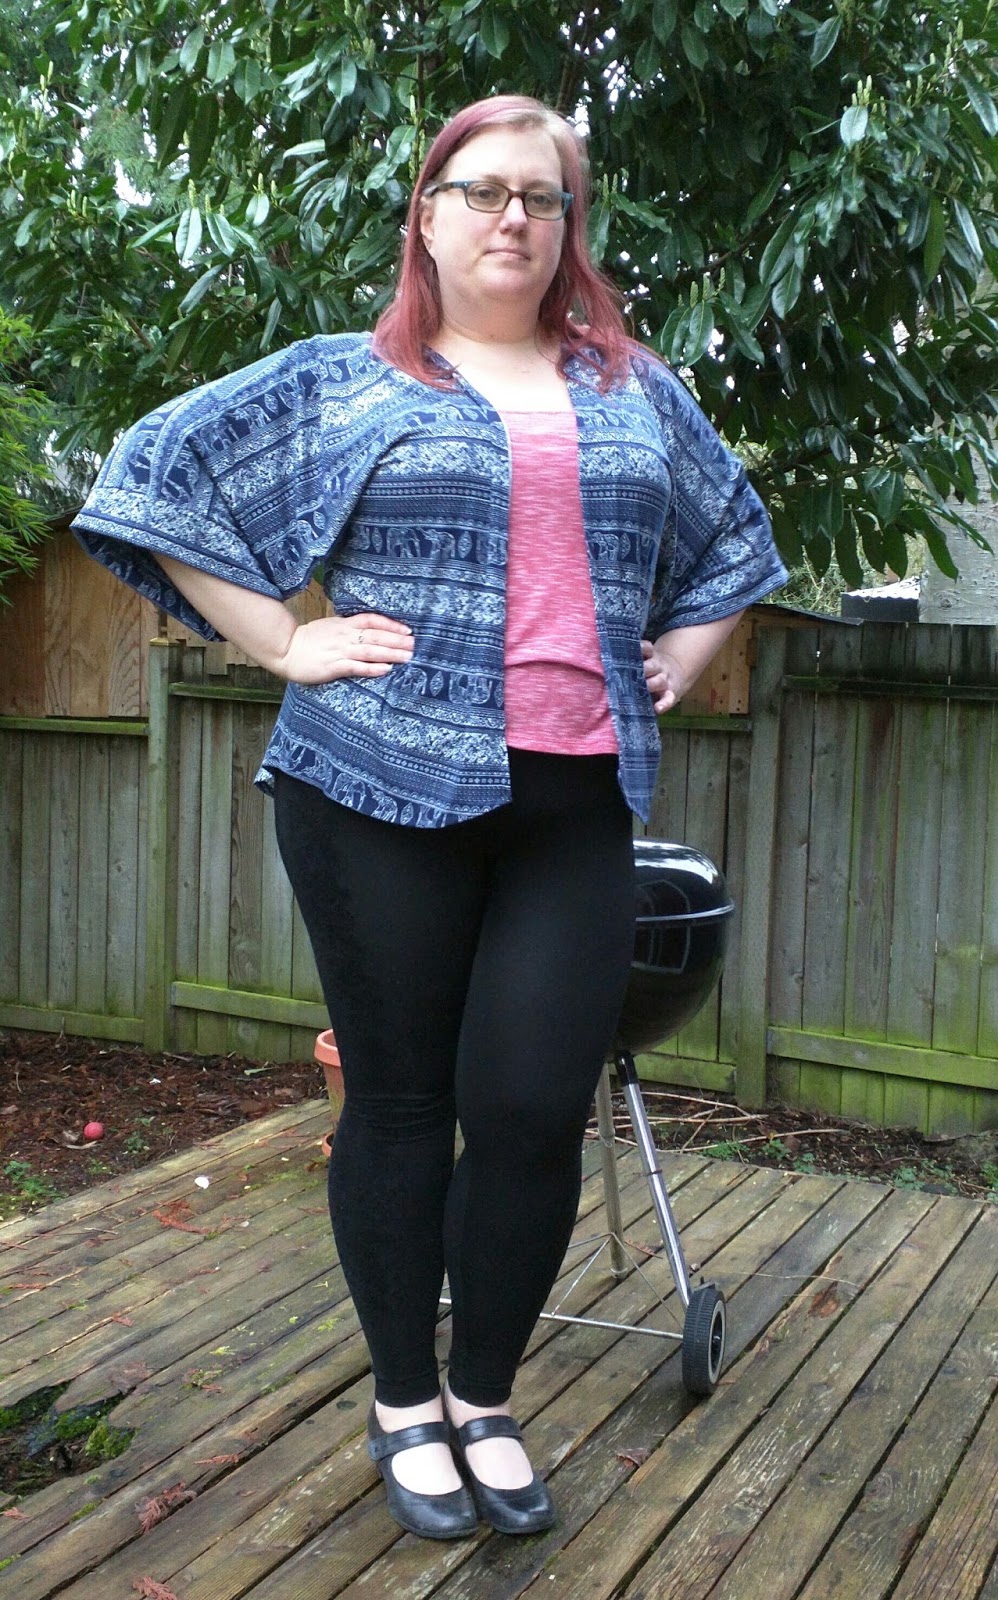
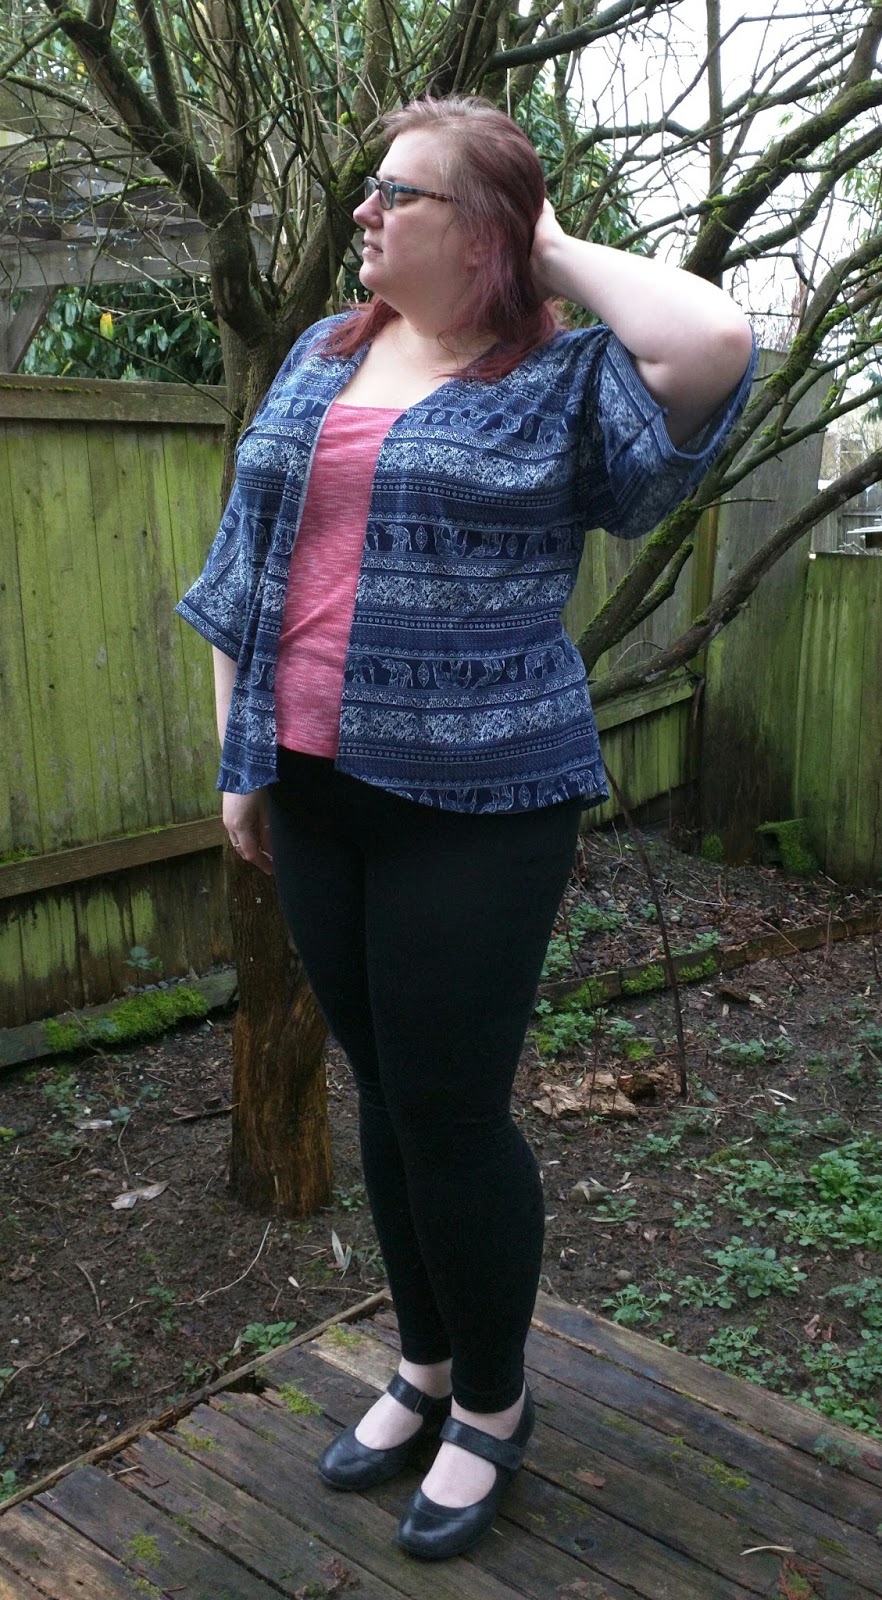
Last Summer I bought a bunch of Patterns For Pirates patterns including the (at that time) brand new Summer Kimono. Fast forward 8 months later and I’ve finally made my first wearable item from that group of patterns.
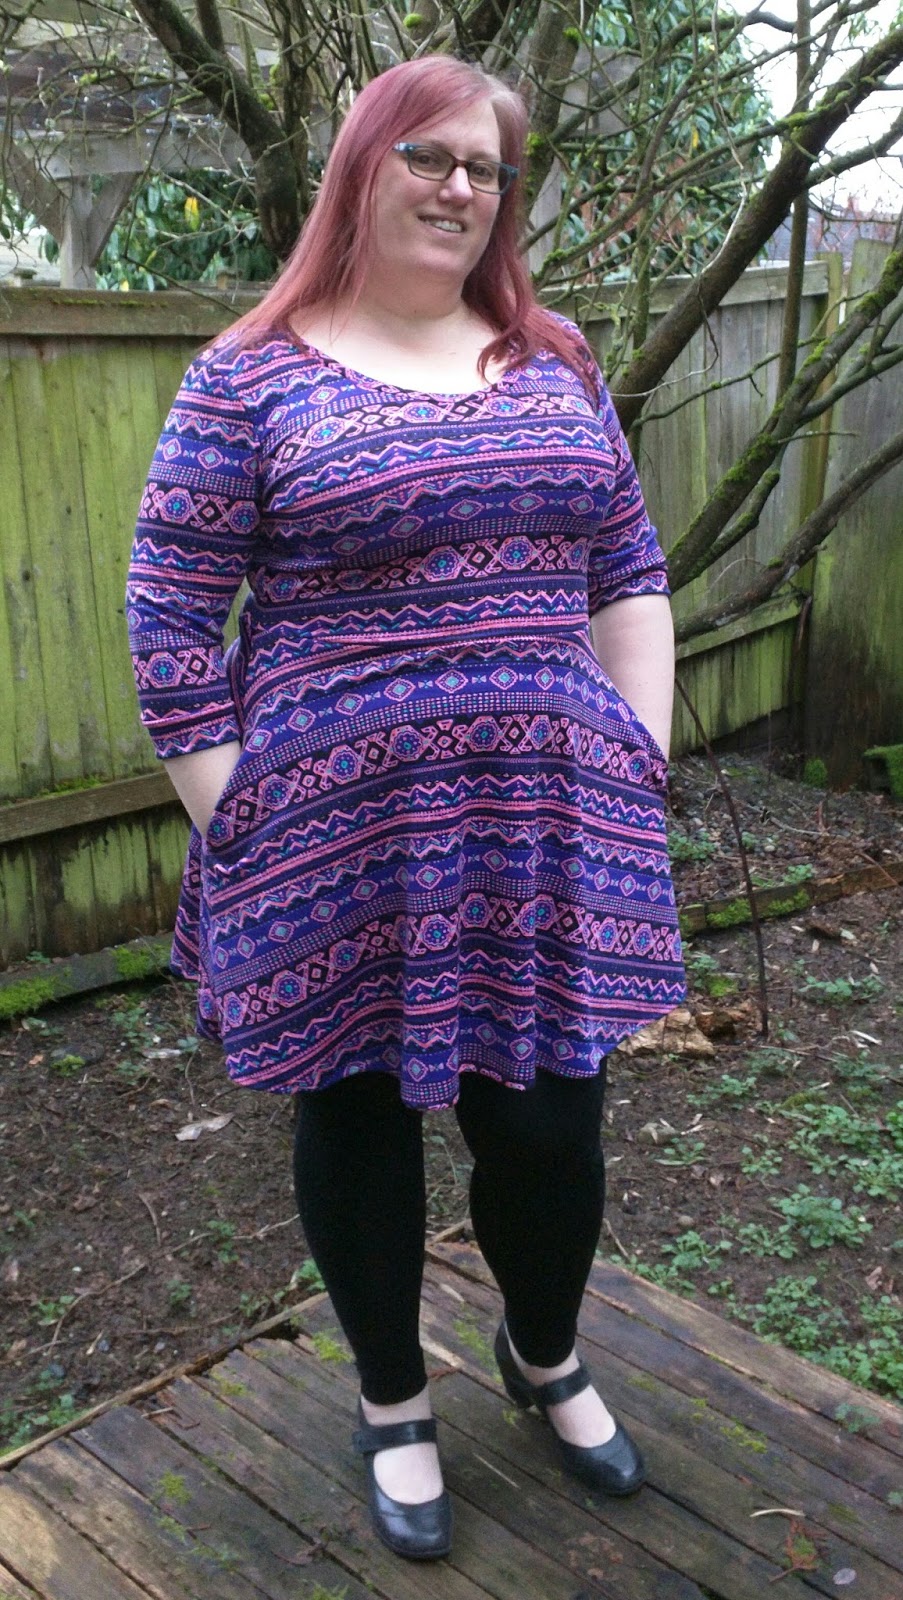
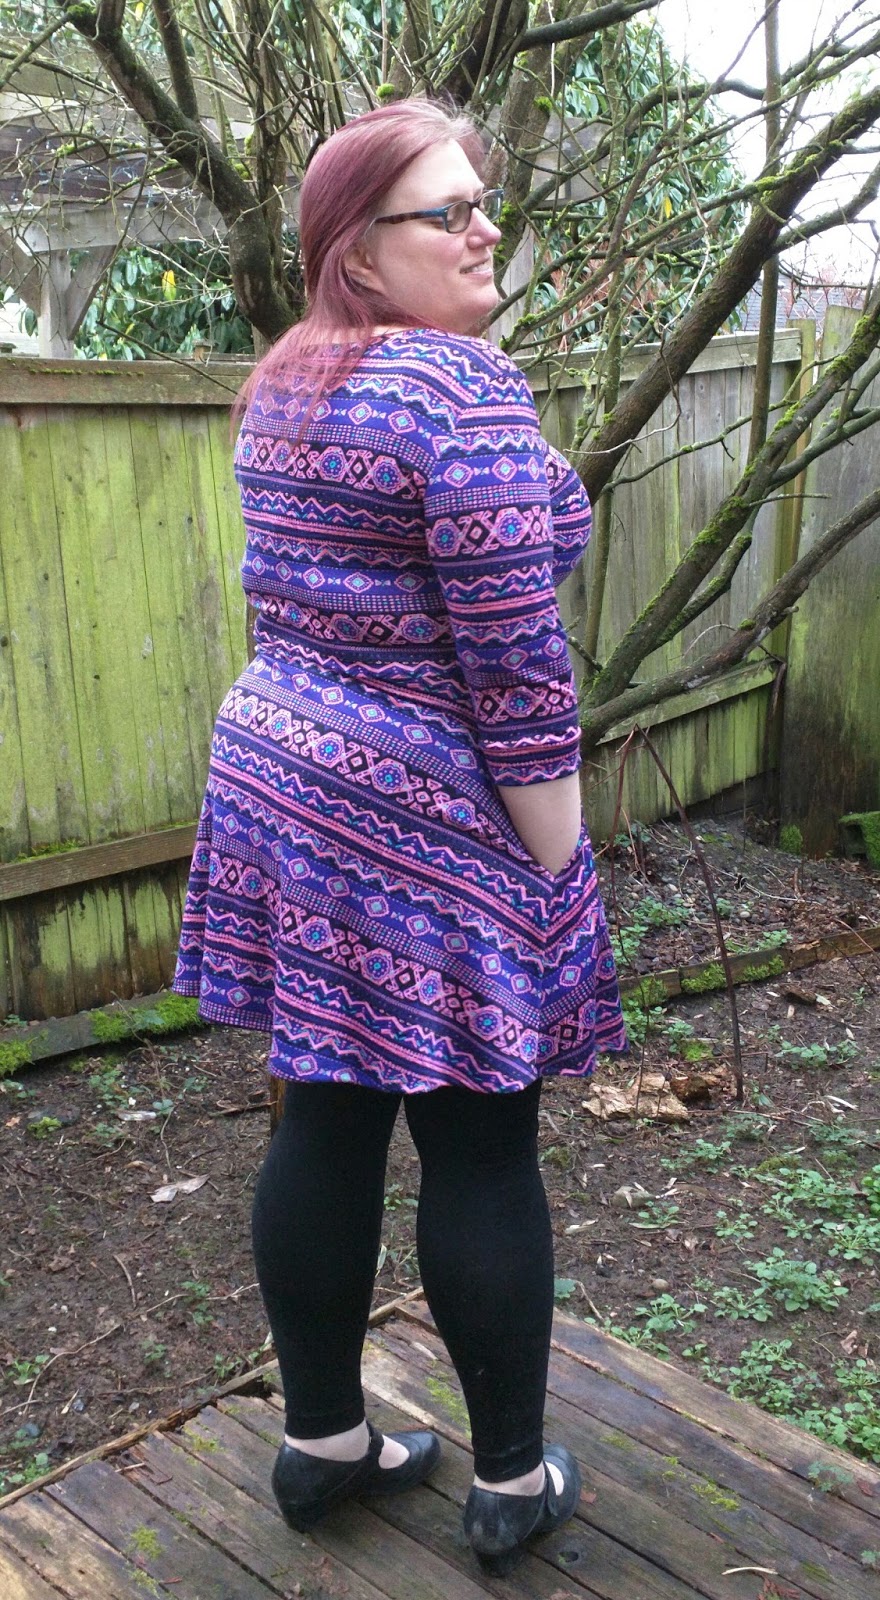
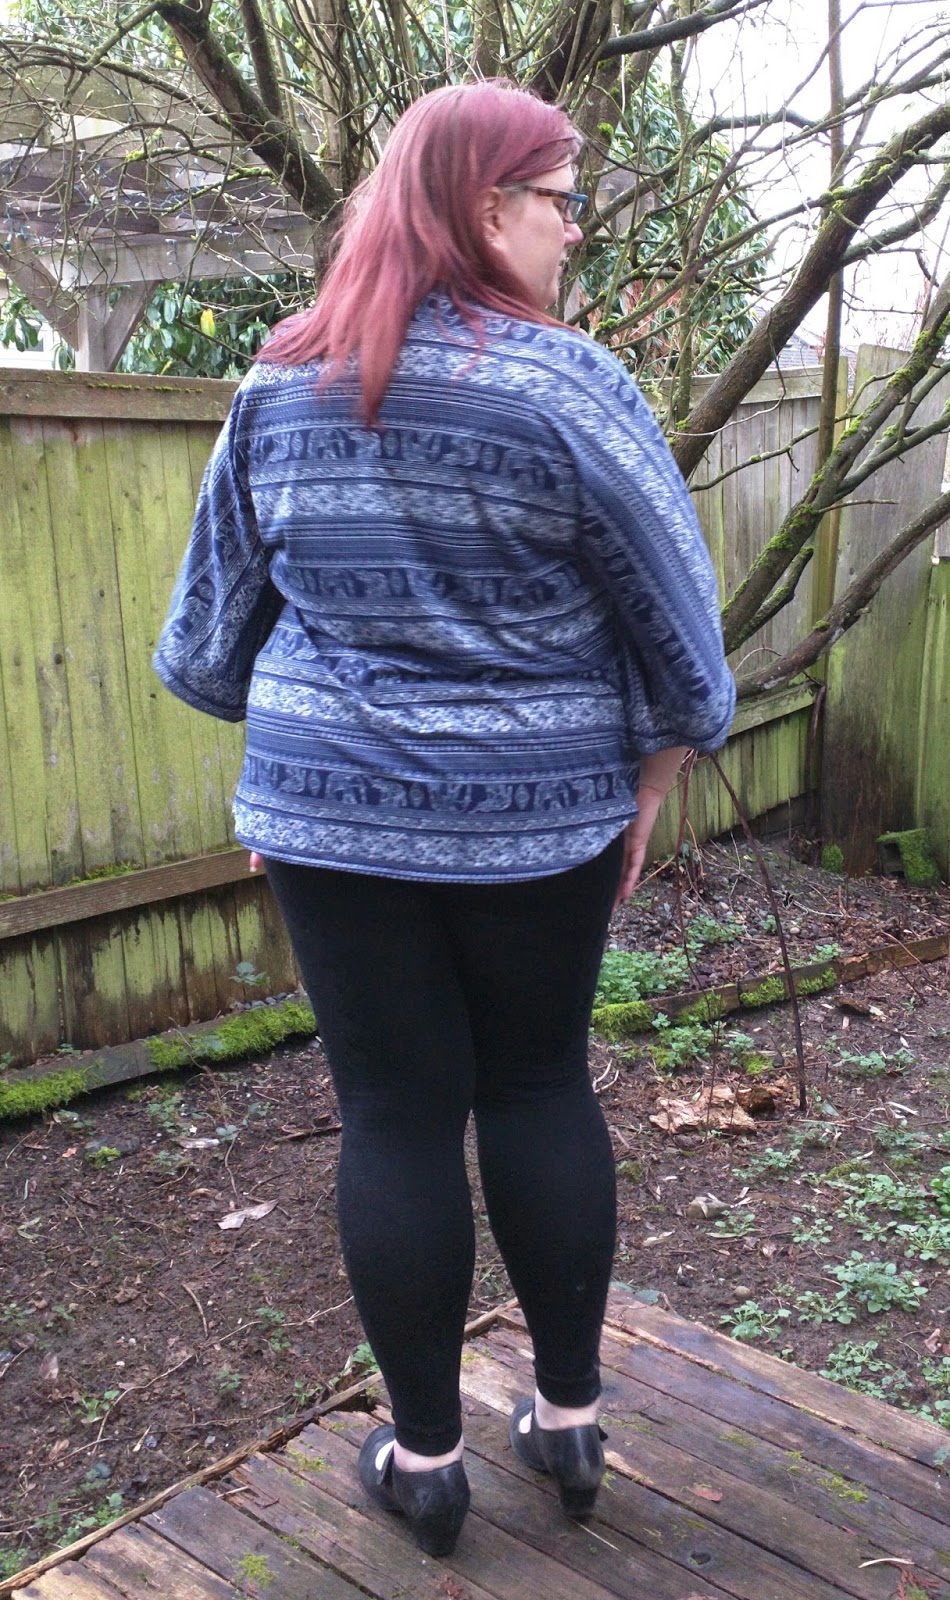
I made the straight hem length, but I copied the curve of the curved hem version to the longer length. I’m so glad I did, because that shorter length wouldn’t have been good on me, I don’t think. And I really love how flattering the curved hem is. I’m thinking the next one I make might be even a little longer.
The pattern was simple to make and it’s just so lovely. I foresee a few more of these in my future.
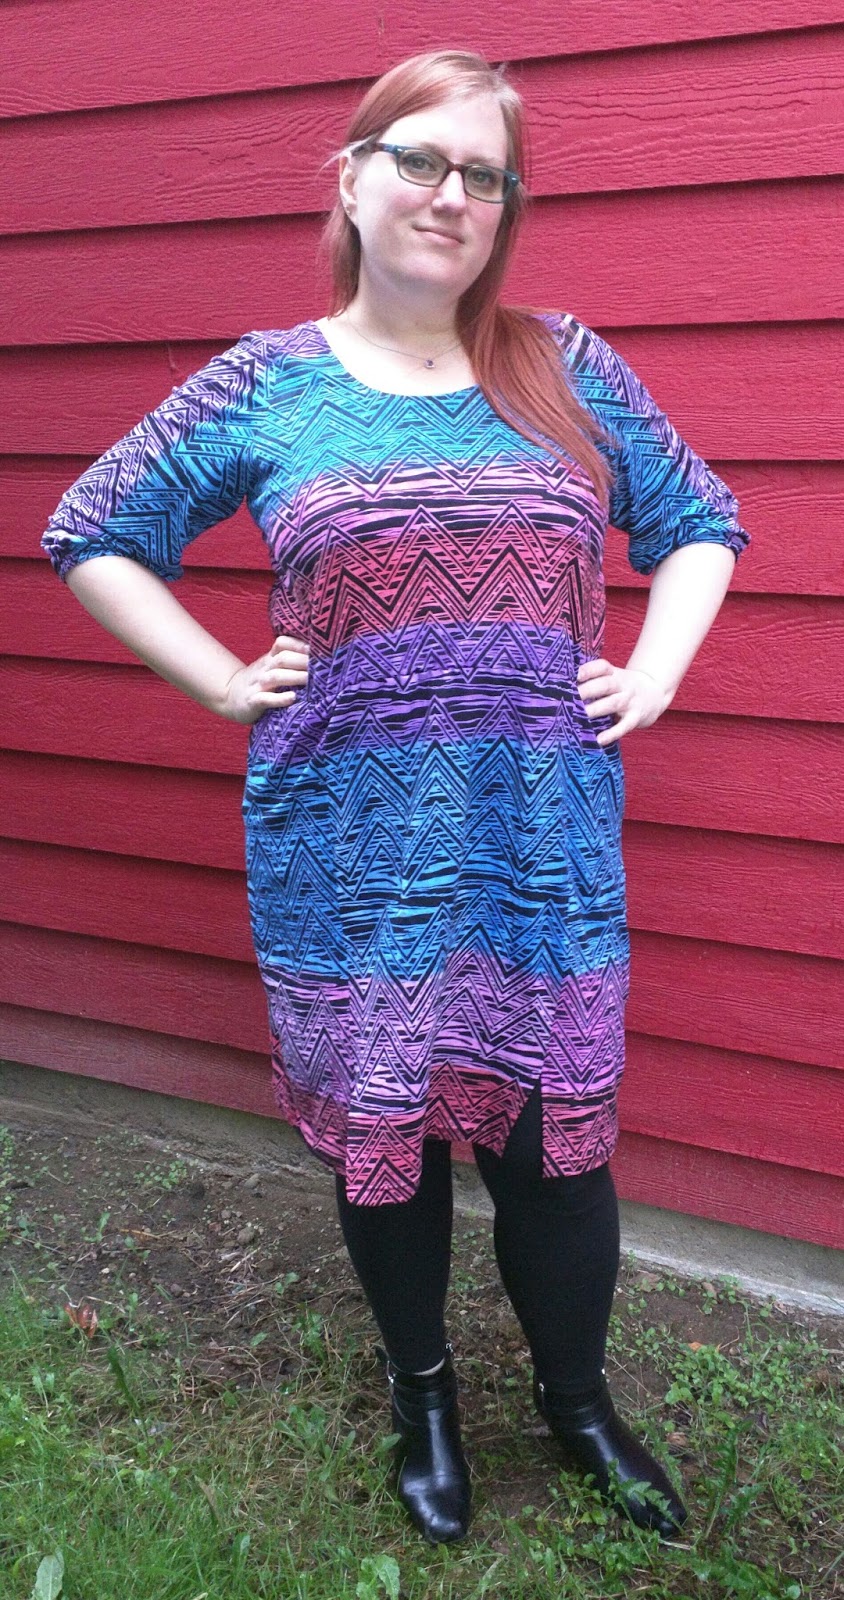
The fabric was from my January Knitfix from Girl Charlee. It was listed as Blue Elephant Ethnic Rows Jersey Rayon Spandex Knit. It has a beautiful drape and I love the color.
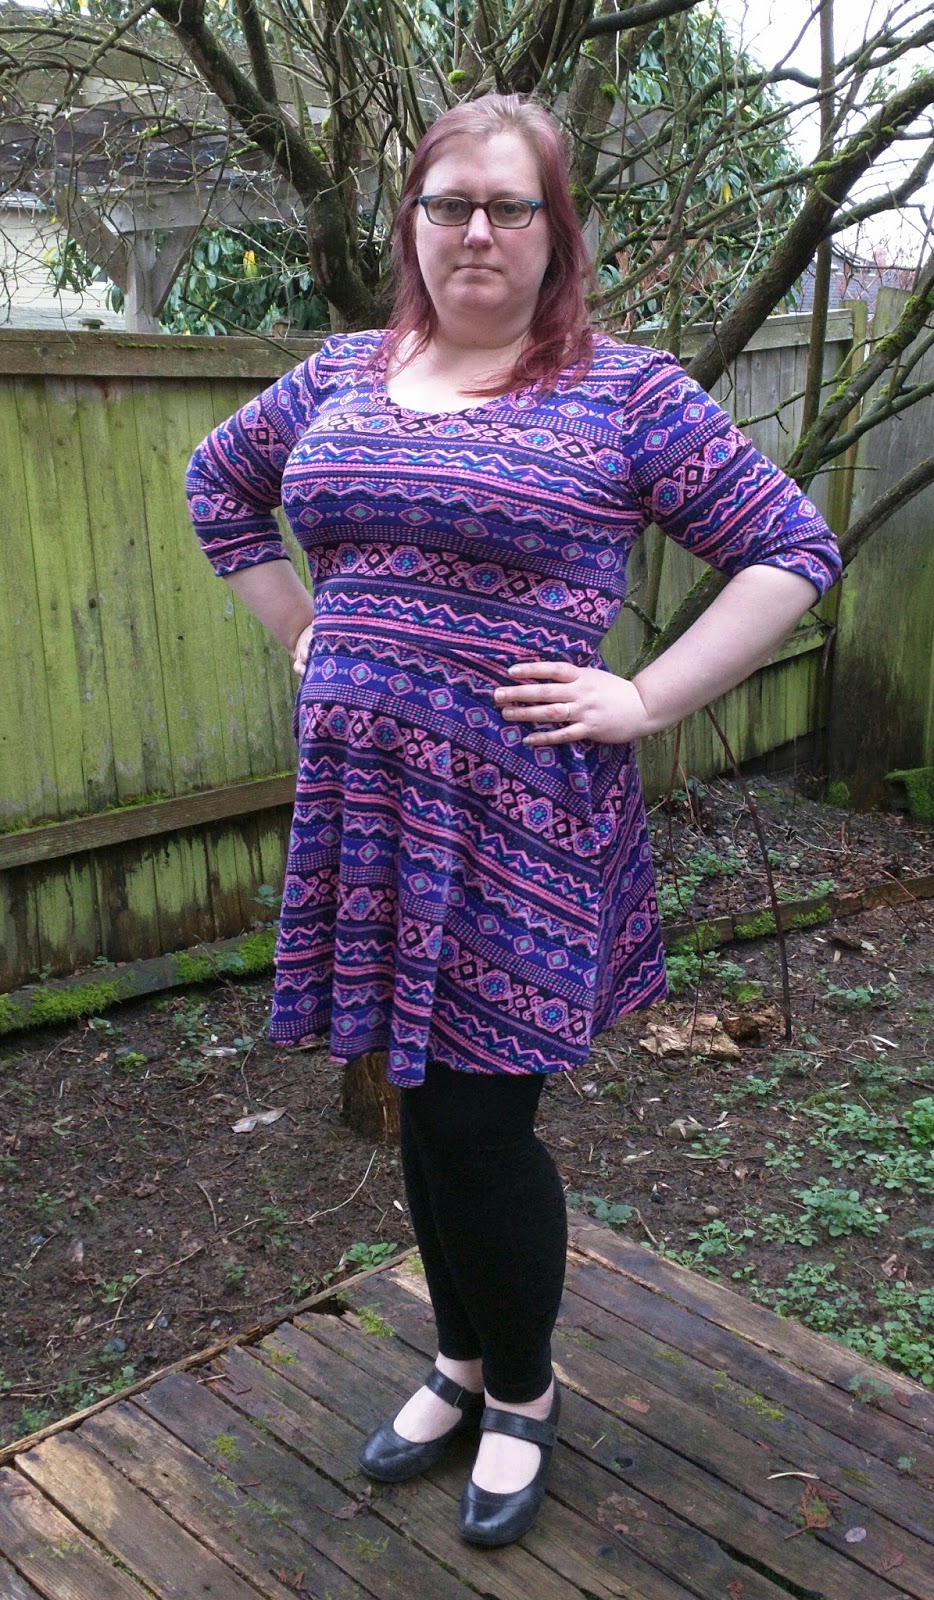
I made a straight 52 exactly as the pattern is drafted. After I made it up, the back bodice was pooling around my badonkadonk, so I shortened the middle of the back bodice about an inch and graded out to nothing at the side seams.
It’s hard to see, but this is where the waist piece sits when I pull the back down to where it is supposed to be.
Here is where it goes after I’ve moved around and the waist piece goes where it naturally wants to.
I’ll shorten the entire bodice a bit on the next version and lengthen the skirt to make up the difference.
I also took the side seams in quite a bit. I marked all these adjustments on the pattern so the next one I make should fit better right from the start.
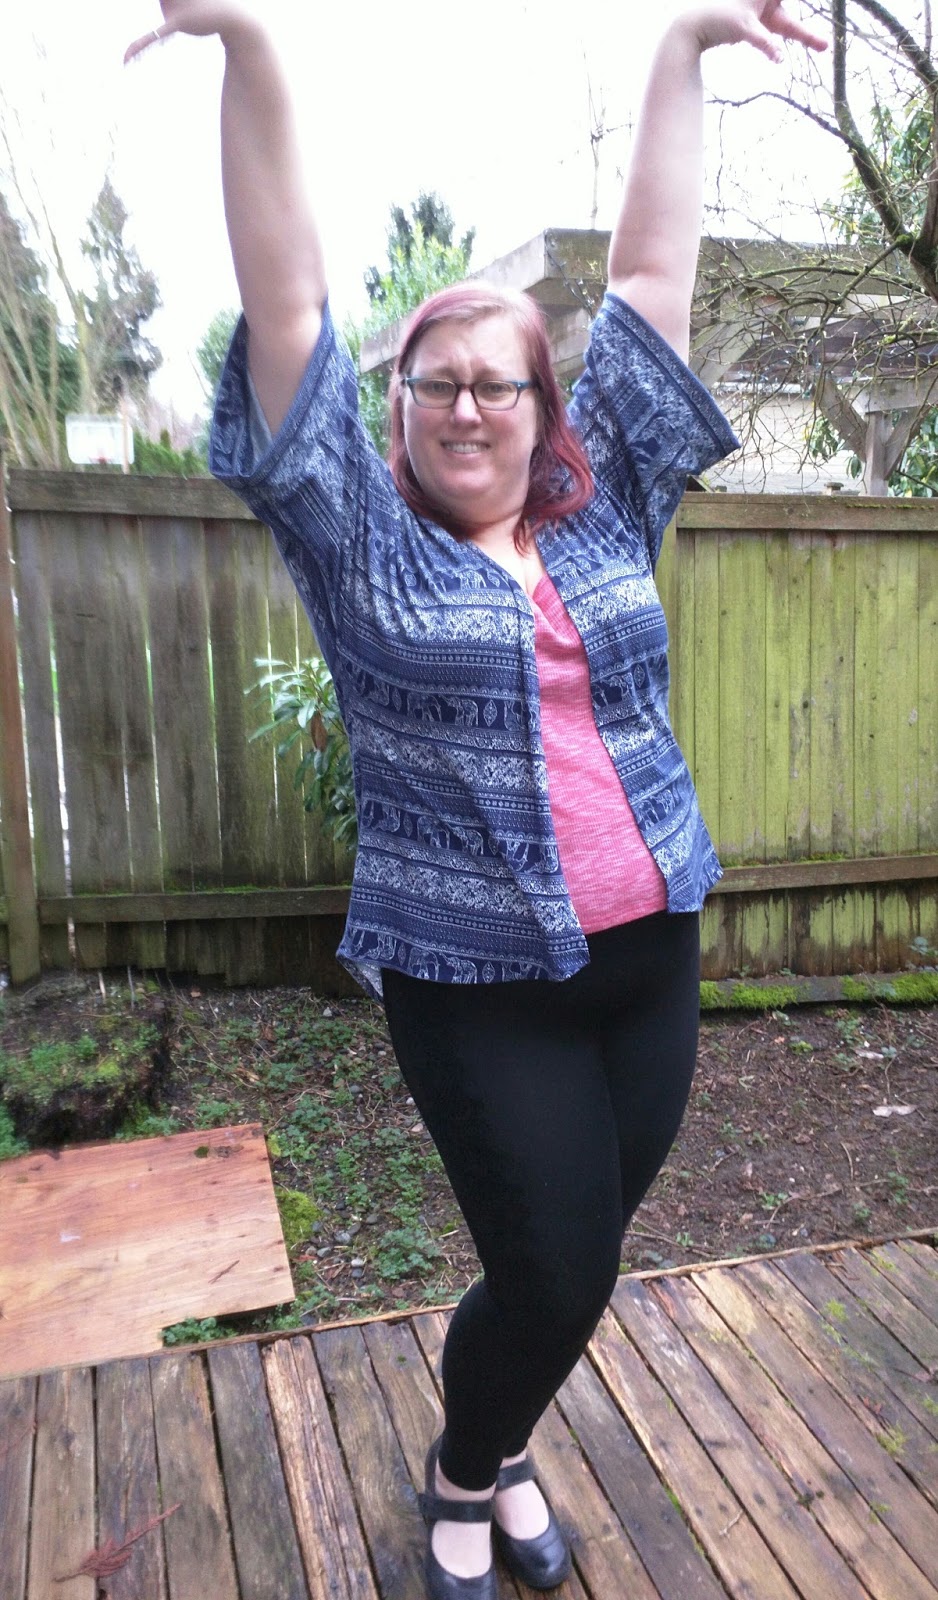
For some crazy reason, I decided to play with my decorative stitches on my machine for the sleeve and skirt hems.
It is subtle but I think it adds a very awesome touch. I will likely be doing this for other dresses in the future.
I’ve been wearing it to run around and do errands and tool around the house. When I first made it, I thought it was too short for me to feel comfortable wearing, “for real,” but I really like it and I already know what fabric I’m using for the next one.


Recent Comments