I made a dress!! Is anyone really surprised? But this isn’t just any dress, it’s a gorgeous carefully pieced work of art (if I do say so myself.) It is absolutely my favorite thing I’ve ever made so far.
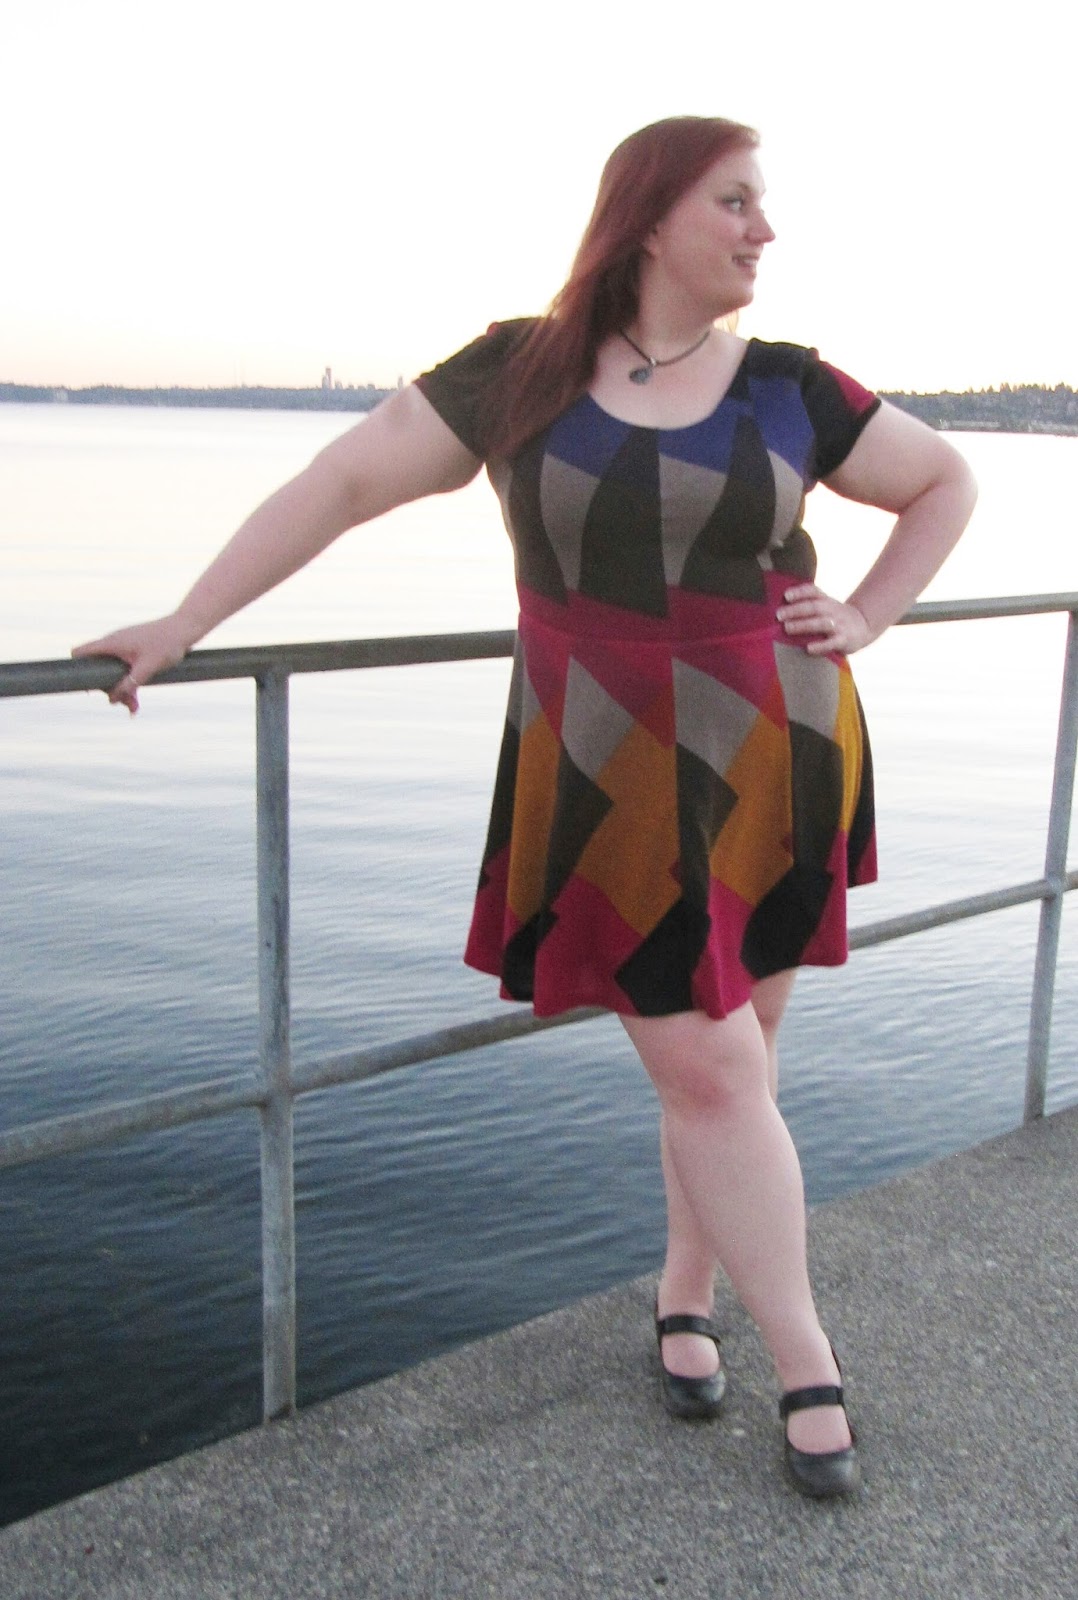
When the fabric arrived, I was very pleased with the quality and the colors are just so pretty and perfect for fall. But the more I contemplated and sketched ideas, I kept finding my sketches pulling in the colors, but since I was usually away from the fabric when I was sketching, I just kept forgetting that the scale of the pattern was very large, as you can see in this photo of it draped over my dress form.
Although I liked what I sketched (badly,) they didn’t accurately reflect what the garment would look like in the actual fabric. I just couldn’t wrap my head around how to use it in a way that I’d be able to either pattern match across seams or make it very apparent that I didn’t intend to pattern match (by rotating the fabric, for example.) I also didn’t like the idea of the mustard or the hot pink colors being close to my face. I don’t find those colors very flattering on me, so I was hoping to be able to place them far from where they can clash with my skin tone.
So, I sat and looked at the fabric laying out on my cutting table, sketchbook in hand and I remembered a technique I had seen not too long ago in a sewing magazine that I had been wanting to try. Unfortunately, I can’t remember which magazine and even leafed through a few to see if I could find the article I was thinking about, with no luck. But the technique was to take a fabric with a large pattern repeat and cut out a particular portion of the repeat several times and sew them back together to make a new design.
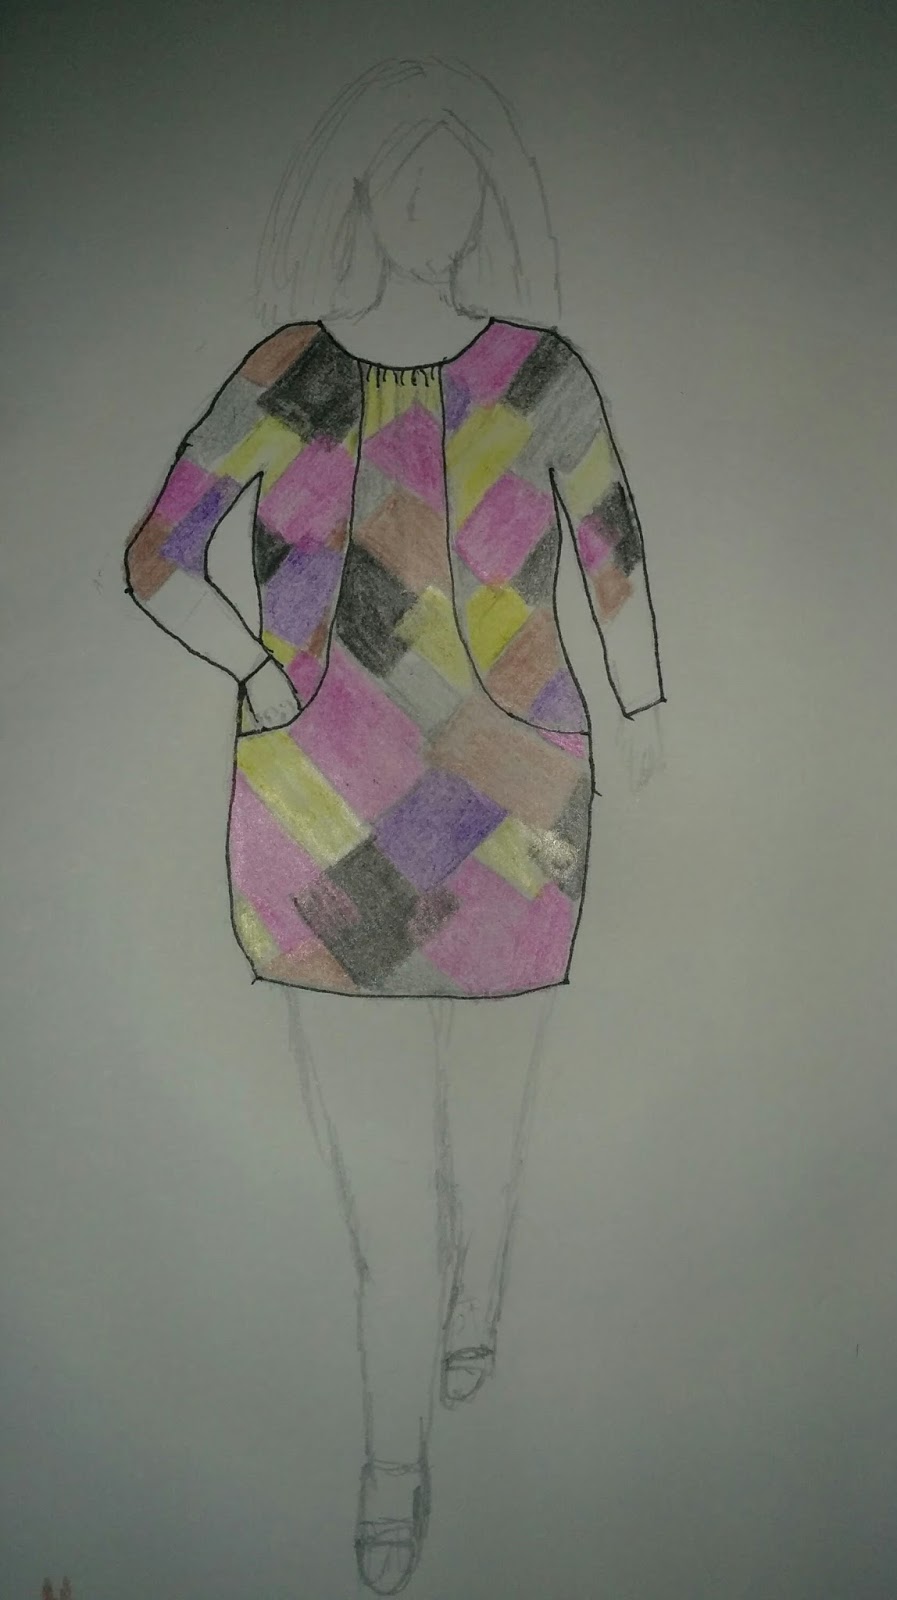
So, I decided to use my TNT Kitschy Coo Lady Skater pattern and divide each bodice and skirt piece vertically into 2 pieces, adding seam allowances between them, thus making 4 panels across the width of the dress. I identified where on the fabric I would lay out each piece and sketched out the design, trying to keep the scale as accurate as possible, to see how I’d like it. I loved it, so I settled on that as a plan, even before I finished coloring it in. My colored pencils just don’t do the colors in this fabric justice!
As shown in the photo above of my previously altered Lady Skater front bodice piece, I drew a vertical line from the bottom, halfway between the side seam stitching line and center front fold line (since seam allowances hadn’t been added yet) up to where I thought it would look aesthetically pleasing and did the same for the bodice back. For the skirt I did the same, but I marked exactly halfway between the stitching lines at both the top and the bottom of the pattern. I then copied each of the pattern halves onto tissue paper and added seam allowances at the fold lines and to both halves where the original patterns were split in the middle.
I started with the bodice and cut out one of the center front panels first. Then used it as a guide to determine where to lay the side bodice piece that was going to be next to it, matching the seam line on one side. Since the top of the bodice pieces were very different shapes, I focused on making the fabric pattern at the waist seam consistent to get the effect I was after.
My original sketch planned to use another sweater knit I have in my stash that is solid black for the sleeves, but after I pulled it out and looked at it, it didn’t have the same sheen as the provided fabric and it just looked dull and lifeless next to this gorgeous knit. I considered leaving the dress sleeveless, but ultimately I want to have a dress that I will actually wear, so I decided to use the leftover fabric, which I barely had two pieces just big enough to cut the pattern’s cap sleeves. I just positioned the sleeve piece such that the front of both sleeves had as much of the black as possible, to try to keep as close to my original vision as possible.
I also had planned on using that other sweater knit for the neck band, but that was out now. I didn’t want to just turn and stitch the neckline, so I made the decision to fully line the dress with a black cotton thermal knit with cameos printed on it that I picked a long time ago for very cheap and have thought I might never use. It had almost the exact stretch amount and was just a tad lighter than the sweater knit, so it seemed the perfect pairing. I used the unmodified pattern for the lining pieces and attached them to the shell at the neck, armscyes and the waist, letting the skirt lining basically hang free and just using french tacks to keep it in place.
My tips for working with sweater knits.
First of all, there are many different types of sweater knits. This one was what I’d consider a pretty stable sweater knit. The weave is tight and the fabric is opaque, but I’ve worked with very loose weave sweater knits before. I think Seamwork’s guide to sewing with sweater knits is a good starting point. In addition to the tips Seamwork provide, these are the things I have found helpful when I work with sweater knits.
1.Keep a lint brush handy! Or what I refer to as a “rolly sticky.” When you cut into these fabrics, a million little loops get opened up, so there is lint EVERYWHERE. Not just on the cutting table, but they’ll be all over your machine and workspace and the garment and my dress form was covered in tiny pieces of sweater knit.
2.When cutting, mark your notches with pins or thread or do like I was taught growing up and cut them outward, not inward to avoid losing them in the weave of the sweater knit.
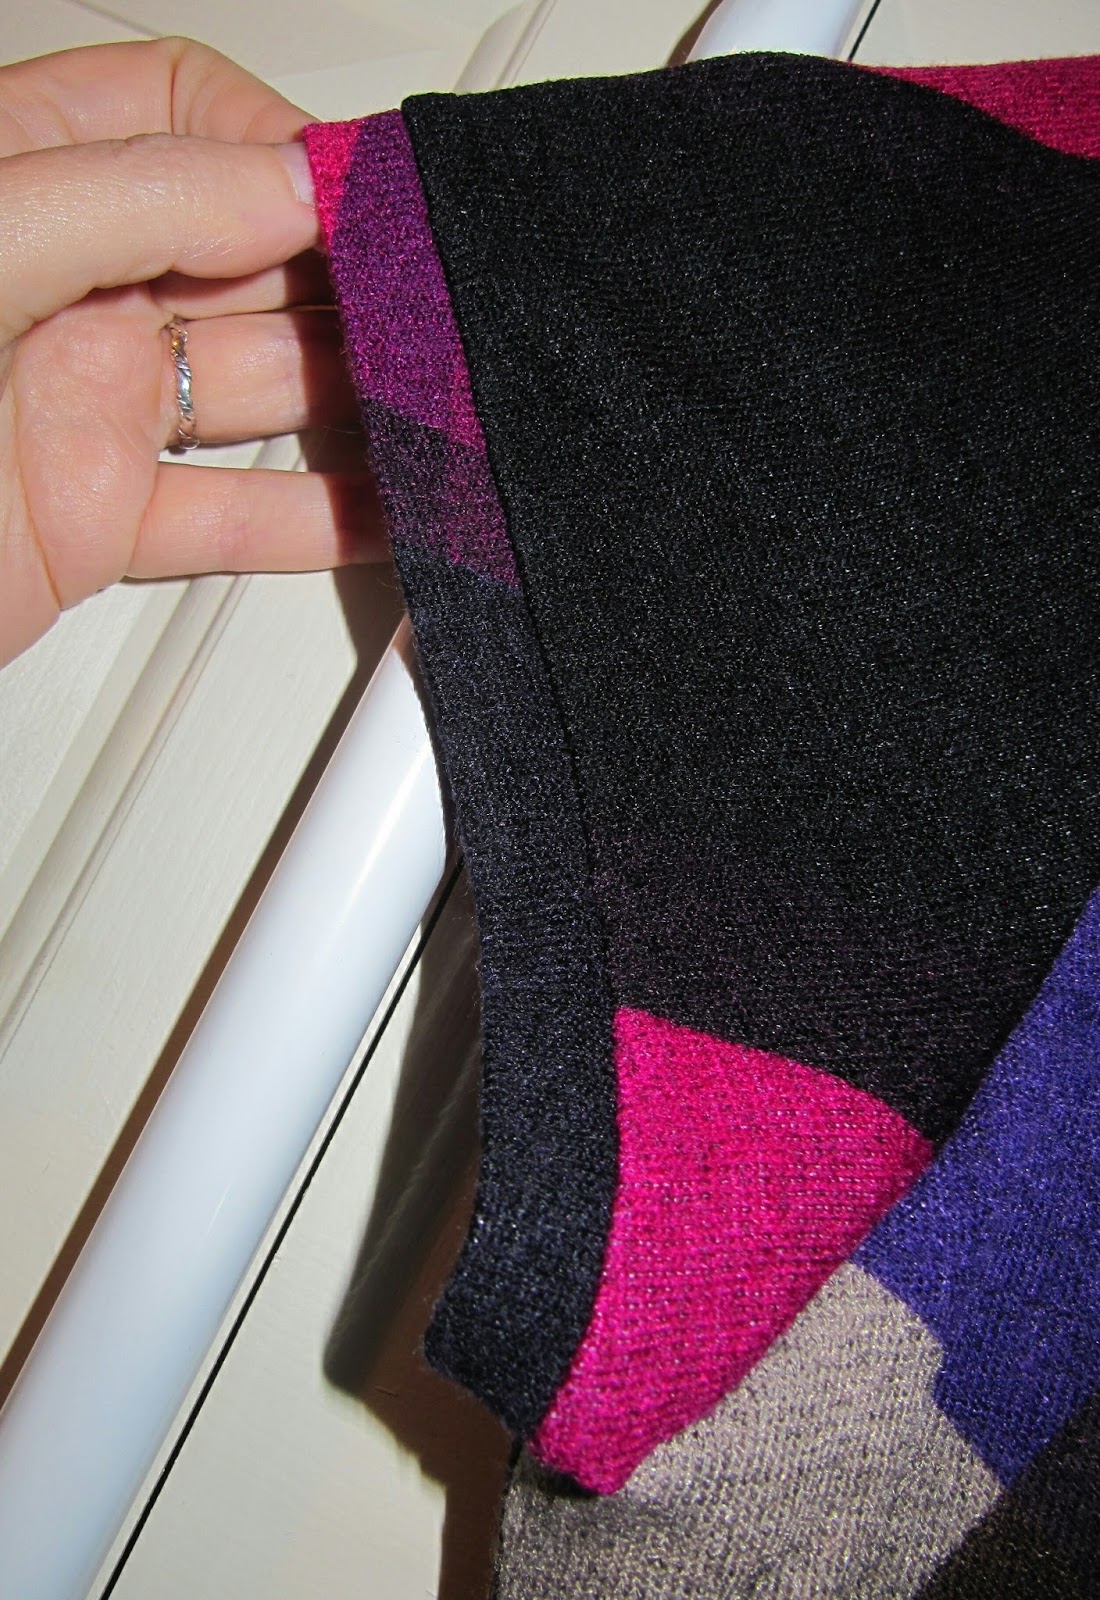
3.BASTE, BASTE, BASTE! This is always a good idea anyway, but even with TNT patterns, it’s just smart to baste your seams first with sweater knits. Because sweater knits tend to be lofty, the stitches have this great way of just sinking in and disappearing, which is fantastic, but it also makes it so that the stitches are nearly impossible to see to rip out. Luckily I didn’t have any mistakes this time around and I only know how hard the stitches are to rip out because after the dress was assembled, I thought maybe I would add a pocket. After about half an hour and only having about an inch ripped out, I decided it was way too much work and just resewed that bit shut again. But I definitely basted almost all of my seams first, especially that waist seam, since I wanted the vertical seams to match up perfectly. Below is a photo of how the seams just disappear. That is actually a seam right down the middle of the photo.
I tend to be a fairly lazy sewist most of the time since I’m just making clothes for myself, but seeing how great this dress turned out actually made me take the extra time to hand sew an invisible hem. I overlocked the raw edge, pressed it up 5/8” and catch stitched it. The fabric is nice and lofty, so I was able to catch a few threads of the body without anything even showing on the right side.
Overall, this fabric was a dream to work with. It pressed really well, the seams absolutely disappear into it and it’s just gorgeous. I got to use a technique I’ve been wanting to use for a while and it made an amazing dress that I’m incredibly proud of and have been showing off to everyone who’ll pay attention to me.
All of the projects are up on the Fabric Mart blog and I definitely have some stiff competition. So go check out all the entries and vote for the project you liked the best.
May is inspiration month at The Monthly Stitch. I have noticed that I have many dresses made out of fabric with lovely prints. So, the easiest way for me to put together an outfit is to make leggings and/or cardigans in solid colors, neither of which I’ve successfully made yet (perhaps foreshadowing IPM…?) So, as I was looking through TMS archives to find an inspirational post, this one for Rosemary’s Fabulously Red Lady Skater caught my eye. It’s a solid color, it’s my favorite dress pattern, it’s red, which I’ve traditionally avoided wearing, but lately have been told I should wear it more often. So that seemed like a perfect dress to copy. Especially since I even already had fabric on hand.
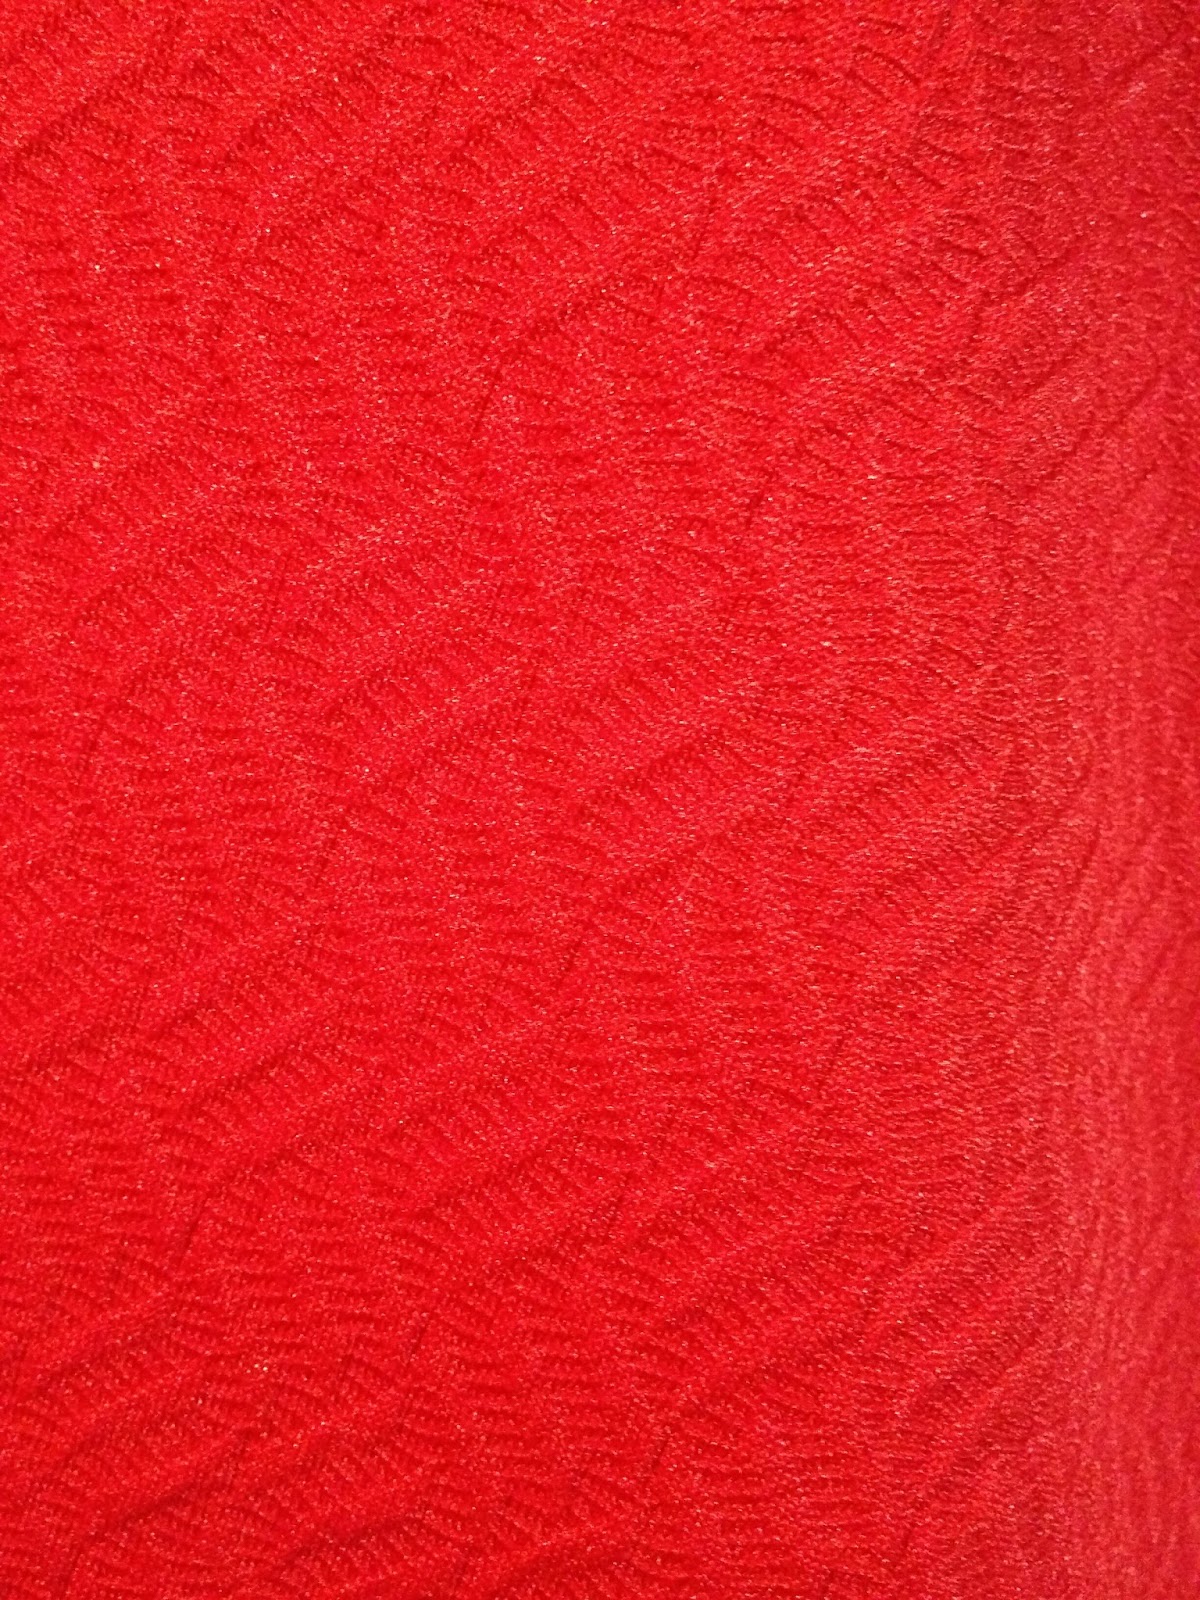
I had recently picked up some Rose Red Poly/Lycra Abstract Jacquard Double Knit from Fabric Mart with the intention of making myself a red dress.
And here’s a photo I took of it to show off the texture.
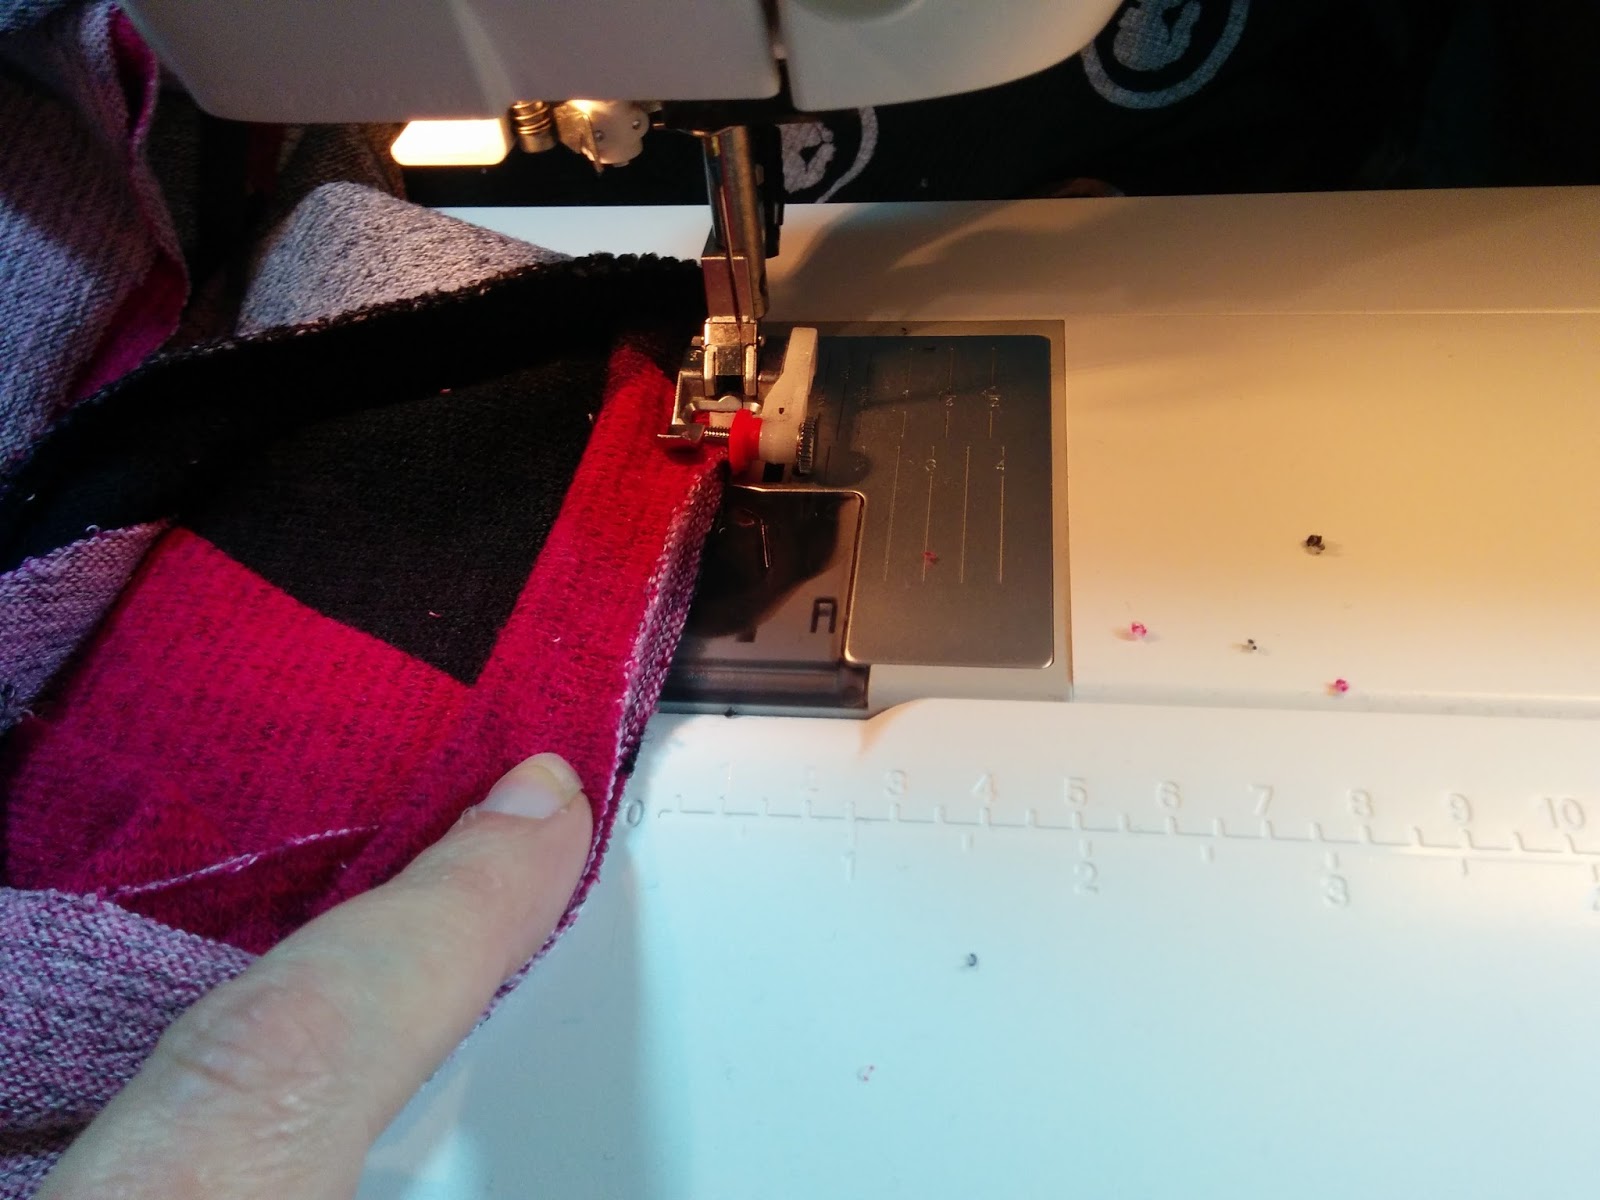
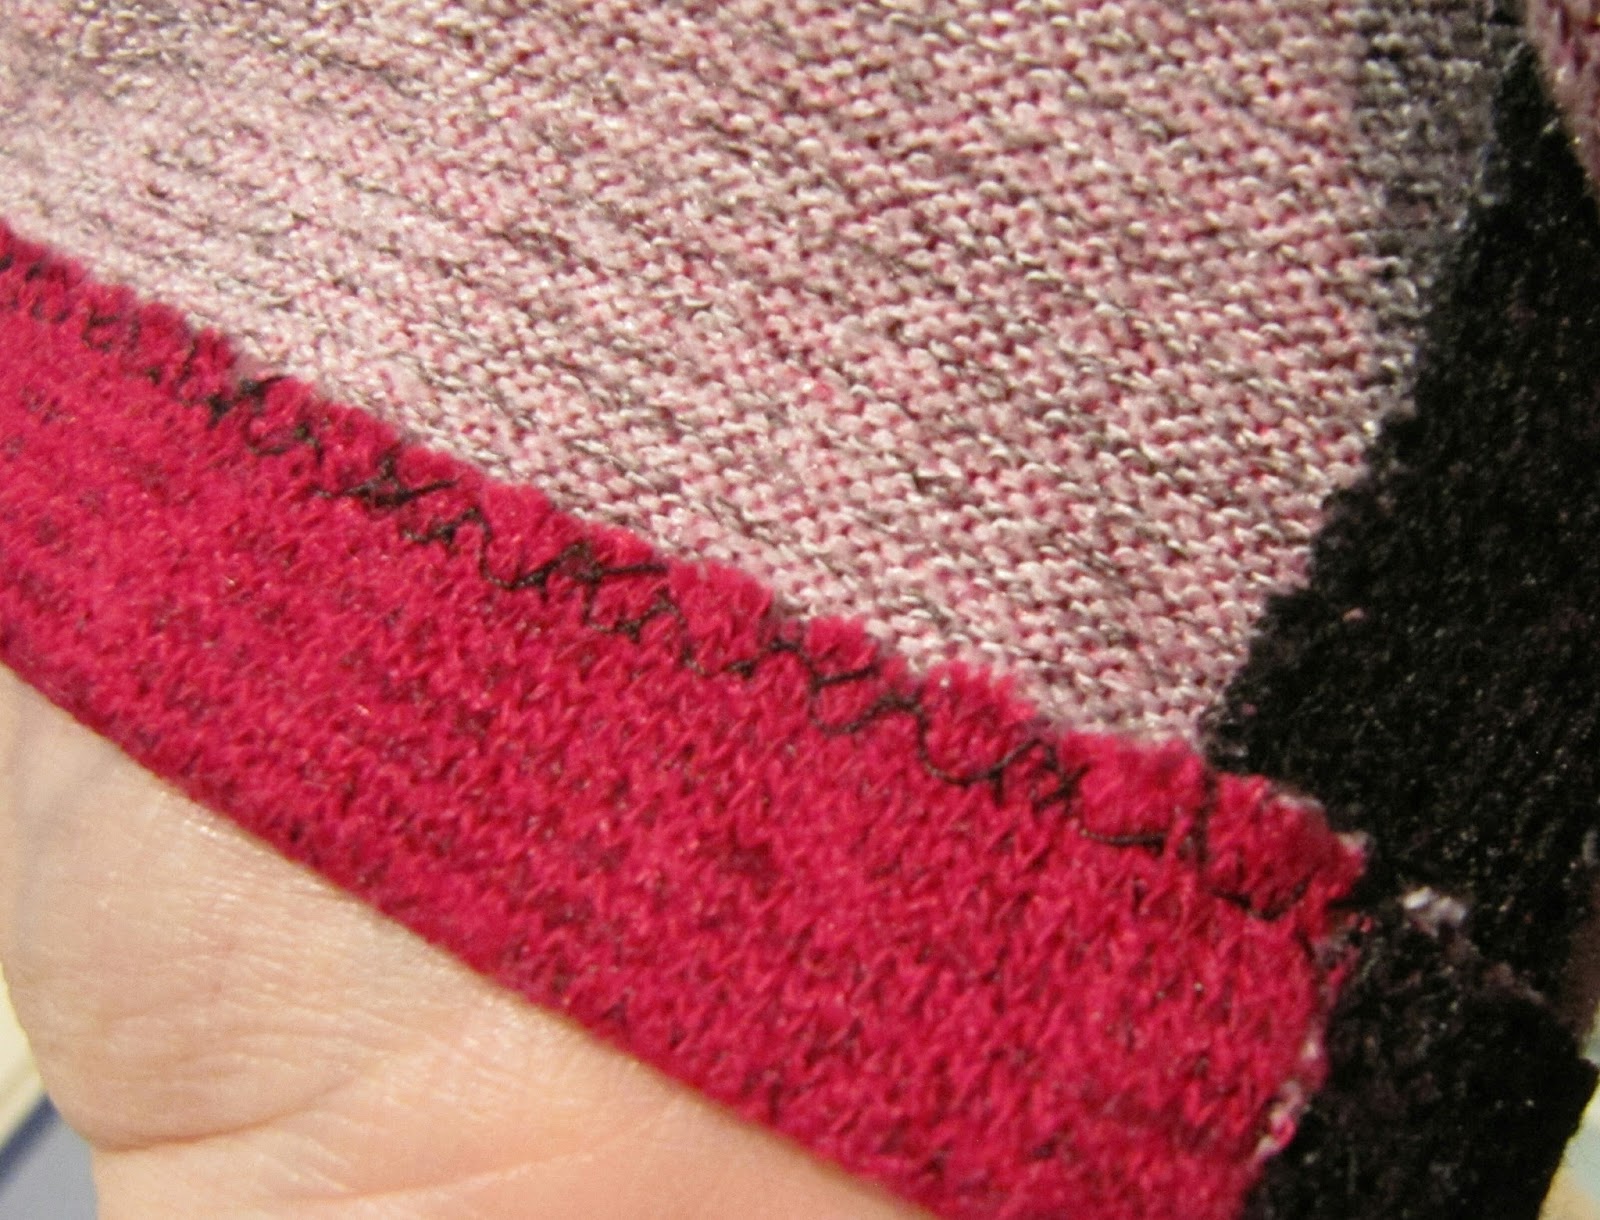
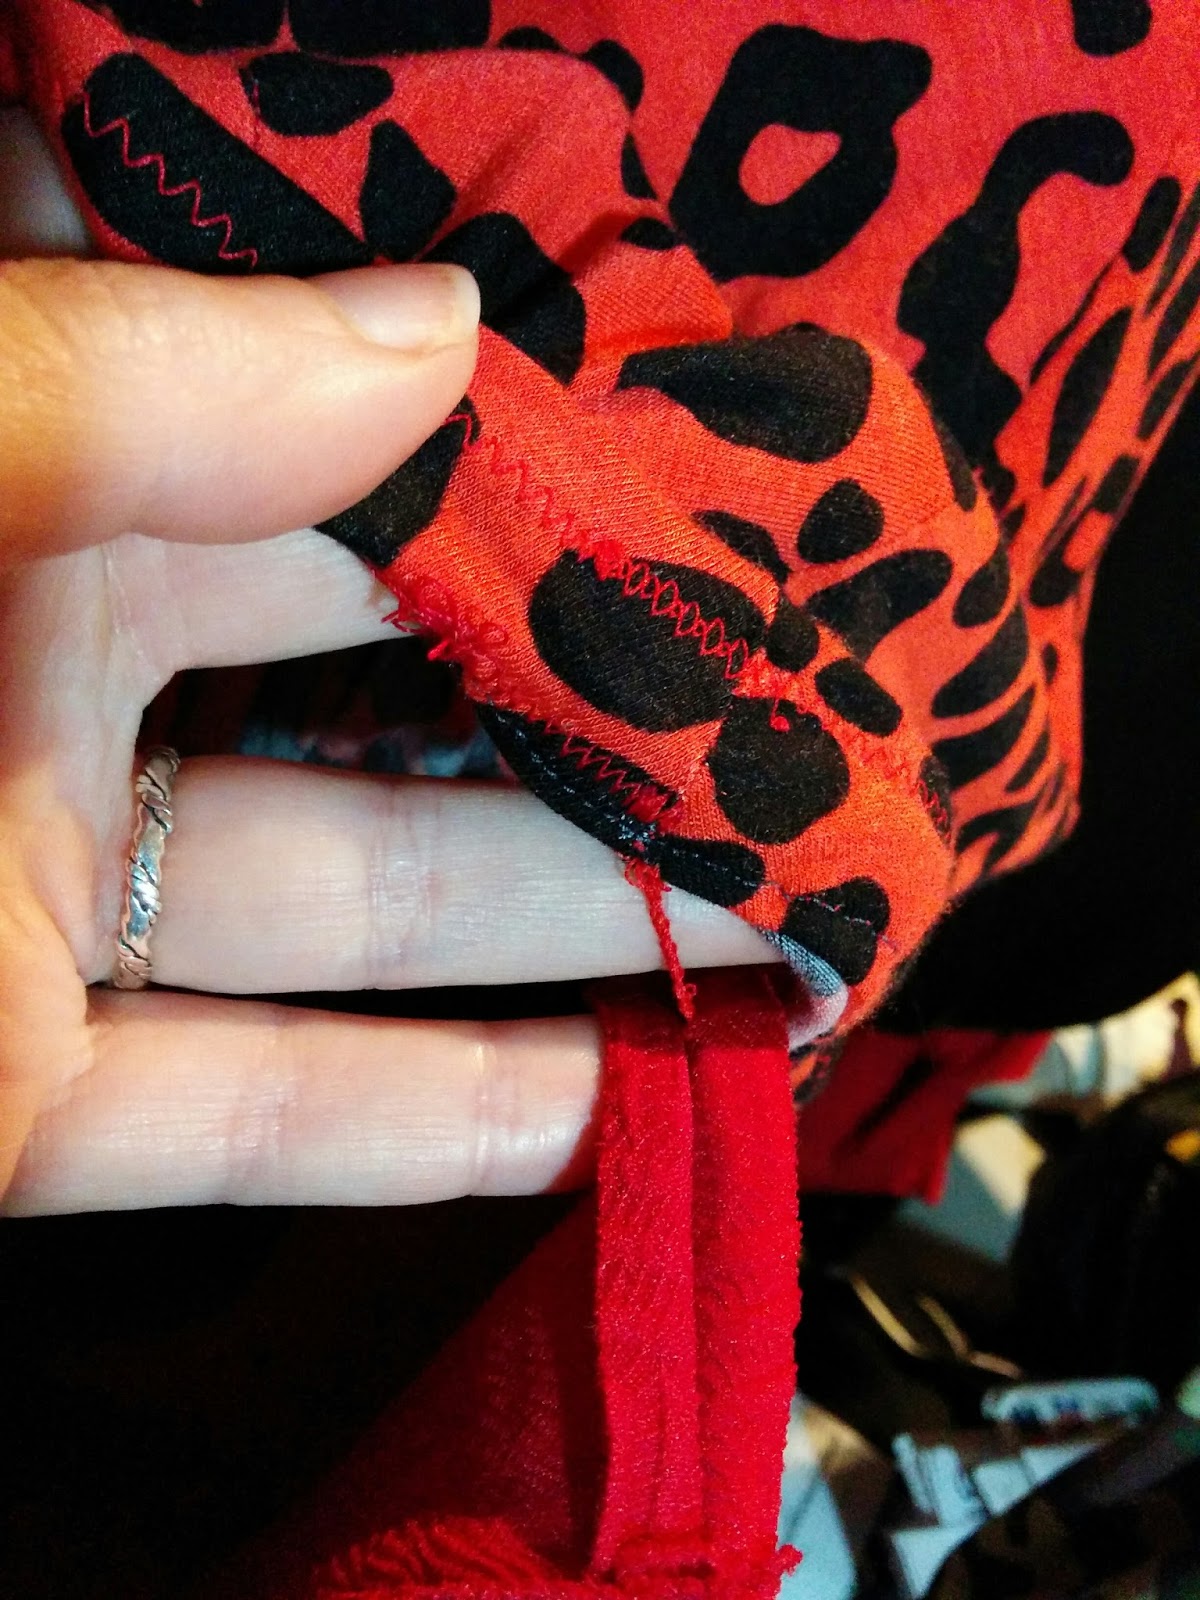
I’ve made the Kitschy Coo Lady Skater several times, but I tried something a bit different with this one. The fabric is a bit scratchy, so I decided to line it with something that would feel better against my skin. So I chose a very soft black and red animal print rayon blend jersey that I picked up from a flawed fabric bargain lot from Girl Charlee. At first I only planned to line the bodice, but as I was constructing it, I thought about how the waist seam would end up being itchy and the dress being on my legs sitting at my desk all day might bug me too, so I cut the skirt pieces too. I sandwiched the pieces together at the waist seam, as I did with the plaid version I made at the end of last year. I didn’t line the sleeves, but my insides were looking so good that I thought maybe I would try a French seam to attach the sleeve. This red fabric is pretty thick, so both of those plans were just terrible ideas. Granted, I didn’t clip the curve of the sleeve seam, but still, the thickness of the French seam made the shoulder look bumpy and very bad. Luckily, I only did one before I realized it was a mistake. As for the waist seam, I just felt like the seam was too visibly bulky with all 4 fabrics joined together like that, and all 4 steam allowances all bunched up together. So I started ripping out seams. Which added a week to this project. Mostly because I pouted some for a while at the fact that I had to do so much seam ripping and also because the lighting in my comfy spots are terrible for being able to rip out stitching that so closely matches the thread to the fabric. But I did find some daylight times to be able to do it eventually. Once I reassembled the dress with the lining hanging completely separate, the dress looked so much better constructed than it did previously. And I just love how it looks on the hanger with the black and red animal print peeking out.
Here’s the finished dress inside out on my dress form.
I even added French tacks to keep the lining from shifting around too much. I followed this tutorial from Ohhh Lulu.
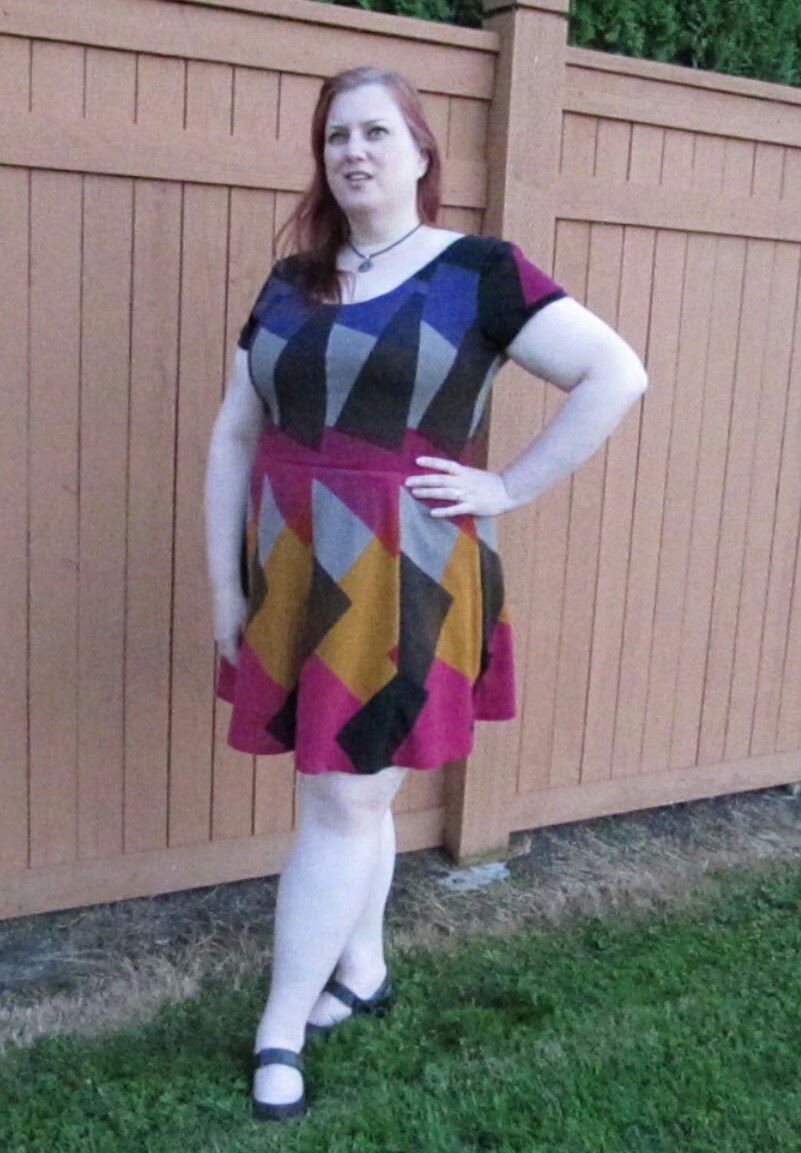
And here I am wearing it out in the driveway.
My husband and I walked down to the park at the end of the street to take these photos. Not many turned out very great. Here’s me doing my best Vanna White impression.
And this one was me trying to act shocked in response to my husband making some crack about how he’s stalking me in the woods. My new glasses have transition lenses, so I don’t really notice them changing and am always surprised to see I’m wearing sunglasses in my photos. haha.
I have made many Kitschy Coo Lady Skaters and this is the latest. I cut this out several weeks ago and finally got around to sewing it up last Friday.
I love this pattern so much. To call it TNT would be a huge understatement. It’s my Go To dress, especially if I only have 2 yards of a fabric.
I had heard that making it in Ponte de Roma makes a very nice draping version and I’m quite pleased with how this one turned out. I have a couple more ponte fabrics that are destined to be new Lady Skaters.
After I made my first version, I shortened the bodice by an inch and made the shoulders a bit more narrow, but those are the only alterations I did to the pattern that I have used over and over. Oh, except adding pockets, of course. I use the pocket piece from my Colette Moneta to make in-seam pockets and place them 4 inches down from the top of the skirt piece.
This dress is a fast make and I can practically do it with my eyes closed by now. But I love how the fit and flare style looks on my body, so I’m always happy to have another to add to my wardrobe.
My daughter has been going to the Seattle Gay Pride parade for the past several years and has always really enjoyed it. I’ve never gone before and I decided that this year I would rectify that. After the Supreme Court decision last Friday and seeing the rainbows everywhere I decided that I needed to wear something special.
So on Saturday I went to JoAnn’s and bought 1 yard each of the rainbow in knit.
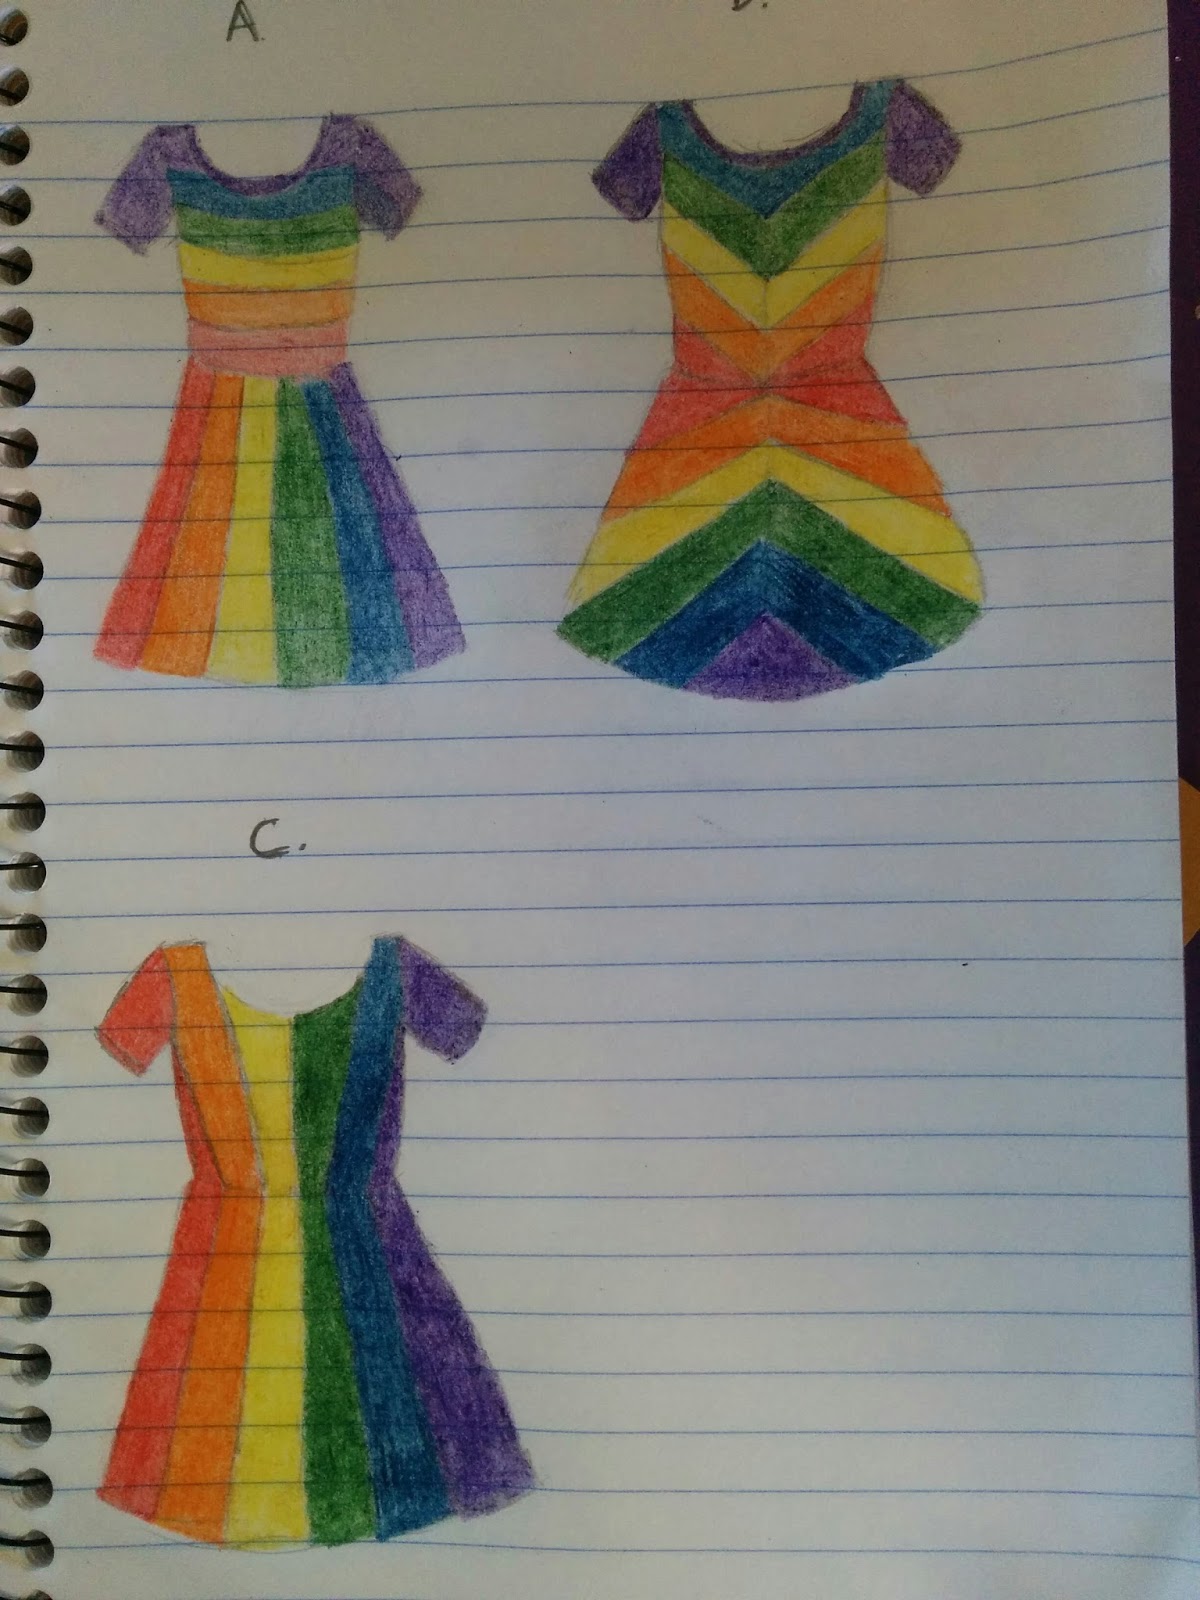
Then I went home, tossed my new fabric in the washing machine and sketched a few designs.
My husband liked view A best, but I decided on C anyway.
So, I took my TNT Kitschy Coo Lady Skater pattern and divided the skirt piece into 3 even pieces by measuring the waist seam and the hem and dividing by 3 and sewing a line between them.
Then I took the bodice pieces and equally divided the waist seam by 3 and then referred to my sketch and eyeballed where I should put the other end of each dividing line and drew them in.
I then traced each piece, adding a 3/8″ seam allowance to each new seam line and to the center edge, since it’s normally cut on the fold and will now have a seam too.
You may be able to see that I noted on each piece what colors that piece would be and I’m so glad I did that ahead of time because that’s a lot of pieces to cut out.
Once I had everything cut out, I just sewed each individual piece back together and then assembled the dress as usual.
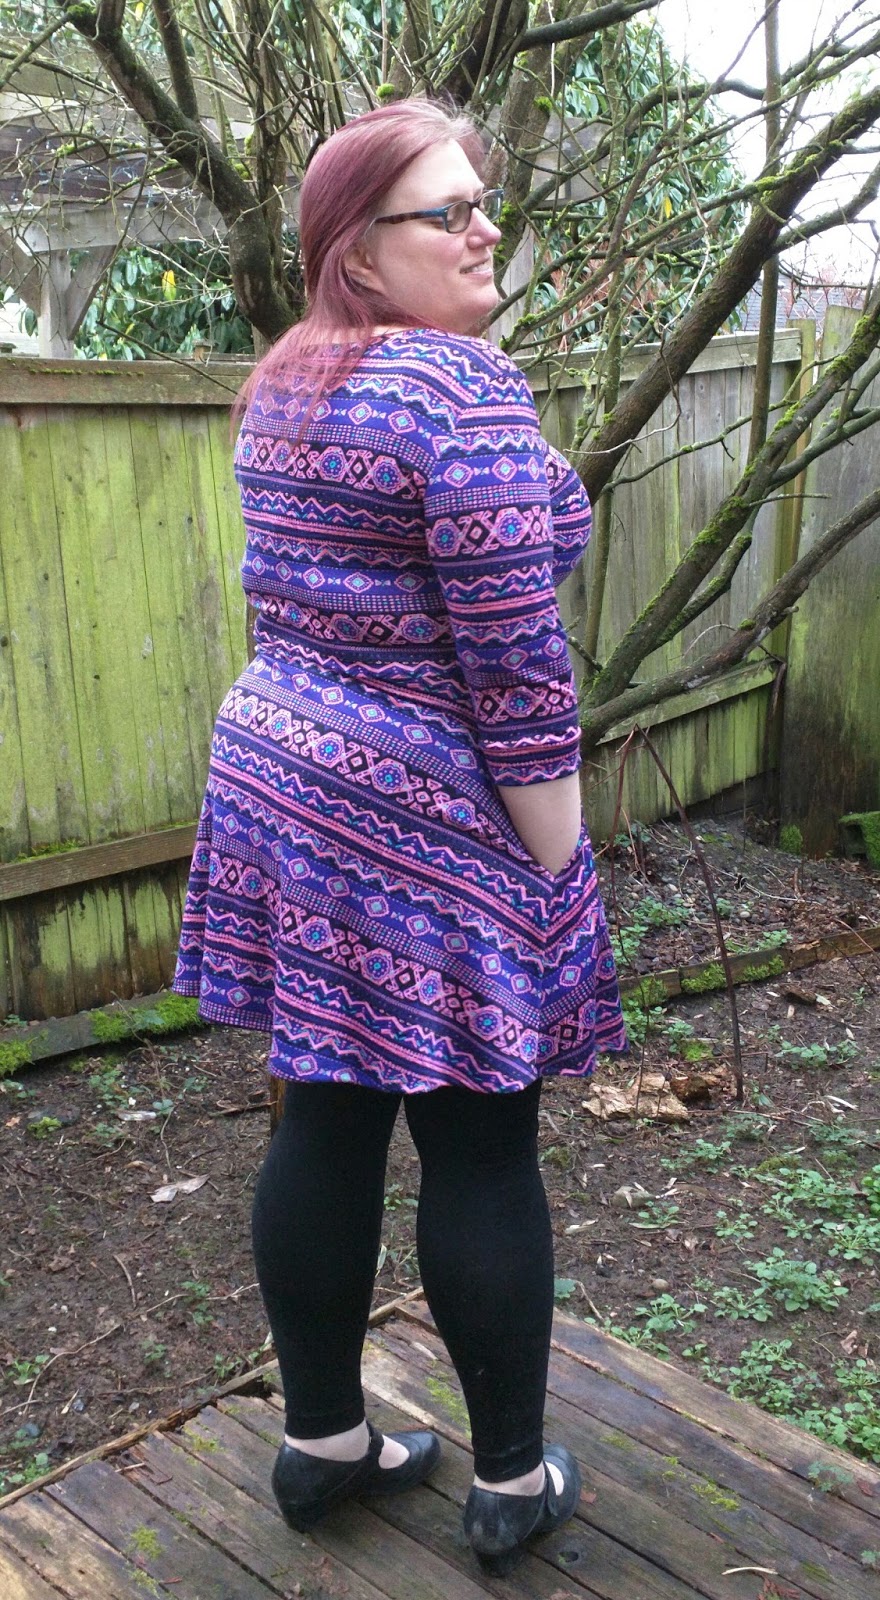
I added in seam pockets, as I do with all my lady skaters now (in fact I’m going to go back and put them in my first one.) I cut one pocket lining out of the red and one out of the purple and as I was assembling the dress, I thought it would be fun to swap the linings so the red lining is on the purple side and vice versa.
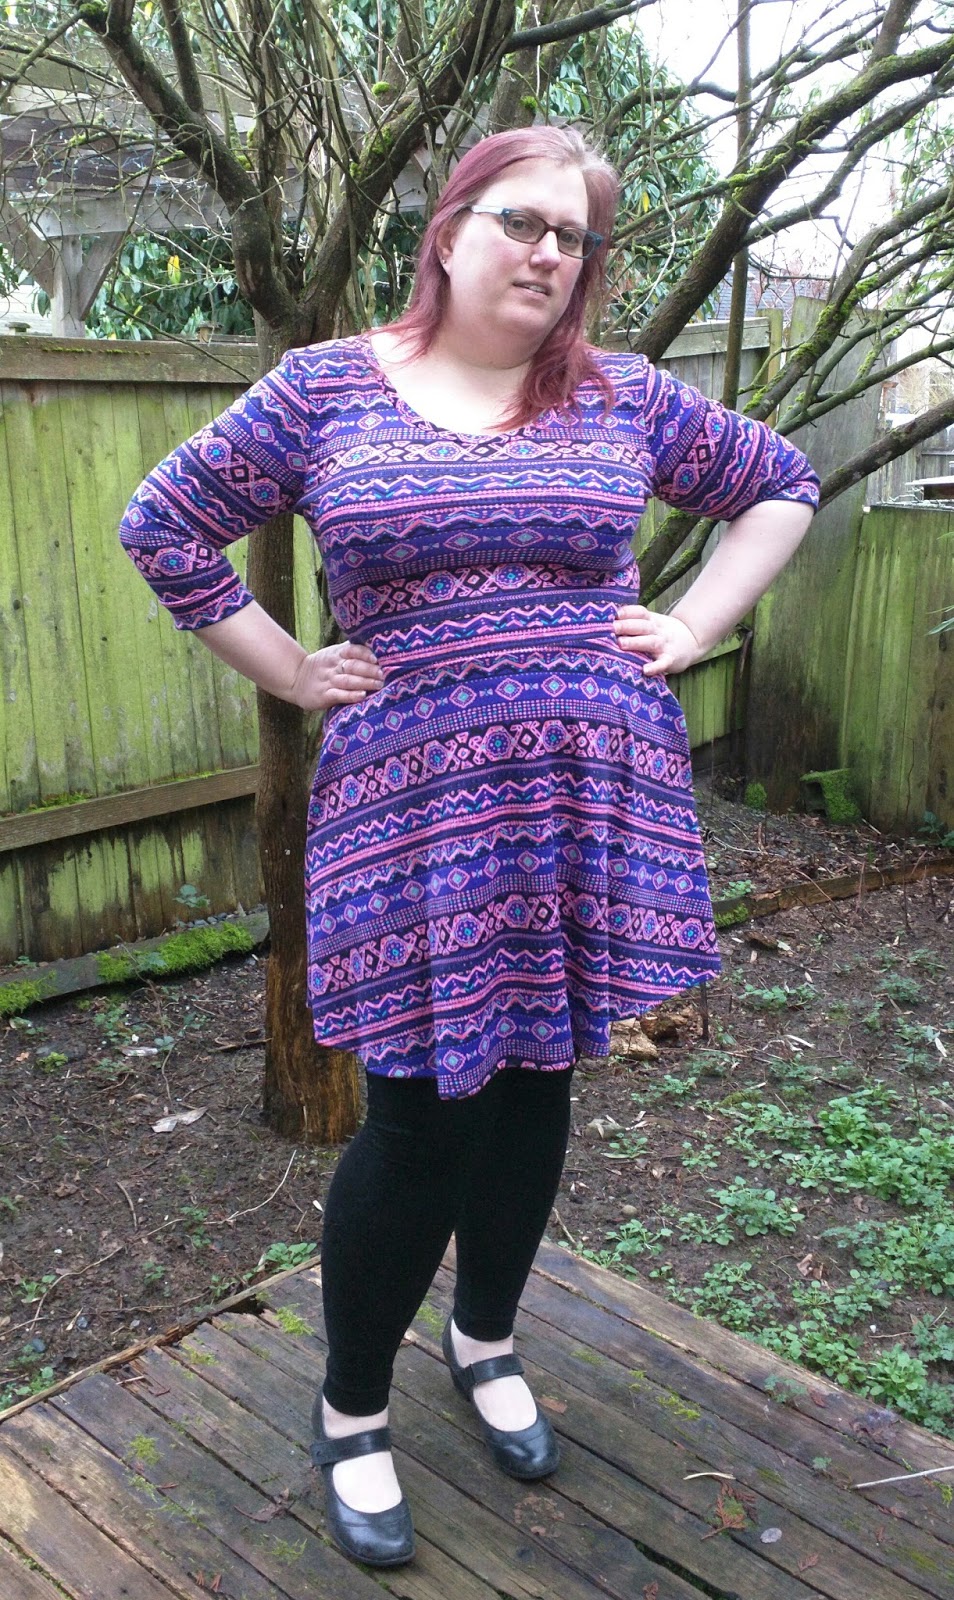
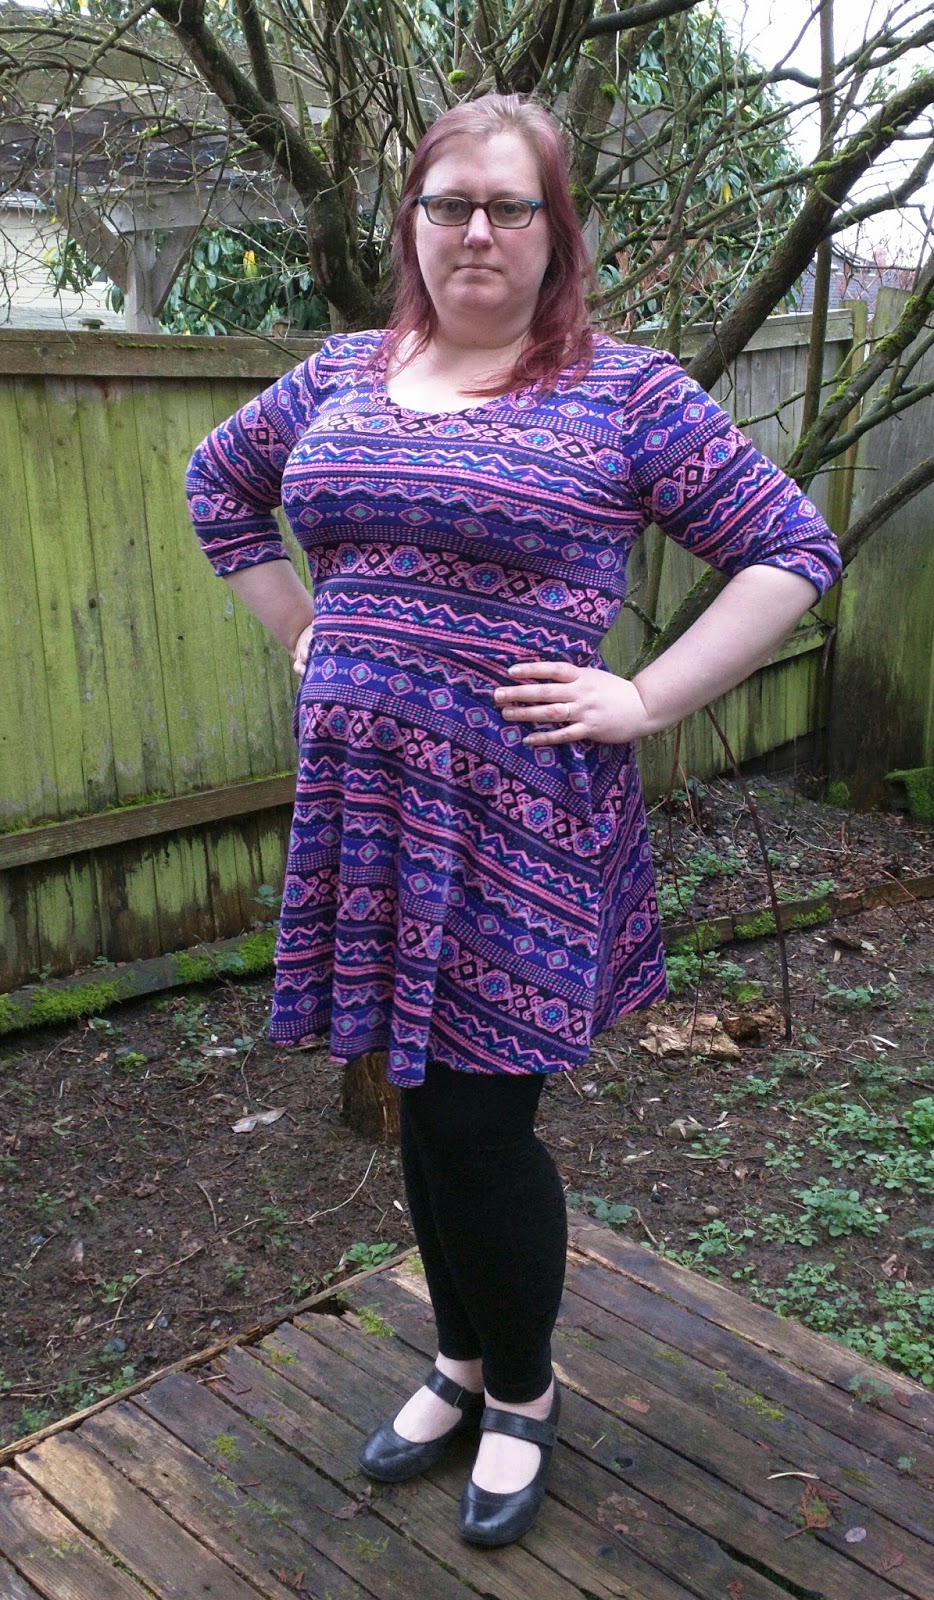
And here is the dress in action.
I’m so very pleased with how it turned out. There are a few minor things that I’m not happy with. Since it was a last minute project, I was stuck with the fabric that I could find locally, so the red is a lot softer and thinner than the others and is the only one with a 4 way stretch, so that side of the dress just droops down a bit more. And the orange is the only one that has spandex in it, so the dress got bigger as the day went on. But overall, it’s the dress I’m the most proud of so far.
Back at the end of February, I mostly made two dresses in 4 days for a dance routine I did with one of the instructors, Emily.
I planned, sketched and, starting with the Lady Skater pattern, made some alterations for Emily’s dress late Wed night. I cut out and basted something together Thursday night after work and took it in to the dance studio on Friday so I could do a fitting with Emily. It fit very nicely and didn’t need any sizing adjustments.
Then I went home and started patterning my own dress. Saturday morning I went to Jo-Ann’s to pick up some black ribbon and found a couple packages of really pretty black lace and sequins trim for cheap. Then I went home and worked more on Emily’s dress and made a dress for me.
They aren’t as finished as I would like, but they look great and I’m really proud of them. The neckline on Emily’s dress looked horrible in the back because I didn’t stretch the elastic enough when attaching to the dress, so it gaped a ton. But it more or less did the job anyway.
Both dresses are fully lined, with the skirt lining being red, so we could hike up the black skirt to show the red lining. We both have the skirts safety pinned to show off the under layer and we are also both wearing black petticoats underneath. Also, I angled the waistline seam so that the bodice joined the skirt in a V in both the front and the back. It’s not as obvious on Emily’s dress since the point is black on both the bodice and the skirt, but it is a little more noticeable on my dress.
I didn’t want them to be super matchy-matchy. But I love the color blocking I did on the bodice of Emily’s dress so much that I wish I’d done it on mine as well.
Here’s the video of our performance. Apparently, I couldn’t stop touching my own butt, so I really messed up the ending and kind of muddled through it. But I had a blast working on this dance with Emily and learning a few more girly moves.
I decided to made a dress to wear to the Superbowl. I found some lovely navy and lime knit fabrics in perfect Seahawks colors.
I modified the Lady Skater pattern to mimic this very lovely sketch. (I’ve never claimed to be an artist.)
I just copied the curved line at the bottom of the cap sleeve piece to it apart for the stripes and then added a seam allowance to where it would be joined up. The skirt I attempted to make the green parts be inverted box pleats but my math didn’t quite work out because I didn’t allow for the blue fabric to have to be folded over on top of the green at the waistline. duh! But I like the way it turned out anyway.
Aside from the “12” which will be an appliqué or something that I may be brave enough to add later, I feel like I did a good job of realizing what I sketched.
And here she is on my dress form.
I ended up wearing my #3 Wilson jersey over it at the game, so you can’t see the full dress. But it was a big hit. And even though the game didn’t have the outcome we had hoped for, it was a blast being there at the Superbowl in real life with my most awesome daughter.
This was my first Lady Skater dress by Kitschy Coo. I made it back in early November. I bought this fabric pretty cheap from Girl Charlee, and they not only still have it, but it’s even cheaper at only $1.50/yd! I bought some more in a different color.
It says it’s slightly flawed, but the cut I got only had visible flaws along the selvages, so it wasn’t bad at all to use for a wearable muslin. It’s a little thin and kind of sticks together a bit, but I’m happy with the way the dress looks made out of it. These photos were taken before I hemmed the dress.
I took this photo to remind myself to watch for pattern matching on the cuffs, which I didn’t even pay any attention to while I was cutting it out.
I made the size 8 exactly as is. My next version will have a few adjustments – narrowing the shoulders and shortening the bodice to have the waist fall closer to my natural waist.


.jpg)
.jpg)


Recent Comments