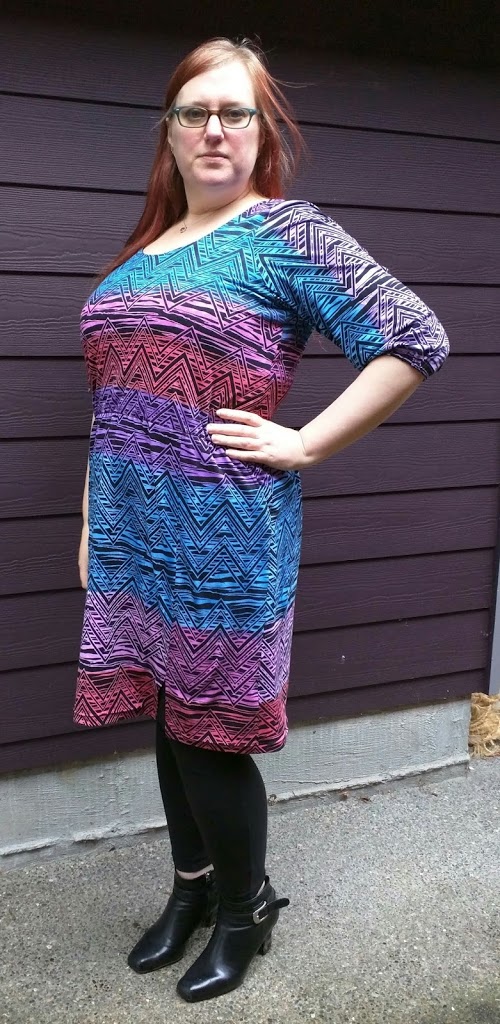

When I made my camouflage Seamwork Perry, I liked it so much that I immediately cut out another one from a cotton Spandex knit from a previous Girl Charlee* knitfix fabric.

I couldn’t do pattern matching when cutting the dress out, so I decided to just cut it out however I could then I used some Jacquard Textile Color*![]() to paint colored stripes onto the fabric to try to mask the pattern mismatch.
to paint colored stripes onto the fabric to try to mask the pattern mismatch.

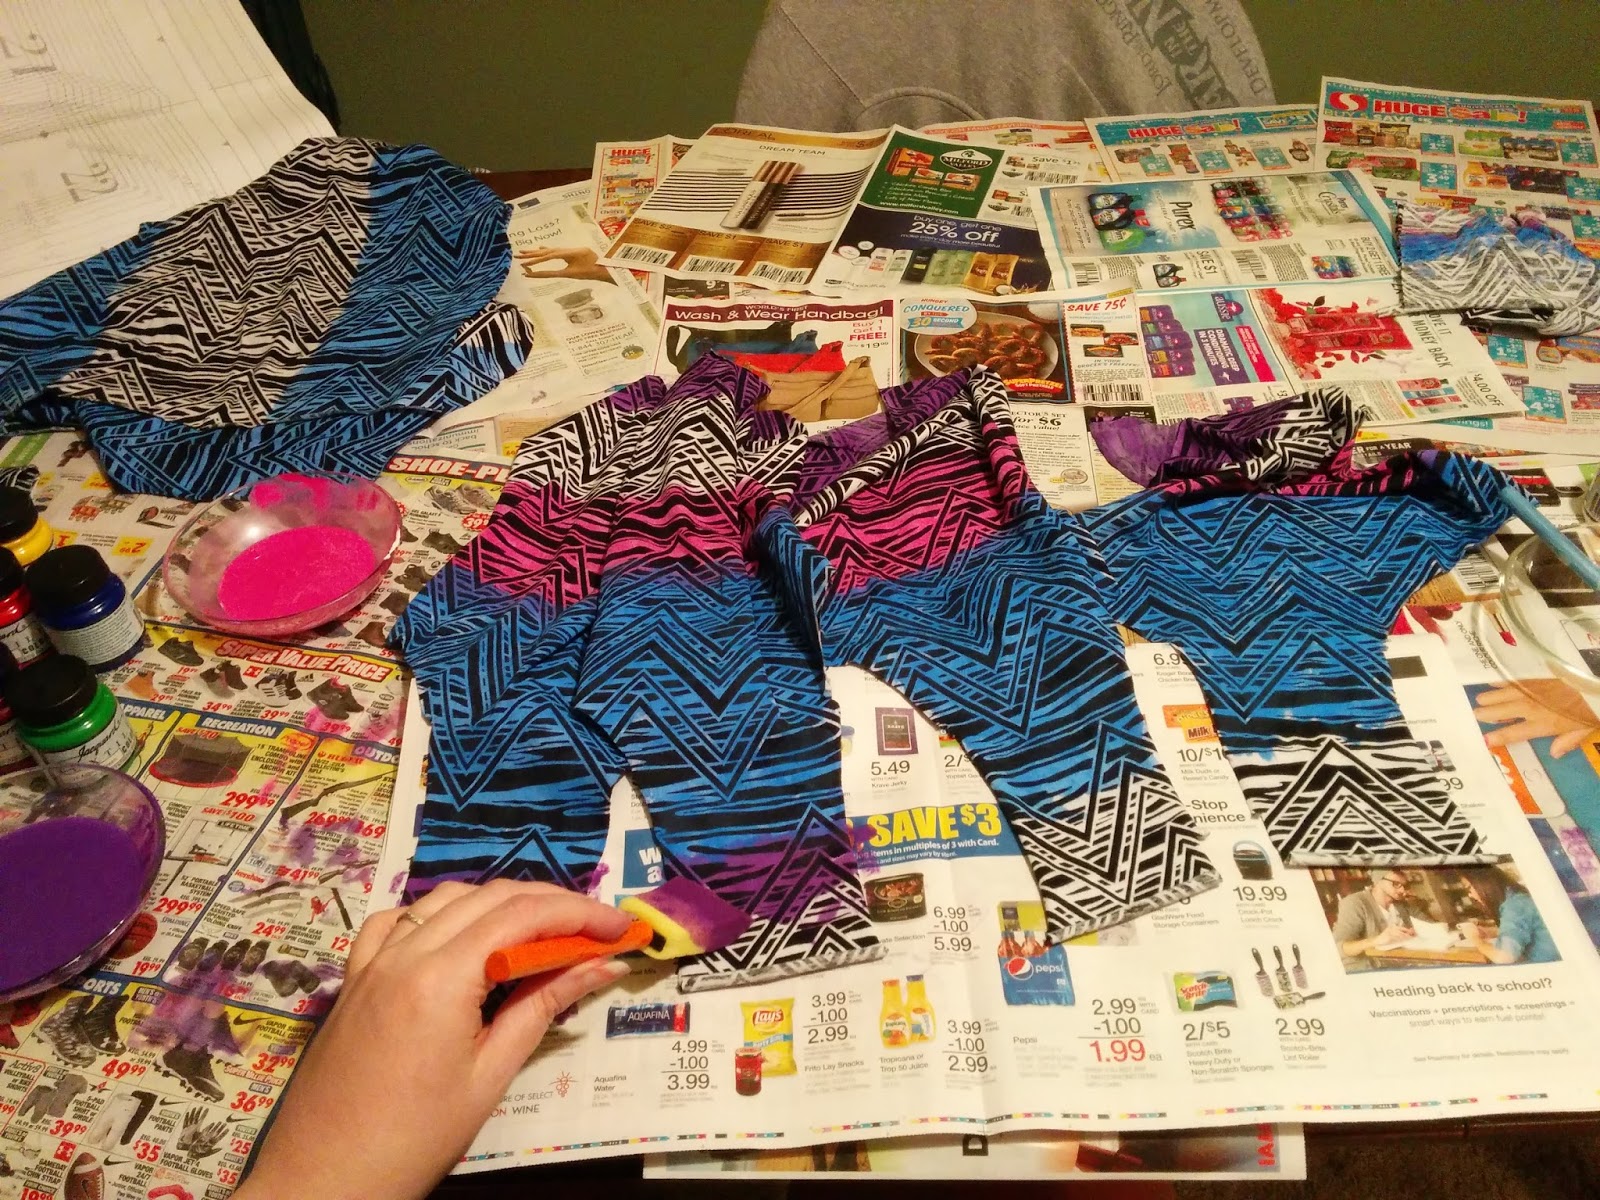
I started painting the pieces way back in May. I did some additional painting some time after that, but then I finally just finished it a couple days ago. After it was all dried, I heat set it with the iron following the directions.
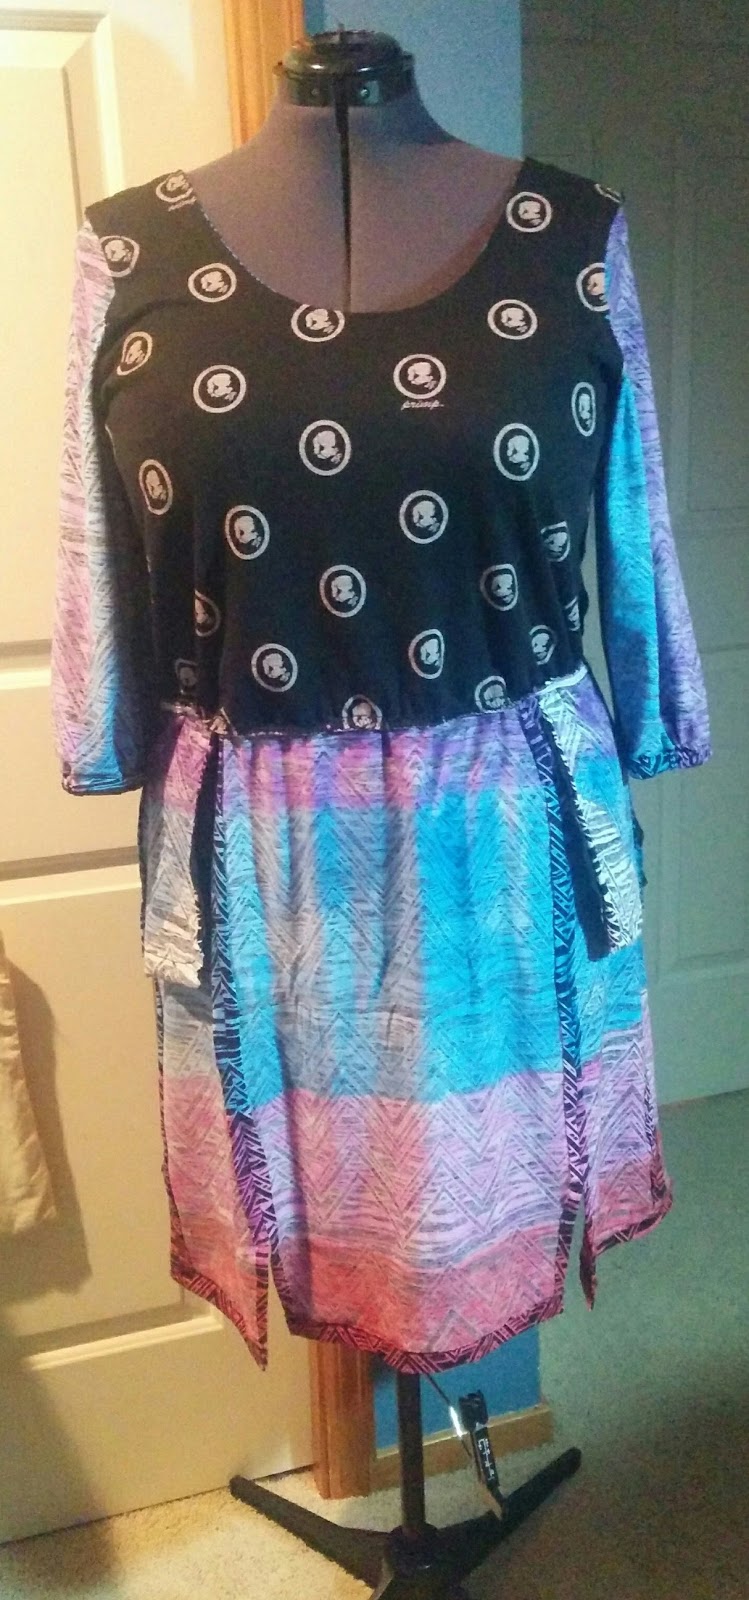
I cut bodice lining pieces from the same black cameo thermal knit fabric I used to line my Fabricista sweater dress.
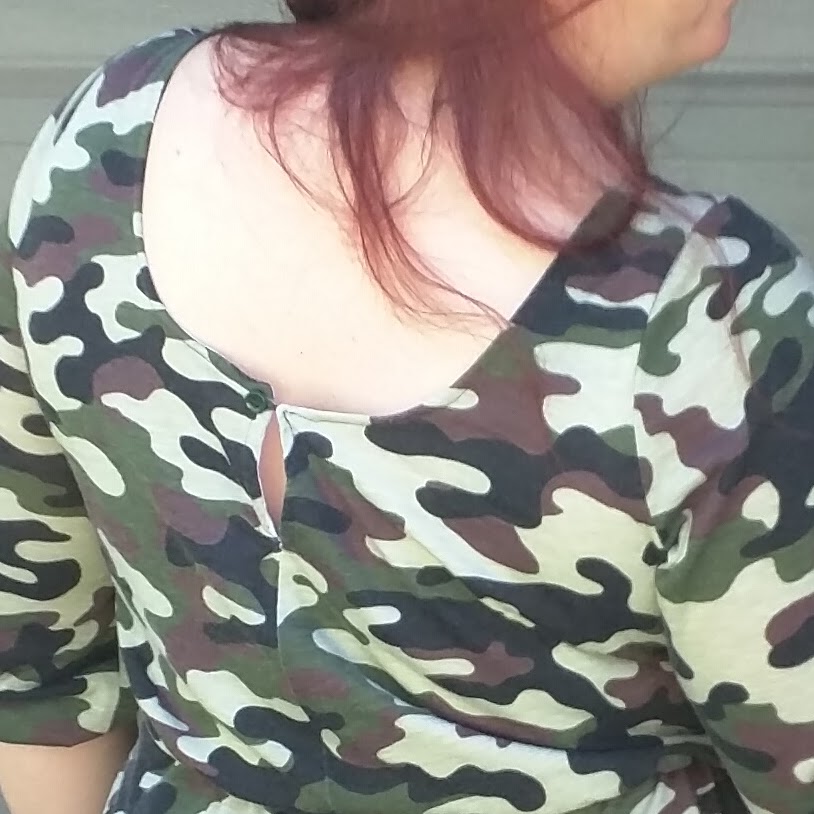
I liked the elastic loop and button I used for the camo Perry, so I decided to do that again. Since I planned this before sewing the dress together, I basted a loop of elastic that I’d colored with a blue Sharpie to the back bodice piece before sewing the shell and lining together at the neckline so that the raw ends are enclosed. Then sewed on a blue button the finish the closure.

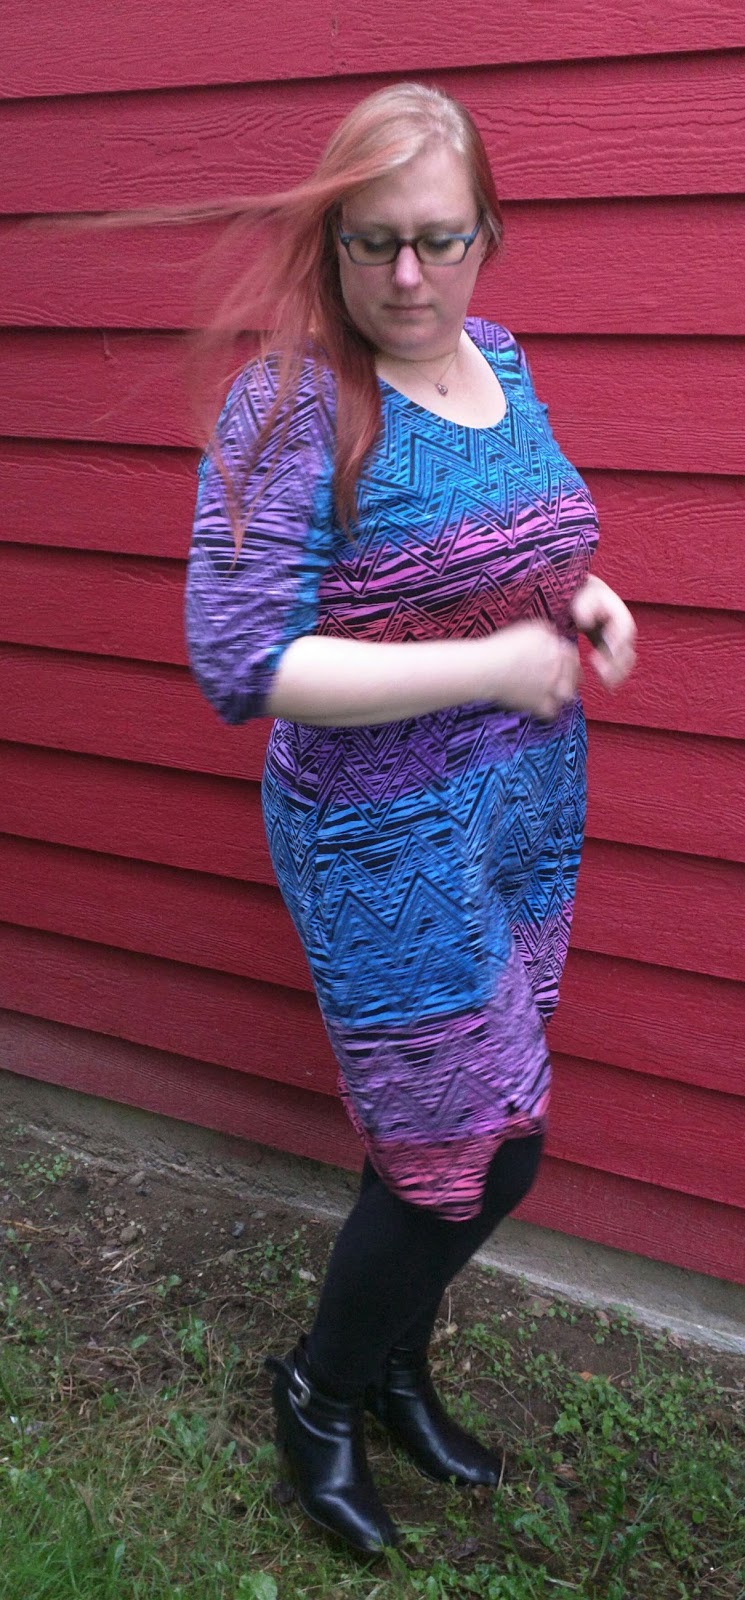
Also I couldn’t find a couple pieces – the front pocket piece and the sleeve cuffs. I swear I cut them out, but it’s been so long and they aren’t with the other pieces, so either I’m remembering wrong or they got lost. So, I cut the missing pocket piece from that same black cameo knit and instead of replacing the sleeve cuff with a different fabric, I just hemmed the sleeve 1″ to create a channel then cut pieces of 1/2″ elastic and fed it through the channel.

I also sewed all of the vertical seams with 5/8″ seam allowance instead of 3/8″ to try to size the dress down a bit.
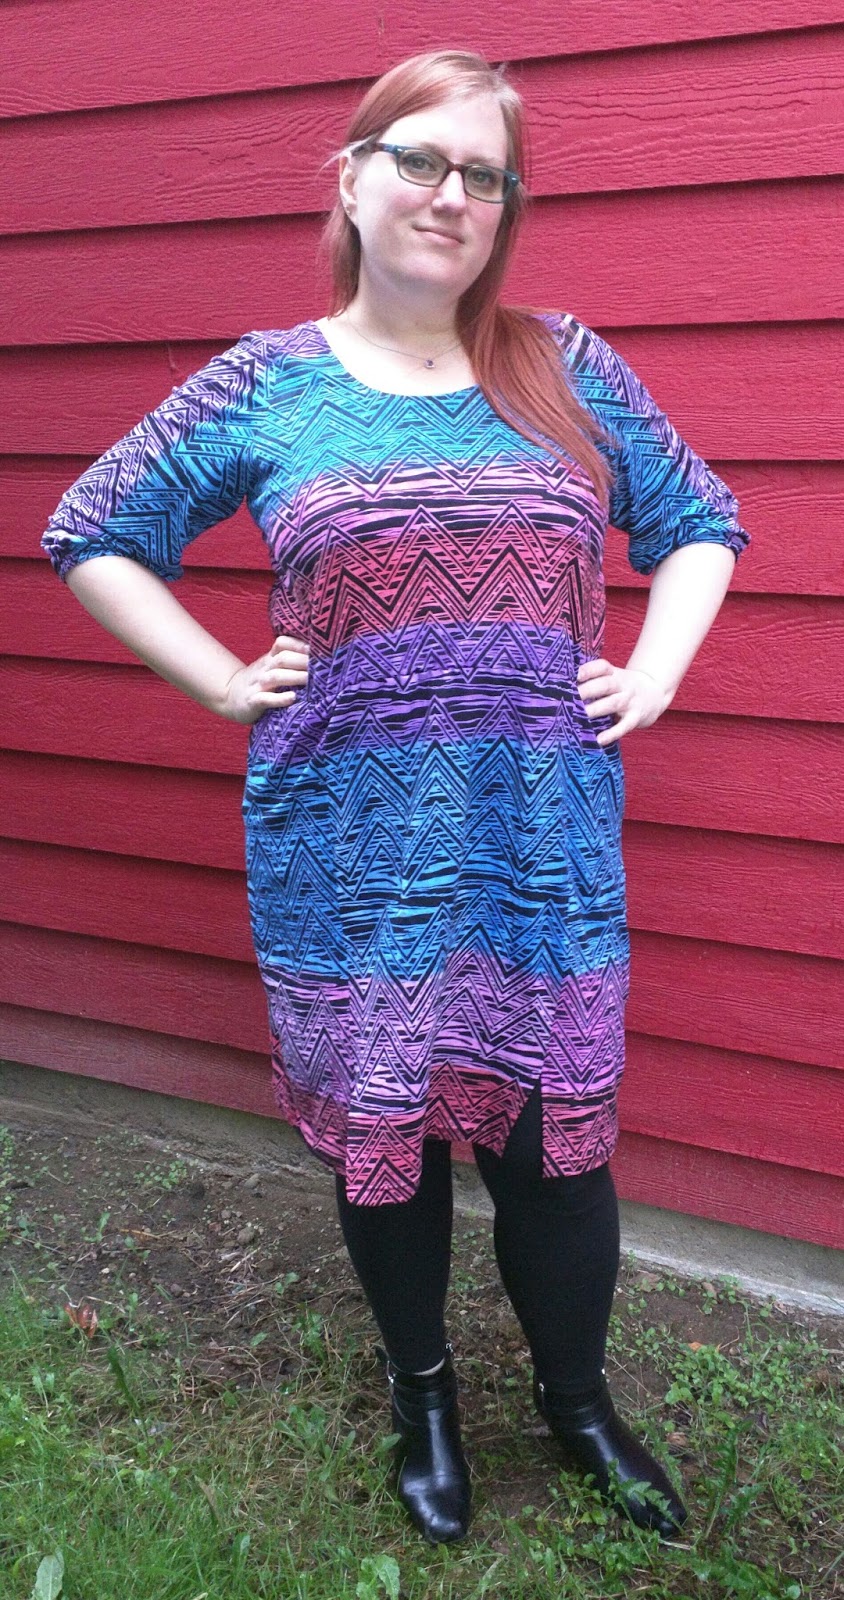
I’m not super happy with the fit of the waist elastic. I followed the instructions and cut the elastic to my waist measurement minus 2″. But I must have stretched it out while installing it, because the waist doesn’t have as much definition as my camo one.

There are a few spots where I missed fully applying the color. When I started with the blue, I was trying to go for a hand painted look, so the missed spots were a feature. But now that it’s all put together, those spots are a little distracting to me. Also, some of the coloring between the pieces don’t quite match shades, or the color lines across the seams aren’t exact. So I may end up doing another pass of the painting. Although, I am pretty happy with how it looks as is.

*affiliate link – I gotta try to help support my sewing habit somehow.


Recent Comments