Clothing Hacker

Just another WordPress site

Category: The Monthly Stitch

Indie Dress!!

It’s Indie Pattern Month over at The Monthly Stitch.  So that means contests!  Week 1 is dresses, which I am always up for.

Seamwork Arden

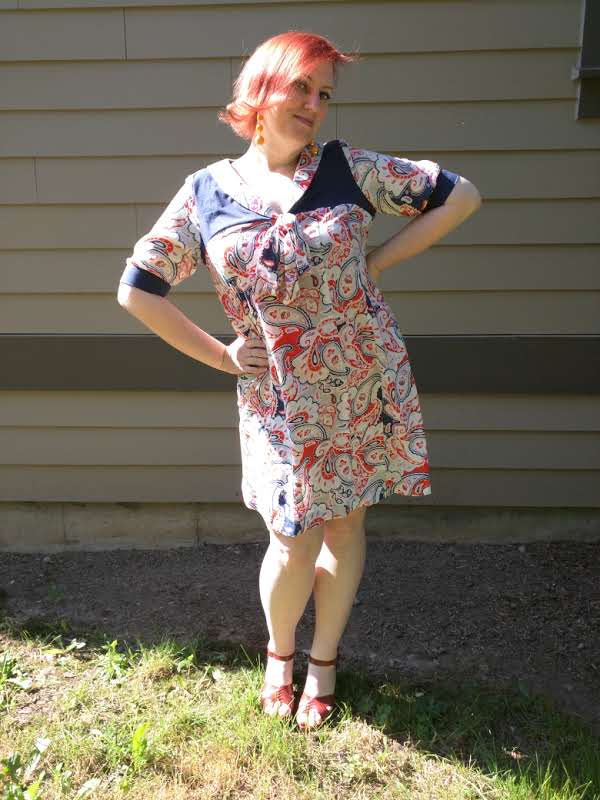
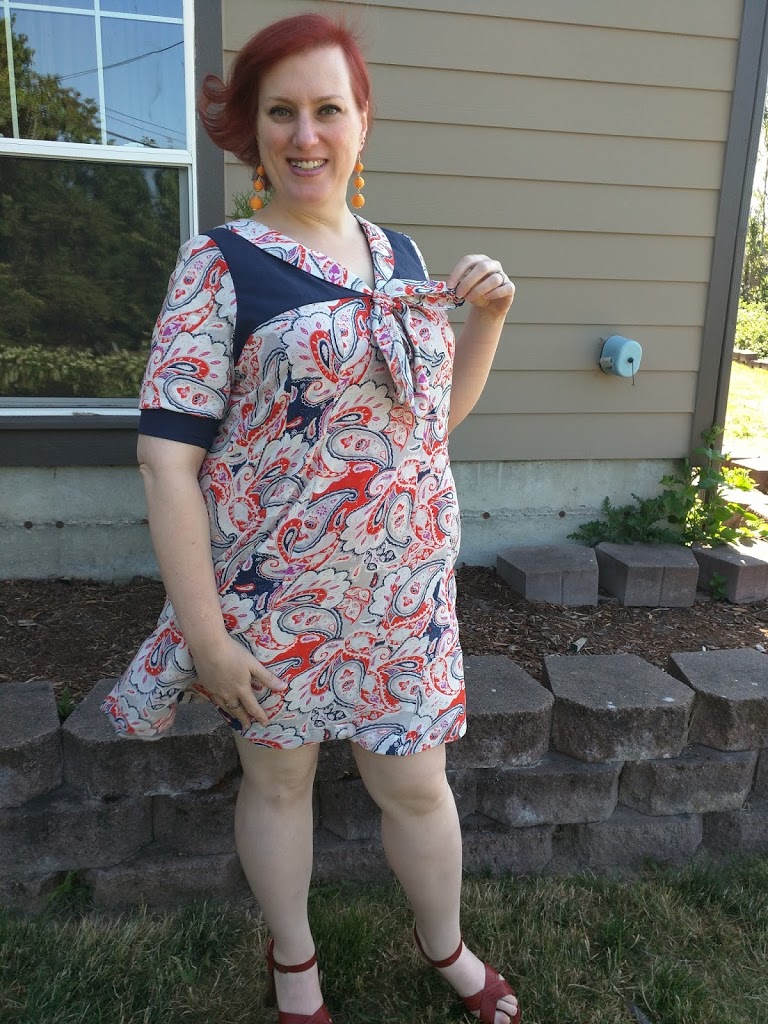
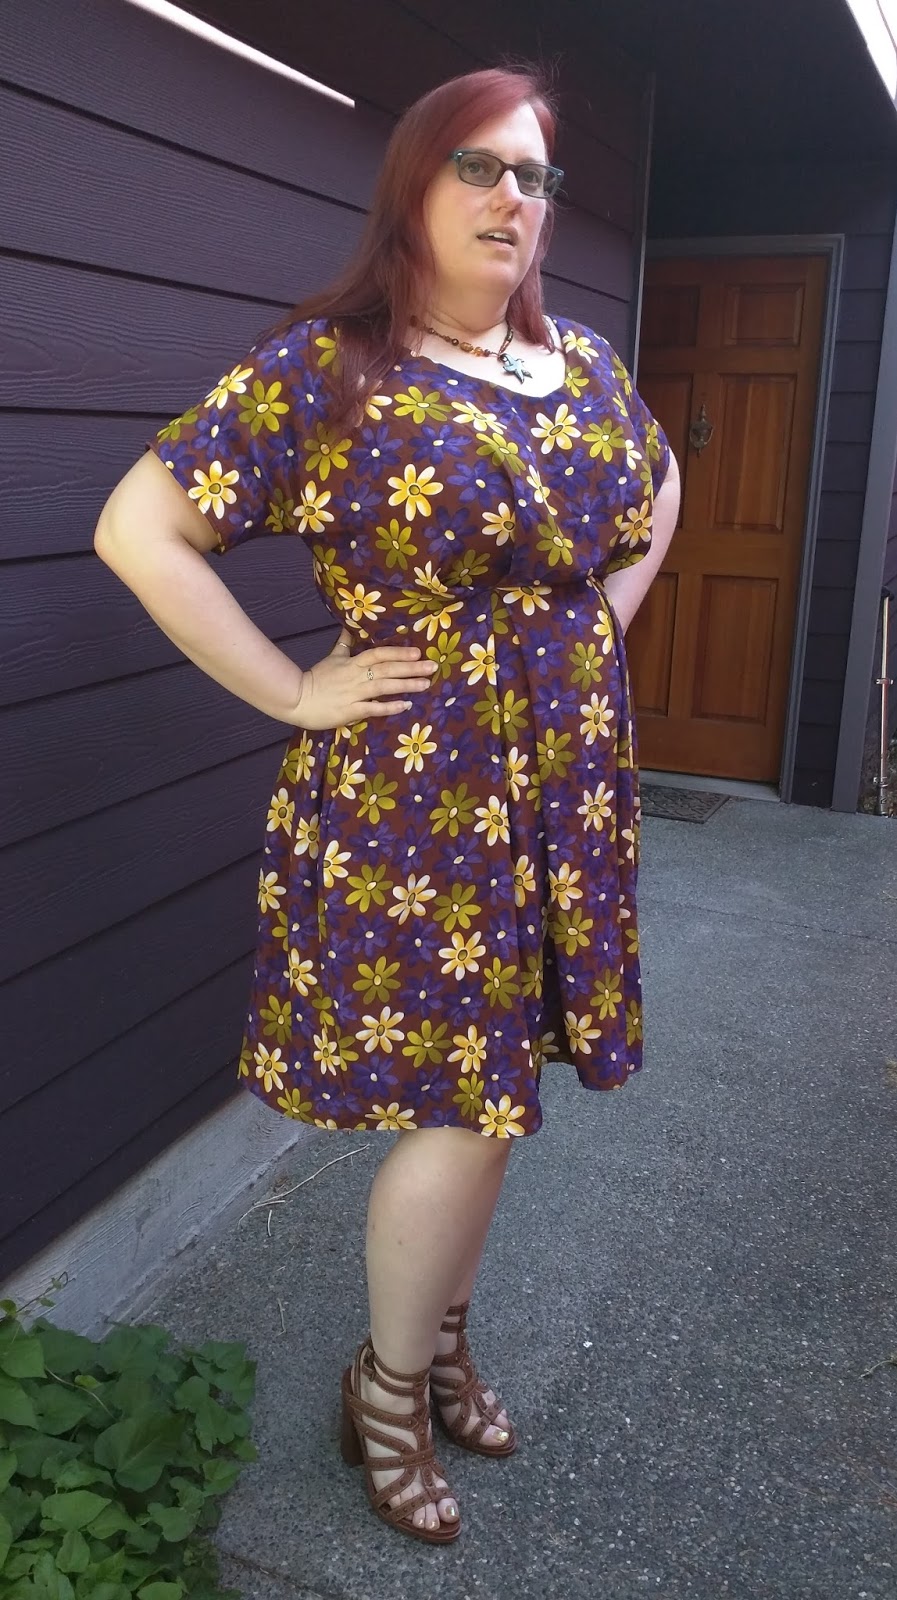
However, I have been struggling with what to make lately.  I have so many choices that sometimes thinking about all the pattern options and fabric selection ends up giving me decision anxiety.  I end up procrastinating by sketching and touching all my fabrics and I end up wasting all the time I had to sew!  I actually had another Seamwork pattern in mind to make for this contest, but in looking for two fabrics to go together, I decided that this lovely orange and navy paisley lawn needed to be featured in its own dress.  So, I picked the Seamwork Arden because it had a retro feel to it that I thought fit the fabric nicely.

I had hoped to make the entire dress out of the lawn, but I only had 3 yards and couldn’t squeeze the entire thing out of it, and I happened to have some navy cotton lawn in my stash that matched perfectly.  So, it all worked out.

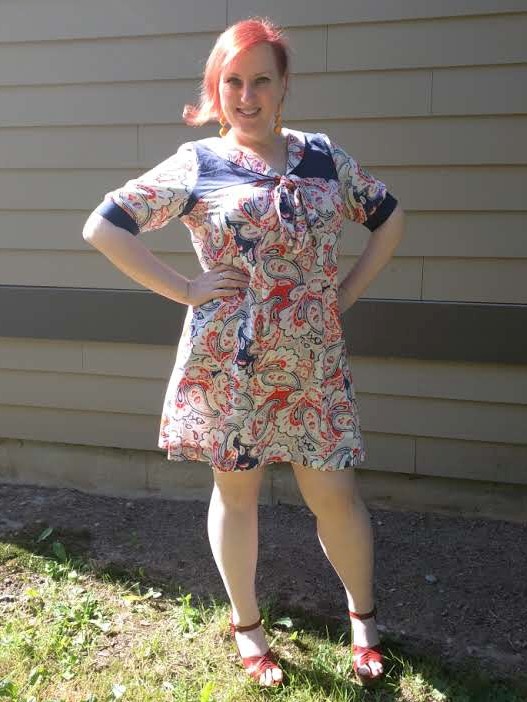
I made a straight size 16, which I chose due to my bust measurement.  The waist and hips of the dress are flowy, so I wasn’t concerned about those measurements.  Plus, I was too lazy to do an FBA.

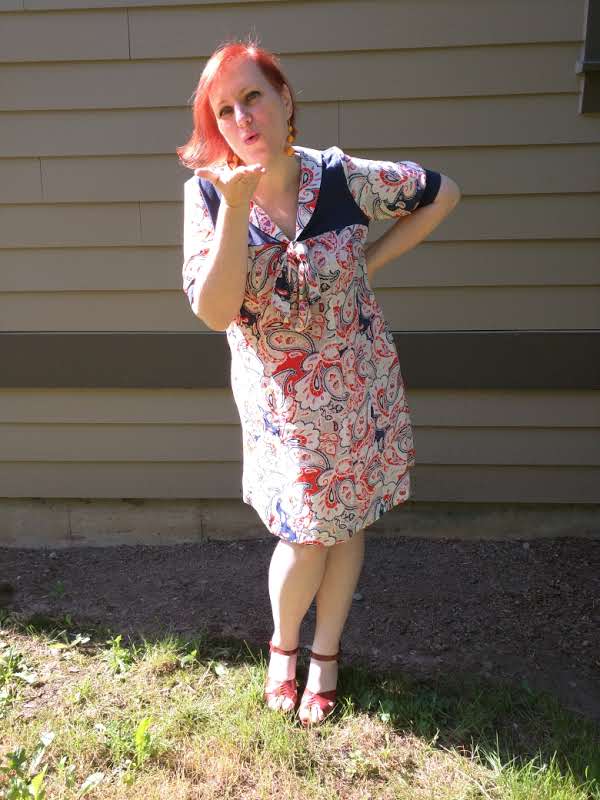
I made the long sleeves originally, but after attaching them, I realized they were slightly too short for my long monkey arms and also, the point of this dress was really to have a lightweight cotton dress to wear during our little Seattle heatwave.  So, I ended up chopping the sleeves off and added navy cuffs.  I definitely like the look of the long sleeves of the pattern, so it was a bit tough cutting them off, but I’m happy to have a nice, cool summer dress.  But if I make this pattern again, I’ll probably keep the long sleeves and just add about an inch to their length.

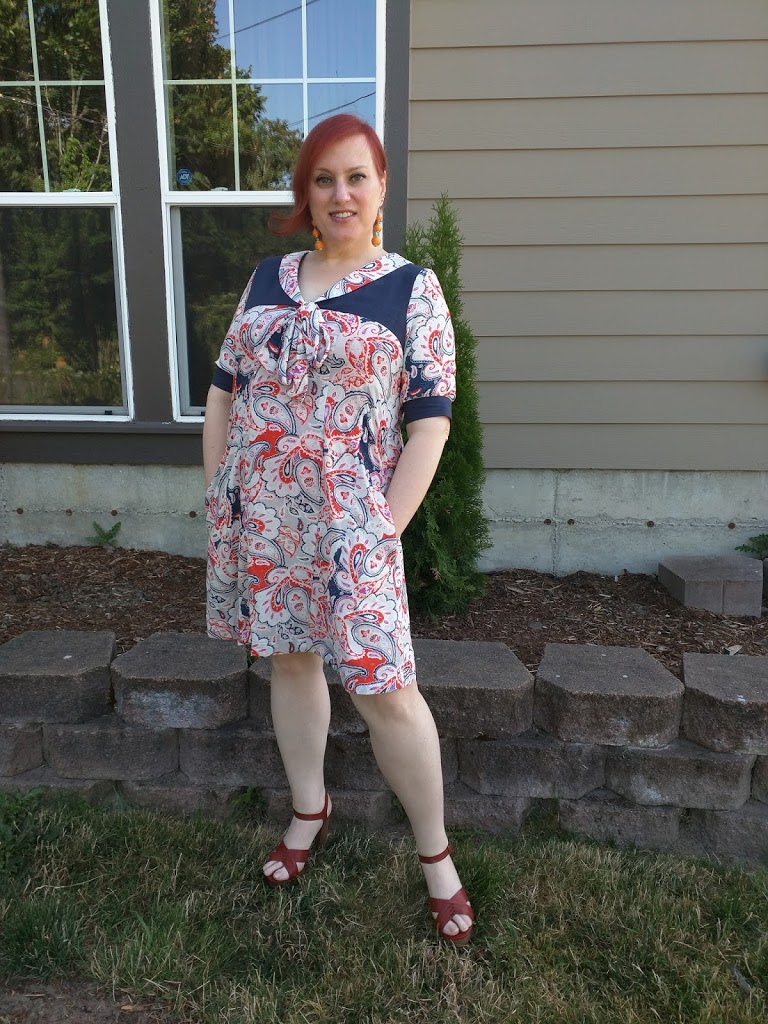
My other adjustment is that I added in seam pockets!  I really do need pockets in all of my dresses.  Or at least one pocket for my phone.  And what’s the point of sewing my own clothes if I can’t customize them to be exactly what *I* want?

I made a small fit modification of taking in the two center front darts to add a little more shaping and to not tent quite as straight down.  I’m not 100% sure I sewed the darts correctly in the first place since I’m terrible about actually marking my fabric pieces.  But I took each of those darts approximately 1/2″ deeper at the waist line, tapering out to nothing at the top and a few inches from the bottom of the darts.

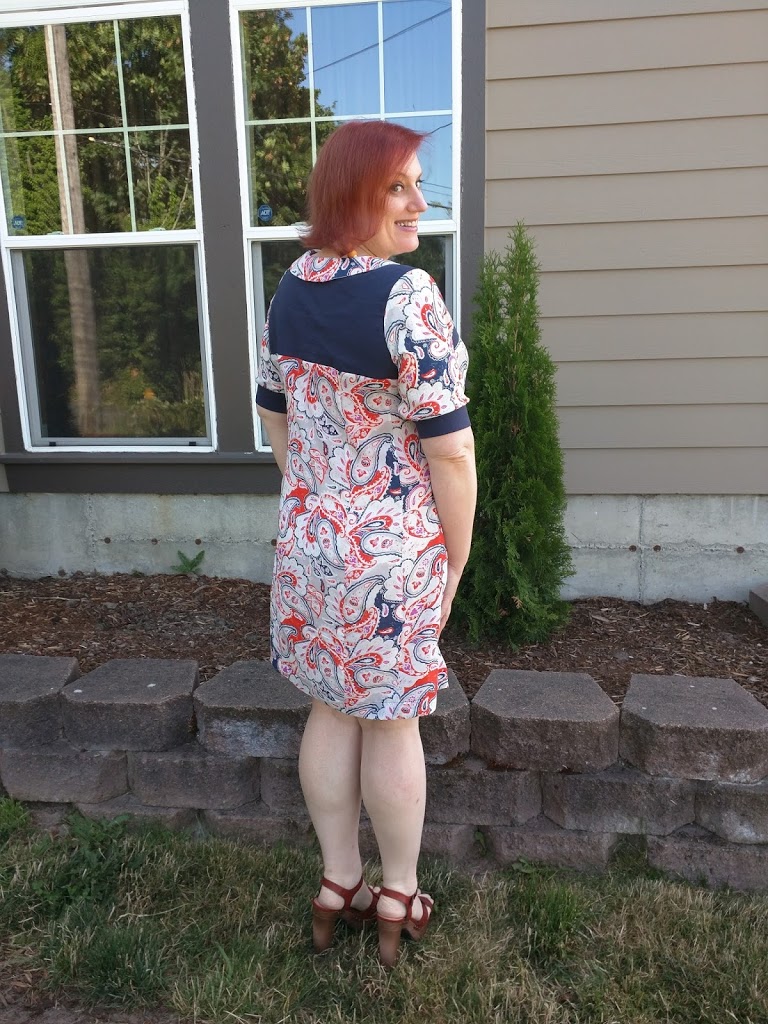
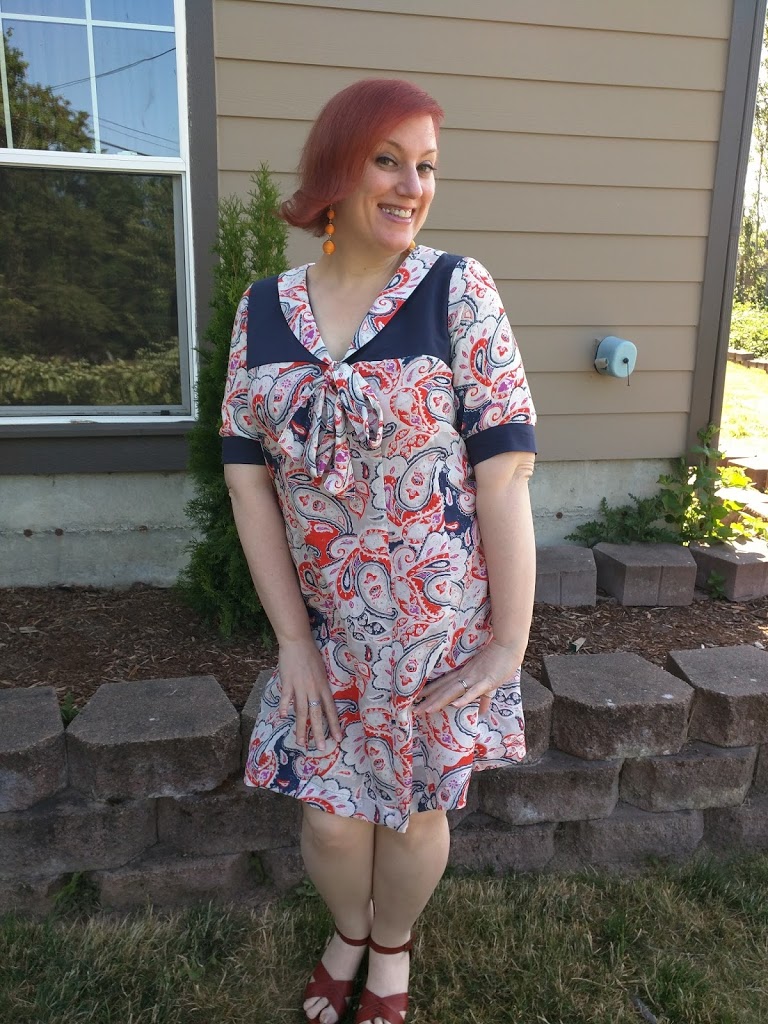
Overall, I really like the look of this dress.  I hate sewing darts and this dress has 4 very long darts in the front and 4 in the back.  There is a bonus modification that uses gathers instead of darts that I might try in the future, but I like this dress enough that I might just be willing to deal with the darts.  I also didn’t really know how much I’d like the bow, since I’m a little worried about adding extra bulk to my already busty figure.  But I actually really think it’s very flattering, so I’m definitely glad I took the chance on this dress.

I have plans for each of the 4 Indie Pattern Month contests, but I’m already almost done with my project for week 3 (Hack it!) so I’ll definitely finish at least one more.  Are you planning on entering anything for the contests this year?  I’d love to hear what you are willing to share (or tease) about your entries!

3 Zeenas

I started making my first By Hand London Zeena that I got as part of The Monthly Stitch Chill Out Bundle with the intention of entering the Indie Pattern Month bundle contest.  Unfortunately, my free time seemed to completely dry up just as I got everything cut out and ready to sew.  After I did finally get it sewn up, I knew I wanted to make another, so I decided to just go ahead and make 3 and use that as my offering for the August challenge.

I made my first version from a fun floral 100% Rayon faille with the bodice lined with a bright yellow voile.  My current measurements (49, 38, 48) put me in the size US 16 with a 4″ FBA. Well, I was a little confused how to do the FBA without a side dart, so I sorta did it the normal way, adding a side dart, then rotated it into the kimono sleeve a little and the bulk of it into the waist pleat.  However, after I cut my fabric, I realized in all my research and confusion, I forgot to halve my adjustment amount and ended up adding 4″ to the pattern piece, which means I added 8″ total to the bodice front.  Doh.  And my method also didn’t add any length to the piece.   So the waist seam is way too high in the front.  But I ended up fiddling with the pleats quite a bit and moving where they are in the original pattern until I thought the dress didn’t look too bad.

I thought it would be a fun thing to try adding a waist stay.  I read up quite a bit on how to do this and I decided to go with the method shown in this Sewaholic tutorial.  This dress didn’t have a heavy skirt or a strapless bodice, so I mostly wanted it to take the strain off the zipper at the waistline and to make it a bit easier to zip up myself.  But you can see from the pictures above that the front of the waist seam is much higher than the back.

I’ve worn this dress twice and got several compliments on it both times, so i guess I’m not the only one who thinks it doesn’t look too bad.

So, I fixed the FBA issue for my second version, which I made from a 100% cotton double gauze in blue plaid.  But after wearing it to work yesterday, I think I need to take a little of the length of the front bodice back out.  It’s not really very noticeable in these photos, but the waist seam stays pretty much right where it’s supposed to and the bodice poofs out a bit right above in a way I don’t like.

I cut the fabric trying to match the plaid at the center front, completely forgetting that the skirt has a pleat right in the front.  However, when I first basted the bodice and skirt together, I was pleasantly surprised to see that the plaid was very close to matching up. 

So I fiddled with the pleats a bit to just shift the fabric around within the existing pleats to make it match better.

So much better!  I love how it turned out.

After my blue plaid Zeena was already mostly assembled, I noticed that when I wore my brown floral Zeena the zipper bulged out a bit at the lower back where it could use a sway back adjustment.  So, I took a 1″ wedge out of the center back bodice for my third version, which I made out of a lovely ikat stripe print Rayon Challis (sold out) from Fabric Mart.  And, of course none of the photos of the back of this dress turned out.  But I do have dressform photos.

While cutting out this third Zeena, I had some issues because the fabric’s pattern repeat is pretty large, so I couldn’t cut the full midi length skirt (which is actually knee length on me.)  And of course, I didn’t notice until I had already cut the skirt front and went to cut the back, matching the stripes.

I cut it as long as I could with the fabric I had, and it ended up about 3 1/2 inches shorter than the other two.  But I think it was fortuitous since the shorter length paired with this fabric comes off nice and sassy, while the longer length makes the brown floral dress look classy and gives the plaid version a lovely 50s housewife feel that I am totally into.

Rose Red Lady Skater


May is inspiration month at The Monthly Stitch.  I have noticed that I have many dresses made out of fabric with lovely prints.  So, the easiest way for me to put together an outfit is to make leggings and/or cardigans in solid colors, neither of which I’ve successfully made yet (perhaps foreshadowing IPM…?)

So, as I was looking through TMS archives to find an inspirational post, this one for  Rosemary’s Fabulously Red Lady Skater caught my eye.  It’s a solid color, it’s my favorite dress pattern, it’s red, which I’ve traditionally avoided wearing, but lately have been told I should wear it more often.  So that seemed like a perfect dress to copy.  Especially since I even already had fabric on hand.


I had recently picked up some Rose Red Poly/Lycra Abstract Jacquard Double Knit from Fabric Mart with the intention of making myself a red dress.


And here’s a photo I took of it to show off the texture.


I’ve made the Kitschy Coo Lady Skater several times, but I tried something a bit different with this one.  The fabric is a bit scratchy, so I decided to line it with something that would feel better against my skin.  So I chose a very soft black and red animal print rayon blend jersey that I picked up from a flawed fabric bargain lot from Girl Charlee.  At first I only planned to line the bodice, but as I was constructing it, I thought about how the waist seam would end up being itchy and the dress being on my legs sitting at my desk all day might bug me too, so I cut the skirt pieces too.

I sandwiched the pieces together at the waist seam, as I did with the plaid version I made at the end of last year.  I didn’t line the sleeves, but my insides were looking so good that I thought maybe I would try a French seam to attach the sleeve.  This red fabric is pretty thick, so both of those plans were just terrible ideas.  Granted, I didn’t clip the curve of the sleeve seam, but still, the thickness of the French seam made the shoulder look bumpy and very bad.  Luckily, I only did one before I realized it was a mistake.  As for the waist seam, I just felt like the seam was too visibly bulky with all 4 fabrics joined together like that, and all 4 steam allowances all bunched up together.  So I started ripping out seams.  Which added a week to this project.  Mostly because I pouted some for a while at the fact that I had to do so much seam ripping and also because the lighting in my comfy spots are terrible for being able to rip out stitching that so closely matches the thread to the fabric.  But I did find some daylight times to be able to do it eventually.

Once I reassembled the dress with the lining hanging completely separate, the dress looked so much better constructed than it did previously.  And I just love how it looks on the hanger with the black and red animal print peeking out.

Here’s the finished dress inside out on my dress form.


I even added French tacks to keep the lining from shifting around too much.  I followed this tutorial from Ohhh Lulu.


And here I am wearing it out in the driveway.

My husband and I walked down to the park at the end of the street to take these photos.  Not many turned out very great.  Here’s me doing my best Vanna White impression.


And this one was me trying to act shocked in response to my husband making some crack about how he’s stalking me in the woods.  My new glasses have transition lenses, so I don’t really notice them changing and am always surprised to see I’m wearing sunglasses in my photos.  haha.


© 2026 Clothing Hacker

Theme by Anders NorenUp ↑